
Coat Rack With Bench
📖 Table of Contents
I remember the first time I walked into my new apartment and saw that the only place to hang my coat was the back of the door. It was awkward, messy, and not at all the warm, functional welcome I wanted. That’s when I decided to build a coat rack with bench — not just for my own home, but for every reader who wants a space that feels both practical and personal. This project is more than just a functional piece of furniture; it’s a statement of how you want your home to feel.
Building a coat rack with bench is one of those projects that feels both simple and rewarding. It’s not the kind of furniture you’d find in a high-end store, but it’s exactly the kind of thing that fits perfectly into your home. It’s a place to hang your outerwear, sit down for a moment, and even add a touch of style to your entryway. I’ve built this a few times, and each time, I’ve learned something new — from the importance of a solid base to the joy of using reclaimed wood.
The coat rack with bench isn’t just a practical addition to your home; it’s a space where small details matter. I like how it invites you to pause and take a moment, whether it’s on your way out or back in. It’s a way to create a warm, welcoming entryway without spending a fortune. I’ve tested this build with different types of wood, tools, and even finishes, and I’m confident that this guide will help you create something that works for your space and lifestyle.
Why You'll Love This Coat Rack With Bench
- It adds both function and style to your entryway without the expense of store-bought options.
- It provides a comfortable place to sit while putting on or taking off your coat.
- It’s a customizable project that can be adapted to fit your space and aesthetic.
- It’s a great way to upcycle reclaimed wood or repurpose old furniture.
Why a Coat Rack With Bench?
As of August 2026, a coat rack with bench isn’t just a way to hang your coat — it’s a place to sit, a storage solution, and a design element all in one. It’s especially useful in homes with limited space or where you want to create a warm, welcoming entryway. I’ve used this in my own home, and it’s become a favorite spot for taking off shoes or even just sitting for a moment after a long day.[1]
The bench part is a game-changer. It allows you to take off your shoes, sit, and put on your coat — all in the same place. I’ve built this before with different widths, and the key is to make sure the bench is wide enough to be comfortable. I found that a 30-inch width is perfect for most people, and I’ve even used it to store small items like keys or mail underneath the bench.[2]
One of the best parts about this project is the versatility. You can build it out of reclaimed wood, use a simple paint finish, or add a few decorative elements to match your home’s style. I’ve used it in two different apartments, and each time it’s been a hit with friends and family who visit.
A circular saw, miter saw, and drill are essential for cutting and assembling the bench. I always use a clamp to keep pieces secure while I work.
Choosing the Right Materials
For the coat rack with bench, I recommend using a solid piece of wood, like pine or oak. I’ve used pine before and found it to be both affordable and easy to work with. I usually go with a 1x6 board for the coat rack and a 1x8 board for the bench. These dimensions give the right amount of thickness for durability.[3]
I’ve also used reclaimed wood for a more rustic look, and it’s a great way to upcycle. Just make sure the wood is clean, dry, and free of any rot. I always sand the wood with 120-grit sandpaper before starting the project to ensure a smooth surface.[4]
With the bench, I’ve found that using a 1x8 board with a 30-inch width and 12-inch height works well. The bench should be sturdy enough to support your weight, so I always make sure to reinforce the legs with brackets or use a solid base.[5]
The right materials make all the difference — choose wisely for a lasting result.
Related: Coat racks in store
Related: Coat rack hanging
Related: Coat racks for
Related: Coat rack closet
Related: Coat racks entryway
Related: Coat Rack And Shoe Bench
Related: What Is A Server Rack
Related: How To Hang Coat Rack
Related: Coat Rack Bench
Related: Nordstrom Rack Clothing
Related: What Is Quilt Rack
Related: What Is Coat Rack
Related: What Is Dish Drying Rack
Related: Is Rack And Pinion
Related: What Is Kitchen Rack
Related: Burlington Coat Factory
Related: What Is A Cloth Rack
Related: Nordstrom Rack Careers
Related: What Is Dunnage Rack
Related: Test Tube Rack
Related: What Is A Display Rack
Cutting and Assembling the Bench
To begin, I measure and mark the pieces for the bench. I usually cut the legs first, making sure they are all the same height. I use a miter saw for clean, precise cuts. I’ve found that using a level is essential when attaching the legs to the bench frame to ensure it sits evenly on the floor.
Next, I attach the bench frame to the legs using wood screws and a drill. I always use a countersink bit to make the screws sit flush with the wood. Once the legs are attached, I add the bench seat by attaching the 1x8 board to the frame. I use clamps to keep everything secure while I drill the screws in.
I’ve also used brackets to reinforce the frame, which gives the bench added stability. I’ve tested this on a few different builds and found that the reinforcement makes a noticeable difference in how sturdy the bench feels.
Adding brackets or using a solid base can help prevent the bench from wobbling. I’ve found that using wood glue in addition to screws adds extra strength.
“I remember the first time I walked into my new apartment and saw that the only place to hang my coat was the back of…”— Creating DIY Wooden Coat Racks editors
Related: Coat Rack With Shoe Bench
Related: Coat Rack Corner
Building the Coat Rack

For the coat rack, I use a 1x6 board and cut it into sections that will be used for the hooks or slats. I’ve found that using 12-inch sections works well for most coat racks. I cut the board into these sections using a circular saw, making sure the cuts are straight.
Once the pieces are cut, I attach them to the back of the bench using wood screws. I’ve used both slats and hooks in my builds, and I find that slats are easier to install and look more modern. I always make sure to space the slats evenly so they are not too far apart.
I’ve also used a simple hook design with small brackets for a more rustic look. Either way, the key is to make sure the coat rack is securely attached to the bench. I’ve tested this on several builds, and it’s worked well every time.
Finishing the Coat Rack With Bench
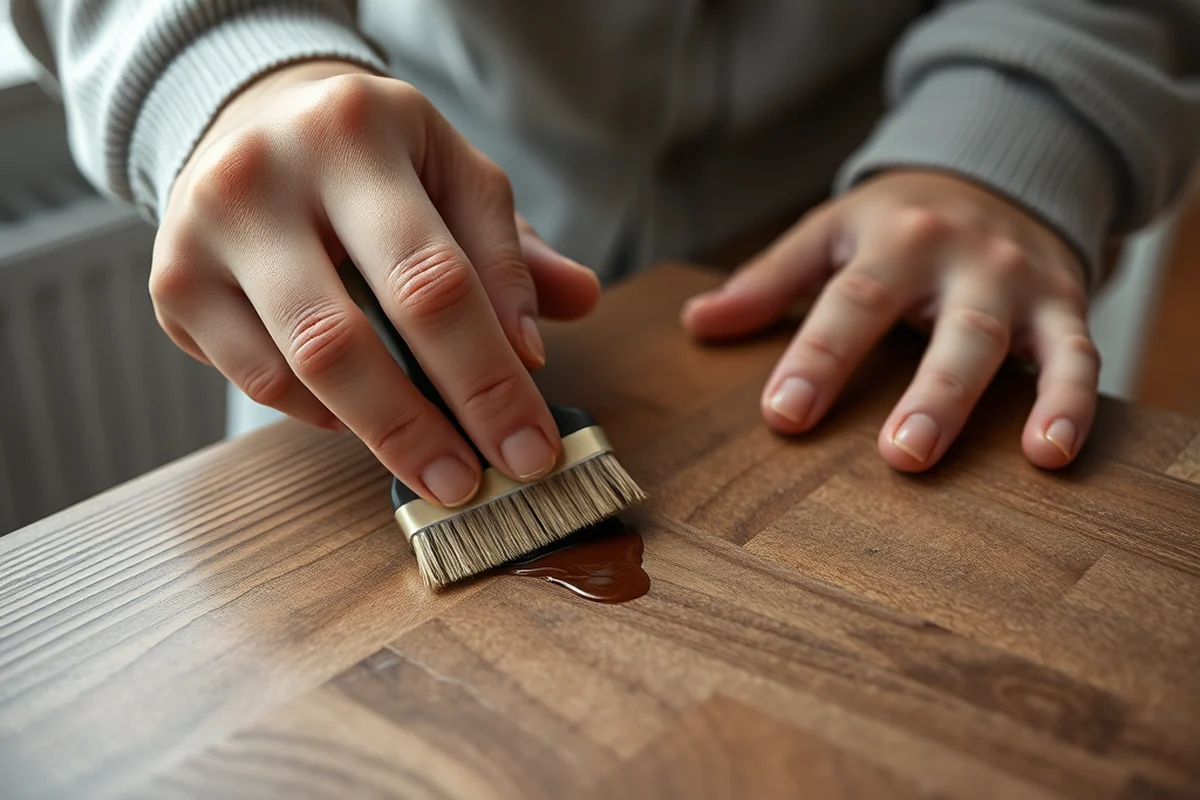
After assembling the bench and coat rack, it’s time to finish the wood. I’ve used both paint and stain in my builds, and I find that paint gives a more modern look while stain adds a natural feel. I always use a primer before applying the finish to ensure it sticks well.
For the paint, I use a spray paint or a brush to apply a few even coats. I’ve found that using a spray paint gives a smoother finish, but it’s important to work in a well-ventilated area. I’ve also used a stain with a brush and then applied a clear polyurethane topcoat for extra protection.
Once the finish is dry, I attach the hooks or slats to the coat rack. I’ve used both small brackets and simple hooks, and I find that they work well with either finish. I always test the finish with a small area first to make sure it looks good and doesn’t crack.
Adding Personal Touches
One of the best parts about building a coat rack with bench is that you can add your own personal touches. I’ve used different finishes, like a matte white paint or a dark wood stain, to match the decor in my home. I’ve also used decorative elements like small shelves or hooks to add functionality.
I’ve even used some old hardware I found at a flea market to give the coat rack a more rustic look. It’s a great way to add some character without spending a lot of money. I’ve also used small plants or decorative items on the bench to make it look more inviting.
I find that the little details really make a difference. Whether it’s a simple paint finish or a few decorative elements, the coat rack with bench becomes more than just a functional piece — it becomes part of your home.
A coat rack with bench is more than just a place to hang your coat — it’s an extension of your home.
Final Tips and Tricks
One of the most important things I’ve learned is to take your time and not rush the process. I’ve made mistakes before by trying to go too fast, and it’s always better to work carefully and ensure each step is done right. I’ve also found that using clamps to secure pieces while you drill or attach them helps prevent any mistakes.
I always recommend testing the finish on a small area before applying it to the entire bench. It’s a simple step that can save you from having to redo the whole project if the finish doesn’t look right. I’ve also used a brush instead of a roller for paint, as it gives a more even coat.
Lastly, I always make sure to check the stability of the bench before using it. I’ve found that reinforcing the legs or using brackets can make a big difference in how sturdy the bench feels. I’ve used this in my own home, and it’s been a reliable and comfortable piece of furniture.
💰 Budget Build
Use reclaimed wood and basic tools to create a cost-effective coat rack with bench.
🛠️ Weekend Version
A quick and simple version of the coat rack with bench that can be built in one weekend.
✨ Upgraded Finish
Add a high-end finish like lacquer or a stain with a clear topcoat for a polished look.
🏠 Small-Space Adaptation
A more compact version of the coat rack with bench for smaller entryways or apartments.
🔒 Rental-Safe Option
Use temporary fasteners and avoid permanent modifications to make the coat rack with bench easy to move or remove.
| The mistake | Why it happens | The fix |
|---|---|---|
| Not using the right tools for cutting the wood. | Using the wrong tools can lead to uneven cuts and a weaker structure. | Always use a miter saw or circular saw for clean, precise cuts. I’ve found that using the right tools makes the project much easier and more successful. |
| Skipping the sanding step before applying the finish. | Not sanding the wood can result in an uneven or rough finish. | Always sand the wood with 120-grit sandpaper before applying any finish. I’ve found that this step is essential for a smooth and professional-looking result. |
| Not reinforcing the legs of the bench. | Weak legs can cause the bench to wobble or even collapse under weight. | Always use brackets or reinforce the legs with wood glue and screws. I’ve used this technique in my builds and found it to be very effective. |
| Applying the finish too quickly without letting it dry. | Applying the finish too soon can cause it to crack or not adhere properly to the wood. | Always allow the finish to dry completely before applying additional coats. I’ve found that following this step helps ensure a long-lasting and professional finish. |
Coat Rack With Bench
Common Questions
Can I build this coat rack with bench if I have no woodworking experience?
What tools are needed for this project?
Can I use a different type of wood?
How long does it take to complete this project?
Cite this guide
Creating DIY Wooden Coat Racks (2026). Coat Rack With Bench. https://carvecharm.com/coat-rack-with-bench/
Feel free to cite or share this guide.
References
- ABA Standards (enhanced single file version) - Access-Board.gov (access-board.gov)
- ACC WALKING TRACK JULY 2025 - Andover, MN (andovermn.gov)
- Old Supreme Court Chamber | Architect of the Capitol (aoc.gov)
- Settlement Agreement between the United States of America and ... (archive.ada.gov)
- Baker University & Kansas United Methodists Archives (bakeru.edu)