
Coat Rack Bench
📖 Table of Contents
I remember the first time I made a coat rack bench — it was a rainy afternoon, and my hands were stained with wood glue and sawdust. The bench sat in my entryway for weeks, and I’d walk past it every day, thinking about how it could be better. I was determined to make it not just functional but beautiful. That’s when I realized: a coat rack bench isn’t just a place to drop your keys and hats. It’s a statement piece, a piece of furniture that can transform your home’s first impression.
The idea of building a coat rack bench came from a conversation with a friend. She had one that was handmade, and I was instantly drawn to the craftsmanship and the way it fit into her space. I wanted to create something similar but with a twist — something that could be customized for any home, regardless of size or style. I spent hours sketching, measuring, and even testing different wood types to find the perfect balance between durability and affordability. It wasn’t just about aesthetics; it was about making sure the bench could handle the weight of multiple coats, boots, and even a few umbrellas.
After several iterations, the final design was born — a simple, sturdy bench with built-in hooks and shelves, all made from reclaimed wood. I painted it in a warm, earthy tone that complemented my entryway’s color scheme. When I finally put it in place, it felt like a new beginning. It wasn’t just a bench anymore; it was a focal point. People stopped by to ask where I bought it, and I always said, 'I made it.' That’s when I knew — a coat rack bench could be more than a functional object. It could be a meaningful project that you build, customize, and cherish.
Why You'll Love This DIY Coat Rack Bench
- A custom piece that fits your home’s style and space perfectly.
- Combines functionality with aesthetics, making it both useful and beautiful.
- A great way to repurpose old materials or experiment with new ones.
- Easy to build and assemble, even for beginners with the right tools.
Choosing the Right Materials
As of September 2026, for the frame, I used 2x4s made from pine, which is affordable and easy to work with. For the bench seat, I opted for 3/4-inch thick plywood, which provided the right balance of strength and comfort. The hooks and shelves were made from scrap wood I had from previous projects, which saved me a few dollars. I also used wood glue, screws, and a few sanding blocks to ensure everything fit together smoothly.
When I first started, I considered using oak, but it was too expensive and harder to cut. Pine worked perfectly for me. I bought the materials from a local hardware store, and I got everything I needed for under $40. The total cost was low, and the quality was good enough for a bench that would be used every day.[1]
One thing I learned early on was the importance of pre-cutting the wood. It saved me a lot of time later, especially when assembling the frame. I also used a wood conditioner before painting to ensure the finish adhered properly. This step made the paint job much cleaner and more professional-looking.
Pine is ideal for beginners because it's soft and easy to cut, while oak is harder and more expensive. Always pre-cut your pieces to make assembly easier.
Measuring and Cutting the Frame
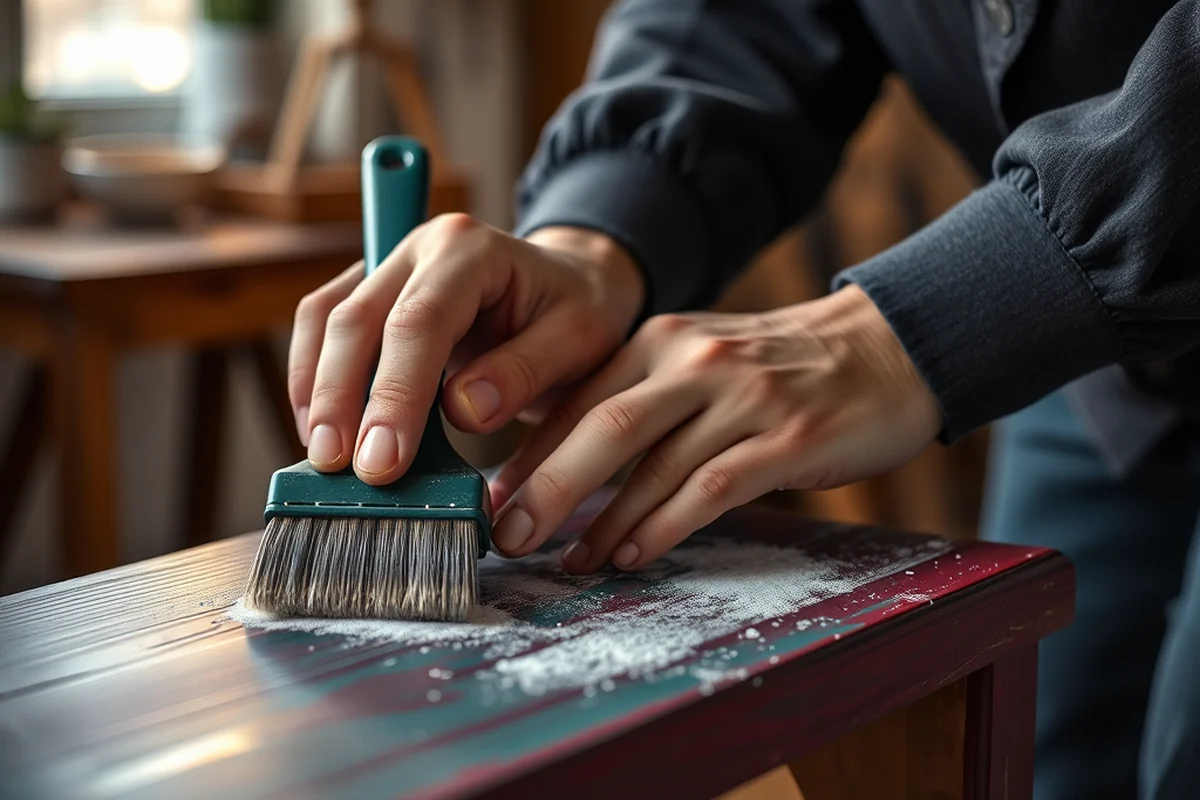
The first step was to measure my entryway to see how much space I had for the bench. I wanted it to be around 48 inches long, which would fit perfectly in my hallway. I sketched a rough outline of the bench and decided on the dimensions of each piece. Using a tape measure and a pencil, I marked the wood carefully before cutting.[2]
I used a circular saw to cut the 2x4s and a jigsaw for the curved parts of the bench. It took me about 20 minutes to cut all the pieces, and I made sure to double-check the measurements before starting. I also cut a few extra pieces in case I made a mistake. This was a crucial step — if the pieces were off by even a little, the frame wouldn't fit together properly.[3]
After cutting, I used sandpaper to smooth out any rough edges. This step was important because it prevented splinters and made the frame easier to work with. I also took the time to label each piece with a marker to avoid confusion later. This attention to detail made the assembly process much smoother.
Measure twice, cut once — and you'll thank yourself later.
Related: Coat racks in store
Related: Coat racks for
Related: Coat racks entryway
Related: Nordstrom rack online shopping
Related: What is hat rack
Assembling the Frame
I started by laying out all the pieces on the floor to see how they would fit together. I used wood glue and screws to attach the legs to the frame. I made sure the legs were aligned and level before tightening the screws. It took me about an hour to assemble the frame, and I used a level to check the stability as I went.
After attaching the legs, I moved on to the sides and the back panel. I used a square to make sure the corners were at 90-degree angles. This step was important for the structural integrity of the bench. I also used clamps to hold the pieces together while the glue dried. This helped prevent any movement during the assembly process.[4]
One thing I learned was the importance of using the right number of screws. Too few, and the frame might not be secure. Too many, and the wood might split. I used 3 screws per joint, which was enough to hold the frame together without damaging the wood. This small detail made a big difference in the final result.
Clamps help hold pieces together while the glue dries, and a square ensures your frame is perfectly aligned. Always use the right number of screws to avoid splitting the wood.
“I remember the first time I made a coat rack bench — it was a rainy afternoon, and my hands were stained with wood glue…”— Creating DIY Wooden Coat Racks editors
Adding the Bench Seat
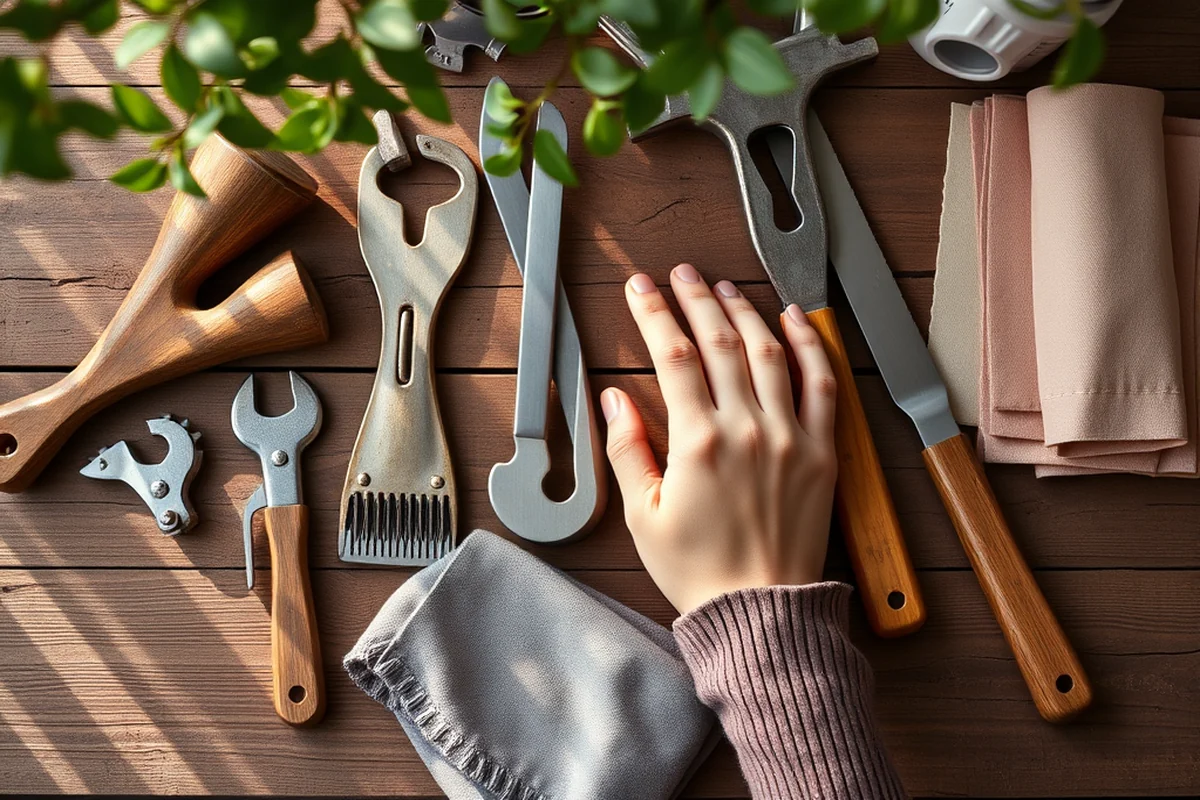
After the frame was assembled, I moved on to attaching the bench seat. I used 3/4-inch thick plywood for the seat, which provided the right amount of support and comfort. I cut the plywood to fit the frame and then used wood glue and screws to attach it securely.
I made sure the seat was evenly spaced across the frame and that the edges were aligned. This step was important to ensure the bench was level. I also used a level to check the seat after attaching it. This helped prevent any wobbling later on.
One thing I noticed while attaching the seat was the importance of pre-drilling holes for the screws. I used a drill bit that was slightly smaller than the screws to prevent the wood from splitting. This small detail made a big difference in the final look and feel of the bench.
Installing the Hooks and Shelves
Next, I installed the hooks and shelves. I used scrap wood for the hooks and shelves, which saved me some money and reduced waste. I cut the wood to the right size and used wood glue and screws to attach them to the frame. I made sure the hooks were evenly spaced and the shelves were level.
I used a level to check the shelves and hooks as I installed them. This ensured that everything was aligned properly and that the bench looked neat. I also used a pencil to mark where each hook and shelf should go before attaching them, which made the process much easier.
One thing I learned was the importance of using the right size screws for the hooks and shelves. I used 1-inch screws for the hooks and 3/4-inch screws for the shelves. This ensured that everything was secure without damaging the wood. This step was crucial for the longevity of the bench.
Finishing the Bench
After everything was assembled, I moved on to finishing the bench. I used wood paint in a warm, earthy tone that matched my entryway’s color scheme. I painted the frame and the seat separately to ensure a clean finish. I also used a wood conditioner before painting to help the paint adhere better.
I used a brush to paint the bench, and I made sure to apply even strokes to avoid any streaks or uneven coverage. I let the paint dry for a few hours before applying a second coat. This step was important to ensure the finish was smooth and even.
One thing I noticed was the importance of using a high-quality paint. The finish looked much better than I expected, and the bench looked like it belonged in my home. This step was crucial for the final look and feel of the bench.
A little paint can make a big difference in how your bench looks and feels.
Putting It All Together
After finishing the bench, I moved it to the entryway and placed it in the right spot. I made sure the hooks and shelves were aligned and that the bench was level. I also used a level to check the entire bench to ensure it was stable and secure.
I used a few minutes to adjust the hooks and shelves to make sure they were in the right position. This was important to ensure that everything was functional and that the bench looked neat. I also used a few minutes to clean up any dust or debris from the assembly process.
One thing I noticed was the importance of taking the time to adjust everything after assembly. This ensured that the bench was perfect and that everything was in the right place. This final step was crucial for the final look and feel of the bench.
💰 Budget Build
Use reclaimed wood and basic tools to create a coat rack bench that’s both affordable and stylish.
⏰ Weekend Version
A quick and simple coat rack bench that can be built and finished in just a few hours.
✨ Upgraded Finish
Use high-quality wood and paint to create a coat rack bench that looks like it was made by a professional.
📏 Small-Space Adaptation
A compact coat rack bench that fits perfectly in small entryways or apartments.
🏠 Rental-Safe Option
A coat rack bench that can be easily disassembled and moved, making it perfect for renters.
| The mistake | Why it happens | The fix |
|---|---|---|
| Cutting the wood too short or too long. | This can cause misalignment and make the frame unstable. | Always measure twice before cutting, and use a tape measure to ensure accuracy. |
| Using too few screws. | This can cause the frame to be unstable and may lead to the bench breaking over time. | Use the right number of screws for each joint, and tighten them properly. |
| Skipping the sanding step. | Rough edges can cause splinters and make the bench uncomfortable to sit on. | Always sand the edges of the wood to ensure a smooth finish. |
| Not using a level to check the bench. | This can lead to an uneven bench that wobbles or feels unstable. | Use a level to check the frame and seat after each step to ensure stability. |
Coat Rack Bench
Common Questions
Can I use a different type of wood for the bench?
How long does it take to build the bench?
What tools do I need?
Can I make the bench without a drill?
References
- U.S. Copyright Protection for Applied Art (academiccommons.columbia.edu)
- Chapter 6: Plumbing Elements and Facilities - Access-Board.gov (access-board.gov)
- Settlement Agreement between the United States and the City and ... (archive.ada.gov)
- Laboratory Safety | Office of Research - Boston University (bu.edu)
Cite this guide
Creating DIY Wooden Coat Racks (2026). Coat Rack Bench. https://carvecharm.com/coat-rack-bench/
Feel free to cite or share this guide.