
Creating Alcove Shelves
📖 Table of Contents
- Planning Your Alcove Shelf Layout
- Choosing the Right Materials and Tools
- Cutting and Assembling the Shelf Components
- Mounting the Shelves on the Wall
- Finishing Touches and Customization
- Expert Tips and Advanced Techniques
- Tools, Materials and Resources
- Tools, Materials and Resources
- Troubleshooting and Common Questions
- Troubleshooting and Common Questions
- Getting Started: Your First Steps
- Make It Your Way
- Frequently Asked Questions
I remember the first time I created alcove shelves in my living room — it felt like I had transformed a forgotten corner into a piece of functional art. The process wasn’t just about cutting wood and nailing it together; it was about solving a real problem in my space. Alcove shelves are more than storage solutions; they’re an opportunity to blend practicality with personal style, and I want to guide you through every step of the journey.
Alcove shelves are a perfect project for anyone who wants to reclaim unused wall space without making a big dent in their budget. I’ve built several variations over the years, from basic versions using leftover lumber to more elaborate designs with custom finishes and built-in lighting. Each project taught me something new, and I’m excited to share what I’ve learned with you.
Creating alcove shelves isn’t just about the end result — it’s about the process. I’ve found that the right tools, the correct measurements, and a little patience can turn an ordinary space into something extraordinary. Whether you’re a seasoned DIYer or just starting out, this guide will help you create alcove shelves that are both functional and beautiful.
Why You'll Love This DIY Alcove Shelf Project
- Maximize unused wall space without major construction
- Create a custom storage solution tailored to your needs
- Add a personal touch with unique finishes and materials
- Save money compared to buying pre-made shelves
Planning Your Alcove Shelf Layout
As of August 2026, the first step in creating alcove shelves is to measure your wall and determine where the shelves will go. I always start by marking the location with a pencil to visualize the layout before cutting any wood. It’s easy to miscalculate and end up with shelves that don’t match the space, so taking accurate measurements is key.[1]
I’ve found that using a level and a measuring tape together helps ensure the shelves are even and straight. I also consider how much weight each shelf will hold, which affects the type of wood and brackets I use. For a 36-inch-wide alcove, I usually plan for three shelves, each spaced about 12 inches apart for optimal storage.[2]
Once you’ve got your measurements, sketch a simple diagram of your alcove shelves. This will help you visualize how the shelves will fit into the space and what materials you’ll need. I often use graph paper for this step, as it allows for precise scaling and planning.
Use a laser level or a plumb line for the most accurate measurements. This will save you time and avoid costly mistakes later.
Choosing the Right Materials and Tools

For most DIY alcove shelves, I use pine or oak boards. Pine is more affordable and easier to work with, while oak offers a more refined look. The tools you’ll need include a circular saw, a drill, a level, and a carpenter’s square. These are the essentials, though I often have others on hand for more complex builds.
I always make sure to have quality screws and brackets on hand — they’re the unsung heroes of any shelf project. For a 48-inch tall alcove shelf, I use 3-inch screws to ensure the shelves are securely attached to the wall. It’s also a good idea to have wood glue and clamps for more stability.[3]
If you’re using reclaimed wood, be sure to sand it down thoroughly before starting. I’ve found that even slightly rough wood can cause splinters, which is a pain to deal with later. Always test a small piece before committing to the entire project.
The right materials and tools make all the difference in the final result.
Related: Small-Space Ideas Duty
Related: Crafting Storage Containers
Related: Creating Shelves In A Wall
Related: Creating Shelves In A Pond
Related: Creative Diy Storage
Cutting and Assembling the Shelf Components
Using a circular saw, I cut the wood to the dimensions I measured earlier. I always double-check the measurements before cutting, as even a small mistake can throw off the whole project. I also mark the wood with a pencil to ensure I’m cutting the right piece each time.
Once the pieces are cut, I use a drill to pre-drill holes for the screws. This helps prevent the wood from splitting, especially if you’re working with thinner boards. I’ve learned the hard way that skipping this step can lead to cracks and an unsightly finish.
After the holes are drilled, I assemble the shelves by attaching the sides to the back panel. I use a carpenter’s square to ensure everything is aligned. For the best results, I always use wood glue in addition to screws for extra strength.
When assembling the shelves, use clamps to hold the pieces together while the glue dries. This helps ensure a tight, secure fit and prevents warping.
“I remember the first time I created alcove shelves in my living room — it felt like I had transformed a forgotten corner into a…”— Creating DIY Wooden Coat Racks editors
Mounting the Shelves on the Wall
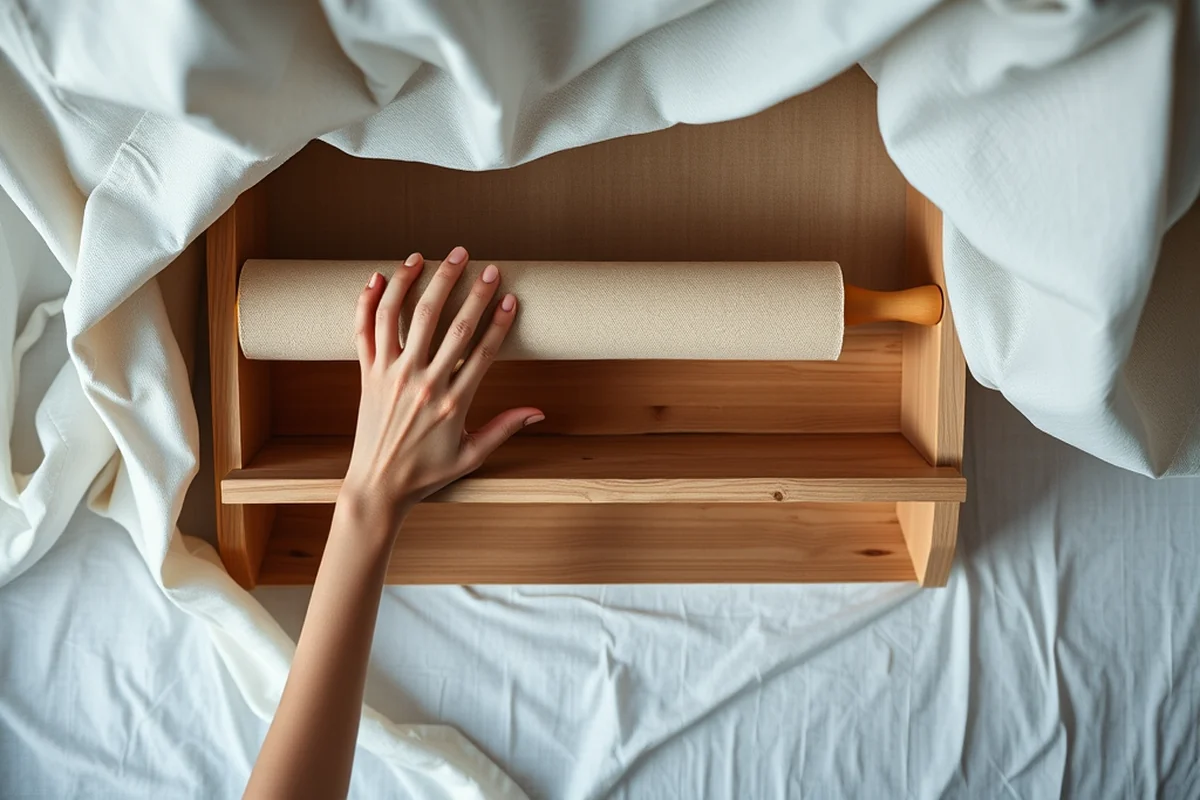
Once the shelves are assembled, I carefully position them against the wall. I use a level to make sure they’re perfectly straight before attaching them. If the wall has drywall, I use toggle bolts or wall anchors to ensure the shelves are securely mounted.
I’ve found that using a stud finder is essential when mounting shelves on drywall. If you don’t have access to studs, wall anchors are a reliable alternative. For a 36-inch shelf, I usually use three brackets spaced evenly along the length to distribute the weight.[4]
After aligning the shelves and ensuring they’re level, I drive the screws into the wall. I always check the tightness after a few minutes to make sure the shelves are securely attached. This step is critical, as it ensures the shelves remain stable and safe for long-term use.
Finishing Touches and Customization
Once the shelves are mounted, I apply a coat of sanding to smooth out any rough edges. This step is important for both safety and aesthetics. I use fine-grit sandpaper and always wipe away the dust before applying any finish.
For a more finished look, I apply a wood stain or paint of my choice. I’ve used both oil-based and water-based finishes, and I’ve found that water-based stains are easier to work with and provide a more even finish. If you want a natural look, I recommend using a clear polyurethane coat.
I also like to add decorative elements like brackets, trim, or even built-in lighting for a more refined look. These details can make a big difference in the overall appearance of your alcove shelves. I’ve found that even a small accent, like a carved edge or a decorative inlay, can elevate the project significantly.
Expert Tips and Advanced Techniques
Begin by considering the weight capacity of your shelves and ensuring proper support, especially if you plan to display heavy items. Using L-brackets or wooden supports can add stability and prevent sagging over time.
For a more customized look, consider incorporating floating shelves or using decorative moldings to enhance the visual appeal. These details can elevate a simple alcove into a striking focal point in any room.
Advanced techniques include using a level to ensure perfect alignment and employing wood filler or sanding techniques for a smooth, professional finish. These steps help ensure your alcove shelves are both functional and aesthetically pleasing.
Tools, Materials and Resources
Essential tools include a measuring tape, level, drill, saw, and sandpaper. High-quality materials like solid wood or MDF boards, as well as wood glue and screws, are crucial for durability and long-term performance.
Consider using brackets, shelf pins, or custom wooden supports for added strength. These components help distribute weight evenly and prevent structural issues over time.
For inspiration and detailed tutorials, consult online resources such as DIY blogs, YouTube channels, or home improvement forums. These platforms provide valuable guidance and can help you refine your approach to the project.
Troubleshooting and Common Questions
One of the most common issues when building alcove shelves is uneven installation, which can lead to wobbling or an unattractive appearance. To avoid this, always use a level when attaching brackets and ensure that each shelf is perfectly horizontal. If the shelves appear uneven after installation, recheck the alignment of the brackets and adjust as necessary before tightening all screws.
Another common problem is improper weight distribution, especially if the shelves are used for heavy items like books or decorative displays. To prevent sagging or structural failure, ensure that brackets are spaced correctly and that the shelves are reinforced with additional supports or by using thicker materials. It’s also important to avoid overloading the shelves beyond their weight capacity, which can be found on the manufacturer's specifications.
If you're unsure about how to attach the shelves to a specific type of wall, such as brick or concrete, it’s essential to use the correct anchors and screws. For example, using toggle bolts or masonry screws can provide a more secure hold. If you encounter difficulty in drilling or aligning the shelves, watching a tutorial specific to your wall type or consulting a professional can help resolve the issue and ensure a successful installation.
Getting Started: Your First Steps
Start by measuring the alcove space and sketching a layout. This helps in selecting the right materials and determining the placement of brackets and supports.
Gather essential tools such as a level, measuring tape, drill, screws, and brackets. Ensure you have the right type of screws for your wall material, whether it’s drywall, concrete, or wood.
Before cutting or drilling, mark all measurements on the materials and double-check for accuracy. Taking your time at this stage prevents costly mistakes later on.
💰 Budget Build
Use leftover wood and basic tools to create a simple, functional alcove shelf without breaking the bank.
⏰ Weekend Version
Build a basic alcove shelf in one day with minimal tools and materials, perfect for quick home improvement projects.
✨ Upgraded Finish
Add a custom stain or paint finish to your alcove shelves for a more refined and personalized look.
🛋️ Small-Space Adaptation
Create a compact alcove shelf that fits in tight corners or narrow spaces for maximum storage without sacrificing style.
🏠 Rental-Safe Option
Build a temporary alcove shelf that can be easily removed without damaging the walls, ideal for renters or short-term stays.
| The mistake | Why it happens | The fix |
|---|---|---|
| Not measuring the space before starting. | This can lead to shelves that don’t fit properly or look out of place in the room. | Take the time to measure your space and sketch a layout plan before beginning the project. |
| Skipping the pre-drilling step for screws. | This can cause the wood to split, especially with thinner boards. | Always pre-drill holes for the screws to prevent cracking and ensure a secure fit. |
| Using the wrong type of screws or anchors. | This can result in shelves that are not securely mounted, leading to potential safety issues. | Choose the appropriate screws and wall anchors based on the material of the wall and the weight of the shelves. |
| Not sanding the wood properly before applying a finish. | This can lead to an uneven or rough surface, which affects the final appearance of the shelves. |
Creating Alcove Shelves
Common Questions
How can I ensure my alcove shelves are level after mounting?
What is the best type of wood to use for alcove shelves?
How do I handle mounting shelves on drywall without studs?
Can I add lighting to my alcove shelves?
Cite this guide
Creating DIY Wooden Coat Racks (2026). Creating Alcove Shelves. https://carvecharm.com/creating-alcove-shelves/
Feel free to cite or share this guide.
References
- ABA Standards (enhanced single file version) - Access-Board.gov (access-board.gov)
- ADA Standards for Accessible Design Title III Regulation 28 CFR ... (ada.gov)
- Cumberland YMCA - National Register Properties in Maryland (apps.mht.maryland.gov)
- Fatimah Tuggar Receives Fulbright U.S. Scholar Award for 2026-27 (arts.ufl.edu)