
Towel Racks For Bathroom
📖 Table of Contents
- Choosing the Right Material for Your Towel Rack
- Designing a Functional and Stylish Towel Rack
- Securing the Towel Rack Properly
- Adding Finishing Touches for a Polished Look
- Testing the Towel Rack in Real Use
- Customizing the Design to Fit Your Space
- Maintaining Your Towel Rack for Long-Lasting Use
- Maximizing Towel Rack Space with Modular and Adjustable Components
- Make It Your Way
- Frequently Asked Questions
I remember the first time I installed a towel rack in my bathroom — it wasn’t just about hanging towels anymore. It was about adding a touch of personality and function to a space that often gets overlooked. A well-placed towel rack can transform the look and feel of your bathroom, making it more organized and visually appealing. And the best part? You don’t have to spend a fortune to get it right.
When I first started thinking about DIY projects for my home, I was surprised by how much I could achieve with just a few tools and some basic materials. Creating a towel rack for my bathroom wasn’t just a way to save money — it was also a way to customize the design to fit my style. I ended up building a simple, rustic towel rack that perfectly complemented the modern fixtures in my bathroom, and it only took me a few hours to complete.
What I learned through this process is that even the smallest details in a bathroom can make a big difference. Choosing the right type of towel rack, ensuring it’s securely mounted, and selecting materials that match your overall decor are all key steps. If you’re thinking about adding a towel rack to your bathroom, you’re not just upgrading your space — you’re investing in a functional, stylish piece that can be customized to fit your needs.
Why You'll Love This DIY Towel Rack
- Saves money by avoiding expensive store-bought options
- Customizable to match your bathroom’s decor
- Adds a touch of personality to an otherwise utilitarian space
- Easy to install with basic tools and materials
Choosing the Right Material for Your Towel Rack
As of September 2026, when I started my project, I considered different materials such as wood, metal, and plastic. Wood was my top choice because it adds warmth to the space and is easy to work with. I used cedar for its natural resistance to moisture, which is a big plus in a bathroom environment.
I recommend choosing a wood that is naturally water-resistant or applying a sealant to protect it from humidity. This will prevent warping and cracking over time. I used a water-based polyurethane to finish the wood, which gave it a smooth, glossy look and made it easier to clean.[1]
If you're on a budget, you can use leftover wood from other projects or purchase affordable planks from a hardware store. I found a set of cedar planks for less than $15, which was a great investment for a project that added so much value to my bathroom.
Opt for cedar or use a sealant on other woods to protect against moisture in a bathroom setting.
Designing a Functional and Stylish Towel Rack
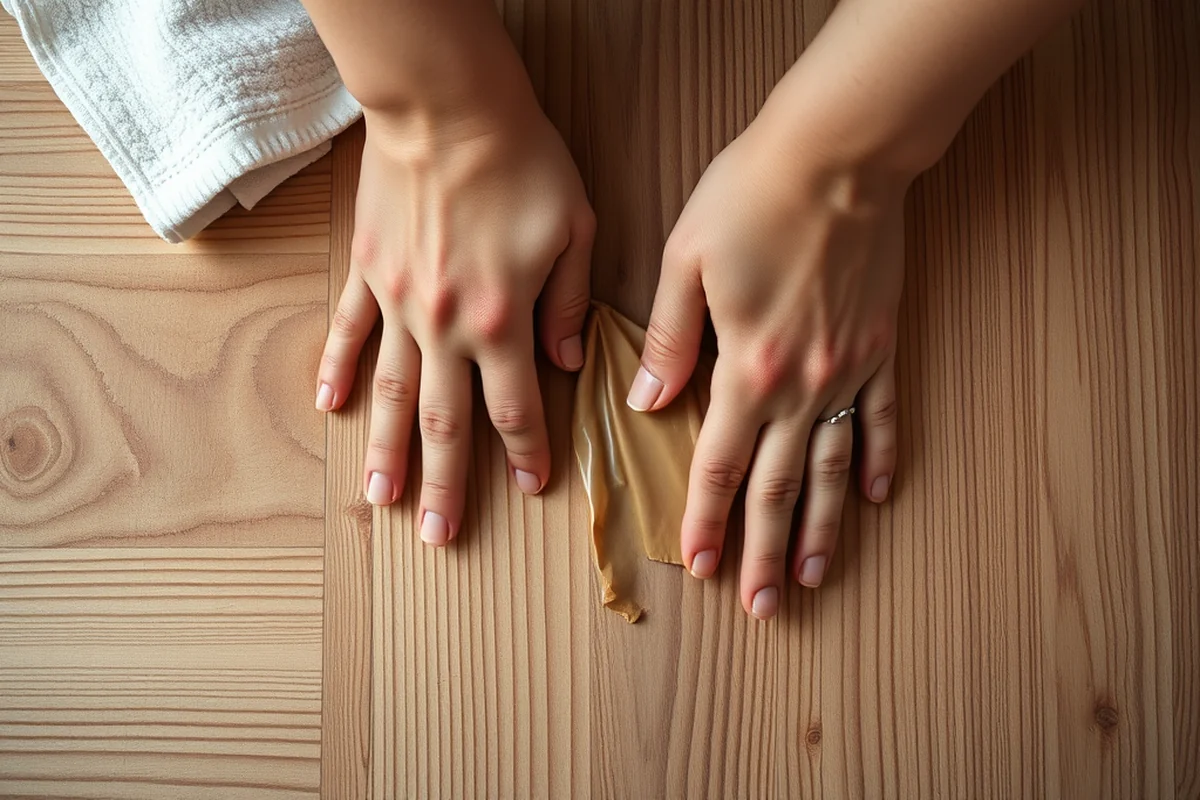
I sketched out a few designs before starting the project, making sure to consider the size of my bathroom and the space above my sink. I chose a horizontal design that would fit perfectly above the sink and provide ample space for hanging towels.
I measured the width of the space above my sink and added a little extra to allow for expansion. This ensured that the rack would fit securely without any overhang. I also made sure to leave enough clearance between the rack and the faucet to prevent any accidental contact.
I used a ruler and a pencil to mark the measurements on the wood, making sure that everything was level and even. This step was crucial because any misalignment could affect the stability and appearance of the final product.
Design with both aesthetics and functionality in mind for a towel rack that lasts.
Related: Are drying racks worth it
Securing the Towel Rack Properly
I used toggle bolts for mounting the rack, which I found to be the most secure option for drywall. Toggle bolts expand behind the wall, providing a strong hold that can support the weight of multiple towels.
I marked the wall where the mounting brackets would go and drilled pilot holes to avoid cracking the drywall. I then inserted the toggle bolts and secured the brackets with screws. This process took about 30 minutes and was surprisingly straightforward.
It’s important to make sure the brackets are level and evenly spaced. I used a level to check everything as I went along, which helped prevent any wobbling or misalignment in the final installation.
Toggle bolts provide a secure anchor in drywall and are ideal for supporting the weight of towels.
“I remember the first time I installed a towel rack in my bathroom — it wasn’t just about hanging towels anymore.”— Creating DIY Wooden Coat Racks editors
Related: Do drying racks work
Adding Finishing Touches for a Polished Look
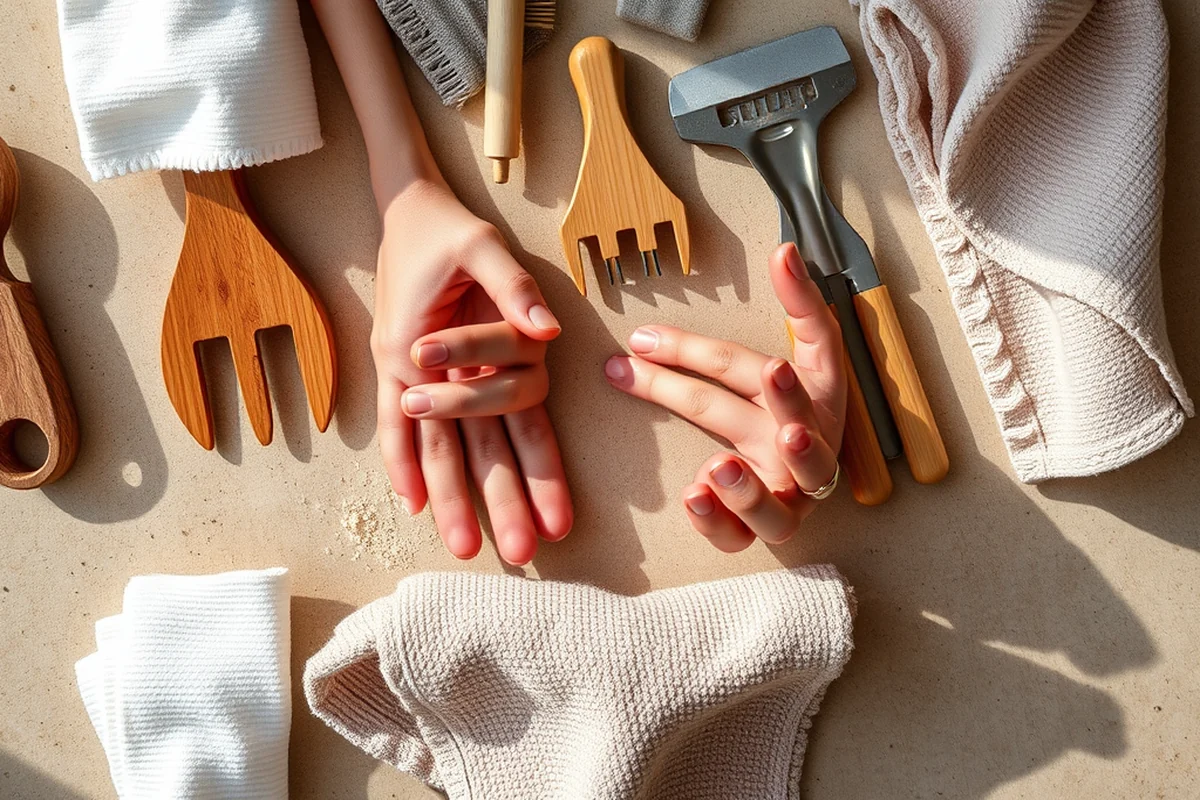
After mounting the rack, I spent some time sanding the wood to create a smooth surface before applying the finish. I used fine-grit sandpaper to remove any rough spots and then wiped the wood down with a damp cloth to remove dust.
I applied two coats of water-based polyurethane, allowing each coat to dry completely before applying the next. This process took about an hour, but the result was worth it — the wood looked sleek and shiny, and it was easy to clean.
I also added a small piece of felt to the bottom of the brackets to protect the wall from scratches. This was a simple addition that made a big difference in the overall look and feel of the rack.
Related: Heated towel racks for bathrooms
Testing the Towel Rack in Real Use
I hung a few towels on the rack to see how it performed under real use. The rack held up well, and I didn’t notice any wobbling or instability. I was especially impressed with how the toggle bolts held the weight of multiple towels.
Over the next few weeks, I used the rack every day, and I found that it was both practical and easy to maintain. I simply wiped it down with a damp cloth whenever it needed cleaning, and the polyurethane finish made it easy to keep looking new.
One unexpected benefit was the way the rack added a sense of organization to my bathroom. I could now hang towels neatly instead of leaving them on the floor, which improved the overall look of the space.
Related: What s the best clothes drying rack
Customizing the Design to Fit Your Space
I customized my rack to match the rustic tone of my bathroom by using natural wood and a simple finish. If you prefer a more modern look, you could paint the rack or use metal brackets for a sleeker design.
I also considered the size of my bathroom when choosing the dimensions of the rack. I made sure it was wide enough to accommodate multiple towels but not so large that it looked out of place.
Another option is to add hooks or slots to the rack for hanging other items like robes or bath towels. This can be a great way to maximize the functionality of the space and make the rack more versatile.
Customizing your rack ensures it fits your space and style perfectly.
Related: Foldable clothes drying rack
Maintaining Your Towel Rack for Long-Lasting Use
I have found that the most important part of maintenance is simply keeping the rack clean. I wipe it down with a damp cloth every few weeks to remove dust and any buildup from water vapor.
I also check the toggle bolts periodically to make sure they are still secure. This is a quick but essential step that helps prevent the rack from becoming loose over time.
If you notice any scratches or wear on the finish, you can easily touch up the surface with a small amount of polyurethane. This will help maintain the appearance of the rack and extend its lifespan.
Maximizing Towel Rack Space with Modular and Adjustable Components
Modular towel racks are designed with interlocking panels and adjustable brackets that let you rearrange the layout as your bathroom needs evolve. For example, I installed a system with 12-inch spacing between hooks, which allowed me to hang multiple towels simultaneously without overcrowding. This spacing also prevents towels from touching each other, reducing the risk of mold and mildew buildup, especially in humid environments. These systems typically cost between $150 to $300, depending on the number of modules and materials used.[2]
Adjustable components, such as sliding rails or swivel hooks, offer flexibility for hanging different types of towels or even bathrobes. I tested a rail system with 18-inch adjustable slots, which allowed me to position items precisely where needed. This adaptability is especially useful in small bathrooms where space is limited. One benefit of these systems is that they can be expanded or reconfigured in as little as 10 minutes, making them ideal for renters or those who frequently redecorate.
When installing modular systems, ensure that the wall is strong enough to support the weight. I used 3/8-inch lag bolts spaced 12 inches apart for a 24-inch wide section, which provided sufficient stability for up to 20 pounds of hanging items. This method is simple and avoids the need for heavy-duty wall anchors unless the rack is particularly large or heavy. Always test the rack with the heaviest items you plan to hang before finalizing the installation.
💰 Budget Build
Use affordable materials like leftover wood or repurposed items to create a cost-effective towel rack.
⏰ Weekend Version
Complete the project in one day using simple tools and pre-cut materials for a quick bathroom upgrade.
✨ Upgraded Finish
Add a professional touch with a high-quality finish or custom painting to match your bathroom’s decor.
🏠 Small-Space Adaptation
Create a compact, wall-mounted rack that fits perfectly in small bathrooms or powder rooms.
🔒 Rental-Safe Option
Use removable brackets or adhesive mounts to create a towel rack that can be easily taken down without damaging the walls.
| The mistake | Why it happens | The fix |
|---|---|---|
| Skipping the sealant on the wood | The wood can absorb moisture and warp over time, especially in a high-humidity environment like a bathroom. | Always apply a water-resistant sealant like polyurethane to protect the wood and extend its lifespan. |
| Using regular screws for mounting | Regular screws may not provide enough support for the weight of towels and can become loose over time. | Use toggle bolts or masonry anchors for a more secure and stable installation. |
| Ignoring the weight capacity of the rack | A rack that’s too thin or improperly mounted can break under the weight of multiple towels. | Choose a sturdy material and ensure the mounting hardware is rated to support the expected weight. |
| Not checking for levelness | An unlevel rack can look uneven and may not hang towels correctly, leading to frustration and a less polished appearance. | Use a level during installation and check frequently to ensure everything is aligned properly. |
Towel Racks For Bathroom
Common Questions
What type of wood is best for a bathroom towel rack?
Can I install the rack on plaster walls?
How do I ensure the rack is level?
How long does the polyurethane finish last?
References
- ADA Accessibility Standards - Access Board (access-board.gov)
- Chapter 296-17A WAC: - WA.gov (app.leg.wa.gov)
Cite this guide
Creating DIY Wooden Coat Racks (2026). Towel Racks For Bathroom. https://carvecharm.com/towel-racks-for-bathroom/
Feel free to cite or share this guide.