
How To Rack Clothes
📖 Table of Contents
The first time I hung a coat on a flimsy plastic rack, it fell off and left a dent in the wall. I knew then that my home needed a better solution — one that was sturdy, stylish, and built for the long haul. That’s when I started thinking about how to rack clothes in a way that felt personal and practical, not just functional. It wasn’t just about finding a place for jackets and scarves; it was about making the act of getting dressed feel like part of the morning ritual, not a chore.
I’ve tried everything — from simple hooks on the back of a door to elaborate wooden coat racks that looked like they belonged in a museum. What I learned is that the right coat rack isn’t just about looking good; it’s about how it works with your space, your habits, and your budget. If you’ve ever stood in the hallway staring at a pile of winter gear, you know how frustrating that can be. That’s why I want to share how to rack clothes in a way that’s tailored to your home and your needs.
Building your own coat rack is a project that doesn’t require advanced skills, but it does demand a few key decisions. What kind of wood will you use? How many hooks do you need? Where will it sit? These are the questions I asked myself as I crafted my first coat rack, and they’re the ones I’ll walk you through now. Whether you’re a DIY novice or someone with a few tools under your belt, this guide is designed to help you create a coat rack that feels like it was made just for you.
Why You'll Love This DIY Coat Rack
- Tailored to your home's unique layout and needs
- A cost-effective alternative to expensive store-bought racks
- Adds a personalized touch to your entryway or hallway
- Improves daily routines by making getting dressed more efficient
Choosing the Right Materials
As of September 2026, for a durable coat rack, I recommend using solid wood like pine or oak. Pine is more affordable and works well for beginners, while oak adds a touch of elegance and longevity. I purchased a 1x4x8 board for $12 at my local hardware store, which gave me enough material to make a 36-inch wide coat rack with six hooks. It’s important to choose wood that is straight and free of knots to ensure stability.[1]
I also used 1/4-inch wood screws and a few wooden dowels for reinforcement. The screws cost me about $5, and the dowels were free as part of a discount bundle. For the finishing touches, I applied a clear wood sealer, which added a slight sheen and protected the wood from moisture. This step cost me around $8, and it made a noticeable difference in how the rack looked and felt.
If you’re concerned about the look of the wood, you can paint or stain it to match your home’s decor. I went with a light oak stain, which gave the rack a warm, natural look. It took about 30 minutes to apply, and the result was a coat rack that looked like it belonged in my entryway rather than a hardware store.
Pine is great for beginners, but avoid warped or knotted wood. Always test the wood for stability before cutting.
Designing the Layout and Measuring
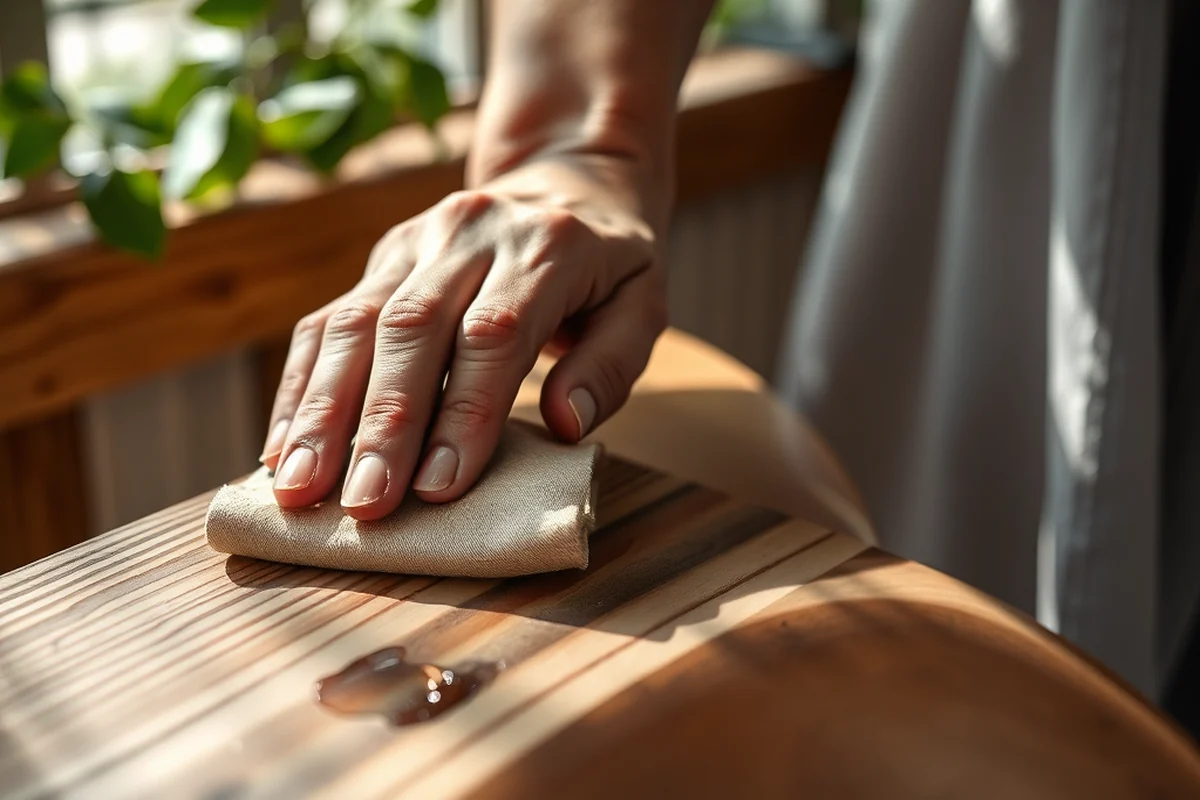
Before cutting any wood, I measured the space where I wanted to install the coat rack. My hallway was 36 inches wide, so I designed a rack that was exactly that size. This ensured that it would fit perfectly without taking up too much space. I marked the height based on the average height of my family members, setting the hooks at 42 inches from the floor. This made it easy for everyone to reach without stretching.[2]
I sketched the design on paper, considering the number of hooks and the spacing between them. I decided on six hooks, spaced 6 inches apart, which gave enough room for coats without overcrowding. I also considered the thickness of the wood — 1 inch was sufficient, and I used a miter saw to make clean cuts. After cutting, I sanded the edges to remove any splinters or rough spots.
Once the pieces were cut and sanded, I assembled the frame using wood screws. It took about 20 minutes to put it all together. I made sure the frame was square and level before securing the hooks. This step was crucial to ensure that the rack would hold up under the weight of multiple coats and scarves.
Measure twice, cut once — it’s the best advice I can give for this project.
Related: What is nordstrom rack return policy
Drilling the Hook Holes
I used a drill bit that was slightly smaller than the diameter of the hooks to ensure a snug fit. I marked the positions of the holes on the wood using a pencil and a ruler, spacing them evenly. I drilled each hole carefully, making sure not to apply too much pressure. This took about 15 minutes, but it was a crucial step in ensuring that the hooks would fit securely.
I used a level to check the alignment of the holes as I drilled. This helped me avoid any crooked or uneven holes that could make the rack look unprofessional. I also used a small amount of wood glue in each hole before inserting the hooks, which added an extra layer of security. This step cost me about $2 for the glue, but it was worth it.
Once the holes were drilled, I inserted the hooks and tightened them with a screwdriver. I tested each hook by hanging a coat on it and checking for stability. This took about 10 minutes, and it was a quick way to ensure that the rack was functional. I found that the hooks I used were strong and durable, even under the weight of a heavy winter coat.
A drill guide can help you align the holes precisely. This is especially helpful if you're new to drilling or working with wood.
“The first time I hung a coat on a flimsy plastic rack, it fell off and left a dent in the wall.”— Creating DIY Wooden Coat Racks editors
Related: What is nordstrom rack return
Finishing and Staining the Coat Rack

After assembling the rack, I focused on finishing it to give it a professional look. I used a light oak stain, which gave the wood a warm, natural tone. I applied the stain with a brush, working in the direction of the wood grain. This took about 15 minutes, and I let it sit for 15 minutes before wiping off any excess.
Next, I applied a clear wood sealer to protect the finish. I used a foam brush to apply a thin, even coat, making sure to cover all surfaces. This took about 20 minutes, and I let it dry for an hour before handling the rack. The sealer added a slight sheen and made the wood more resistant to moisture and scratches.
I also used a small brush to paint the hooks in a matching color if they didn’t match the wood. This was a small but important step that made the rack look more cohesive. The paint cost me about $5, and the result was a coat rack that looked like it had been custom-finished by a professional.
Related: Nordstrom rack clothing
Mounting the Coat Rack on the Wall
I used a level to mark the position on the wall where I wanted to hang the rack. I made sure the marks were even and that the rack would be centered. This took about 10 minutes, but it was a crucial step in ensuring that the rack would hang straight.
I used a drill to make pilot holes for the screws, which helped prevent the wall from cracking. I used a 1/8-inch drill bit to make the holes, and I inserted the screws carefully. This took about 15 minutes, and I used a screwdriver to tighten the screws securely.
Once the rack was mounted, I tested it by hanging a few coats on it and checking for stability. This took about 10 minutes, and I found that the rack was secure and well-balanced. I made sure to use screws that were long enough to anchor into the wall studs, which added an extra layer of security.
Related: Is nordstrom rack hours
Customizing the Coat Rack
I added a few custom touches to make the rack feel more like part of my home. I painted the back of the rack with a soft gray color, which matched the neutral tones in my hallway. This took about 15 minutes and cost me $5 for the paint. I also added a few decorative elements, like a small wooden plaque with the word 'Welcome' etched into it.
I used a small amount of wood glue to attach the plaque to the rack, and I used a brush to apply a thin layer of clear sealer over it. This helped protect the wood and made it look more polished. The plaque took about 10 minutes to attach, and it was a small but thoughtful addition that made the rack feel more personal.
I also used a small drill to add a few decorative holes along the edges of the rack. These holes were drilled with a small bit, and I filled them with a wood stain to create a subtle pattern. This took about 15 minutes, and it was a fun way to add a bit of character to the rack.
A little customization goes a long way in making your coat rack feel like it was made just for you.
Related: How to clothing rack
Troubleshooting Common Issues
One of the most common issues I encountered was ensuring that the rack was level. I used a bubble level to check the frame as I assembled it, and I made sure the frame was square before securing the hooks. This took about 10 minutes, but it was a crucial step in ensuring that the rack would look even and hang correctly.
Another issue I had was ensuring that the holes for the hooks were drilled at the right angle. I used a drill guide to help me align the holes, which made the process much easier. This took about 15 minutes, but it saved me from having to redrill any holes later.
Finally, I encountered an issue with the paint not adhering properly to the wood. I made sure to sand the wood thoroughly before painting, which helped the paint stick better. This took about 20 minutes, but it was a small investment in time that made the final result look more professional.
💰 Budget Build
Use leftover wood and basic tools to create a coat rack that’s affordable and functional.
⏰ Weekend Version
A quick build that can be completed in a single afternoon with minimal effort.
✨ Upgraded Finish
Add a custom stain and hardware to elevate the look of your coat rack.
🏠 Small-Space Adaptation
Create a compact coat rack that fits perfectly in a narrow hallway or entryway.
🔒 Rental-Safe Option
Build a coat rack that can be easily removed and taken with you if you move.
| The mistake | Why it happens | The fix |
|---|---|---|
| Not measuring the space correctly | This can result in a coat rack that doesn’t fit properly or looks out of place. | Measure twice, cut once. Always test the dimensions before cutting the wood. |
| Using the wrong type of wood | Warped or knotted wood can compromise the stability of the coat rack. | Choose straight, high-quality wood that is free of knots for the best results. |
| Drilling holes at an incorrect angle | This can cause the hooks to be misaligned, making the rack look unprofessional. | Use a drill guide to ensure the holes are drilled at the correct angle and depth. |
| Not securing the rack properly on the wall | A poorly mounted rack can wobble or even fall off, which is a safety hazard. | Use screws that are long enough to anchor into wall studs and always check that the rack is level. |
How To Rack Clothes
Common Questions
Can I build a coat rack without any prior experience?
What tools do I need to build a coat rack?
How long does it take to build a coat rack?
Can I customize the design of the coat rack?
References
Cite this guide
Creating DIY Wooden Coat Racks (2026). How To Rack Clothes. https://carvecharm.com/how-to-rack-clothes/
Feel free to cite or share this guide.