
Coat Rack Closet
📖 Table of Contents
- Design and Planning: The Foundation of Your Coat Rack Closet
- Building the Frame: The Skeleton of Your Coat Rack Closet
- Adding the Shelves: A Place for Everything
- Adding Hooks: A Practical Addition
- Finishing Touches: Giving It the Final Polish
- Installation: Mounting Your Coat Rack Closet
- Maintenance and Longevity: Keeping Your Closet in Shape
- Make It Your Way
- Frequently Asked Questions
I'll never forget the first time I walked into my new home and saw the hallway cluttered with coats, scarves, and umbrellas. It was a mess—disorganized, chaotic, and completely uninviting. That was the moment I realized I needed a coat rack closet. Not just any coat rack, but a custom-designed solution that would blend seamlessly into my space while keeping everything tidy. That's how I found myself knee-deep in wood scraps, measuring boards, and sanding down the edges of a piece of furniture I had no idea I'd be making. A few hours, a few tools, and a lot of trial and error later, I had something that not only kept my hallway organized but also became a focal point of my entryway.
Creating a coat rack closet wasn't about buying a pre-fabricated unit from a store. It was about building something from scratch that would fit my specific needs—height, width, and style. I wanted something that would hold my heavy winter coats without sagging, something that would be easy to clean, and something that would look good in a space that sees a lot of traffic. After a few failed attempts and some serious research into materials and techniques, I found the perfect balance of form and function. Now, every time I walk into my home, I smile at the sight of my coat rack closet, which has transformed my entryway from cluttered to calm.[1]
The process of making a coat rack closet is not as daunting as it might seem. With the right tools, materials, and a little bit of patience, you can build something that's both beautiful and practical. I used a simple 4x4 post for the frame, some 1x6 pine boards for the shelves, and a bit of wood glue and screws to hold it all together. It took me less than a weekend to build, and the cost was under $40. If you're looking for a way to declutter your hallway and add some personality to your home, this is the project for you.[2]
Why You'll Love This Coat Rack Closet
- It keeps your entryway tidy and organized with multiple layers of storage.
- It's built with durable materials that can withstand heavy coats and frequent use.
- You can customize the look to match your home's decor and personal style.
- It's an affordable and quick DIY project that you can complete in a weekend.
Design and Planning: The Foundation of Your Coat Rack Closet
As of August 2026, before you even touch a tool, it's essential to take accurate measurements of the area where you'll be installing your coat rack closet. I measured my hallway twice—once from the floor to the ceiling and once from the wall to the farthest point of the entryway. This helped me determine how tall and deep the closet could be. I also considered the types of items I'd be storing: heavy winter coats, scarves, and umbrellas. This meant I needed multiple shelves and hooks, which I accounted for in my design.[3]
Next, I sketched out a rough plan on paper, noting the number of shelves, hooks, and the overall dimensions. I used a 4x4 post as the main frame and 1x6 pine boards for the shelves. This gave the closet a sturdy base while keeping the cost low. I also made sure to leave enough space between the shelves so that items could be hung or placed without crowding.
Once the plan was set, I purchased the materials and tools. I used a circular saw for cutting the wood, a drill for screwing the pieces together, and a sanding block to smooth out any rough edges. Taking the time to plan out the design ensured that I built something that not only looked good but also worked perfectly for my needs.
Take the time to measure your space accurately before cutting any materials. This can save you time and money in the long run, and avoid the need to buy additional pieces.
Building the Frame: The Skeleton of Your Coat Rack Closet

Starting with the frame, I used a 4x4 post and cut it to the desired height. I marked the height on my post using a measuring tape and a pencil, then used a circular saw to make the cut. I repeated this process for the other side of the closet, making sure both sides were the same length. Once the posts were cut, I used a level to ensure they were perfectly vertical before attaching them to the floor.
Next, I added the horizontal supports for the shelves. I cut two 2x4s to the width of the closet and attached them to the vertical posts using wood screws and a drill. I made sure to space them evenly so that the shelves would be level and stable. This provided a solid base for the shelves and hooks that would be added later.
Once the frame was built, I took the time to sand down any rough edges or splinters. This made the structure safer to handle and gave it a smoother finish. After that, I moved on to the next step in the process—adding the shelves.
A strong frame is the backbone of any good coat rack closet.
Related: Coat racks canadian tire
Related: Coat racks for
Related: Coat racks christchurch
Related: Coat rack bench
Related: Coat rack reviews
Related: What Is Hat Rack
Related: What Is Laundry Rack
Related: What Is Drying Rack For Clothing
Related: How To Hang Coat Rack
Related: Coat Rack For Office
Related: Nordstrom Rack Clothing
Related: What Is Nordstrom Rack Return
Related: Coat Rack With Shelves
Related: Nordstrom Rack Credit Card
Related: Is Nordstrom Rack Hours
Related: Prinsu Roof Rack
Related: Coat Rack With Wall Mount
Related: What Is Dunnage Rack
Related: What Is A Rack In A Server Room
Related: Coat Rack Corner
Related: What Is Rack Mount Ups
Adding the Shelves: A Place for Everything
After the frame was built, I focused on adding the shelves. I used 1x6 pine boards and cut them to the desired length. I made sure to measure each shelf carefully so that they would fit perfectly within the frame. I used wood glue and screws to attach each shelf to the horizontal supports, ensuring they were level and secure.
I spaced the shelves about 12 inches apart to allow for enough room for larger items like winter coats. This spacing also made it easier to reach items on the upper shelves. I used a level to check that each shelf was even before attaching it to the frame, which helped prevent any wobbling or unevenness.[4]
Once all the shelves were in place, I took the time to sand them down once more and wipe them clean. This made the surface smooth and ready for any additional finishing touches like paint or stain.
Spacing your shelves at least 12 inches apart allows for better accessibility and prevents items from becoming cramped or difficult to reach.[5]
“I'll never forget the first time I walked into my new home and saw the hallway cluttered with coats, scarves, and umbrellas.”— Creating DIY Wooden Coat Racks editors
Related: What Is A Boot Rack
Adding Hooks: A Practical Addition
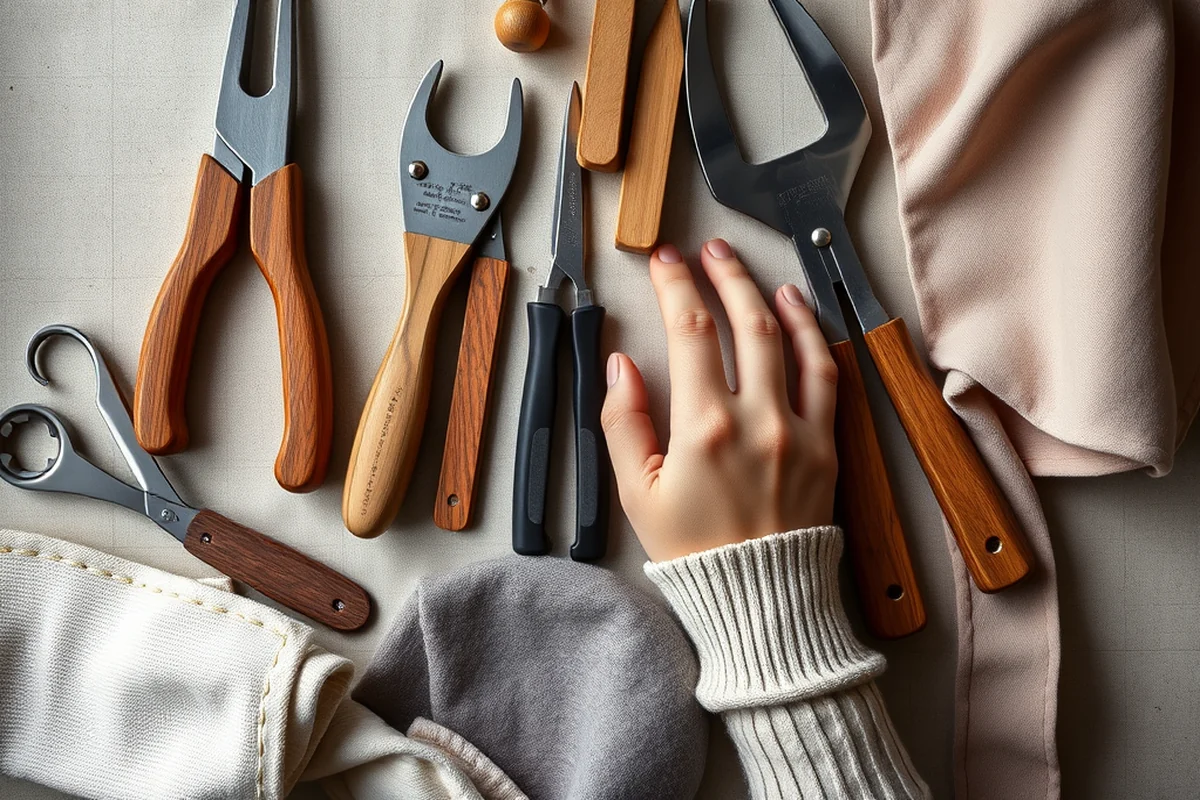
To make the coat rack closet more functional, I added a few hooks to the frame. I used L-shaped brackets and mounted them on the back of the frame. I spaced them about 6 inches apart to give enough room for coats to hang without overlapping.
I made sure to use screws that were long enough to secure the hooks firmly to the frame. I tested each hook by hanging a heavy coat on it to ensure it was strong enough to hold the weight. This step was crucial in making sure the closet could handle the daily wear and tear of being used regularly.
After attaching all the hooks, I took the time to check that they were all level and evenly spaced. This helped ensure that the closet looked neat and that items would hang evenly without tilting or swaying.
Finishing Touches: Giving It the Final Polish
After the frame, shelves, and hooks were in place, I focused on finishing the closet. I used a wood stain to give the surface a natural, warm look. I applied the stain evenly using a brush, making sure to cover all the surfaces. I then wiped off any excess with a clean cloth to avoid streaks or uneven coloring.
Once the stain was dry, I applied a coat of polyurethane to protect the wood from moisture and wear. I used a foam brush to apply the finish, making sure to cover all the surfaces evenly. This added a layer of durability and helped the closet last longer.
Finally, I added a few decorative touches like a small LED light strip at the top of the closet. This not only illuminated the space but also made it easier to see the items on the shelves at night. These finishing touches made the closet not just functional but also a stylish addition to my entryway.
Installation: Mounting Your Coat Rack Closet
Once the closet was built and finished, I moved on to installation. I used a level to ensure the frame was perfectly vertical before attaching it to the wall. I marked the spots where the screws would go and used a drill to make pilot holes to prevent the wood from splitting.
I attached the frame to the wall using screws and a drill, making sure it was secure and level. Once the frame was installed, I hung the shelves and hooks in place, checking that everything was aligned and working properly. This step was crucial in making sure the closet was stable and would not wobble or shift over time.
After installation, I took a step back and admired my work. It was amazing to see how something that started as just a few pieces of wood had transformed into a functional and stylish addition to my home. The coat rack closet not only kept my entryway organized but also added a touch of personality and charm to the space.
Installation is the final step that brings your coat rack closet to life.
Maintenance and Longevity: Keeping Your Closet in Shape
Once your coat rack closet is installed, it's important to take care of it to ensure it remains in good condition. I make it a point to wipe down the shelves and hooks regularly to keep them clean and free from dust or dirt. This helps maintain the appearance of the closet and prevents buildup that can damage the wood over time.
I also check the screws and brackets periodically to ensure they're still secure. If I notice any loosening, I tighten them up to maintain the stability of the structure. This small step can make a big difference in the longevity of your closet.
Over time, the wood may need a fresh coat of stain or polyurethane to keep it looking new. I do this every few years, depending on how much use the closet gets. This helps protect the wood and keep it looking its best for years to come.
💰 Budget Build
Use inexpensive materials like 2x4s and MDF for shelves. Paint or stain for a quick and affordable finish.
⏰ Weekend Version
Complete the project in one day with pre-cut wood and ready-to-assemble kits for a fast finish.
✨ Upgraded Finish
Add crown molding, decorative hardware, and a higher-end wood like oak for an elegant, custom look.
🛋️ Small-Space Adaptation
Build a compact version that fits in a narrow hallway or beside a door for maximum space efficiency.
🏠 Rental-Safe Option
Use removable hooks and avoid permanent installation so you can easily take the closet with you when moving.
| The mistake | Why it happens | The fix |
|---|---|---|
| Not measuring the space before building | This can lead to a closet that doesn't fit in the intended location or is too small for your needs. | Take accurate measurements of the space and use them to plan the design and dimensions of your closet. |
| Skipping the leveling step | An unlevel closet can cause the shelves to sag or the structure to wobble over time. | Use a level to check the frame and shelves during installation and adjust as needed. |
| Using the wrong type of wood | Some woods are too soft or weak to support the weight of heavy coats, leading to damage or instability. | Choose a durable wood like pine or cedar for the frame and shelves to ensure long-term use. |
| Not securing the screws properly | Loose screws can cause the closet to shift or fall, posing a safety hazard. | Make sure to use the right size screws and tighten them securely when installing the frame and shelves. |
Coat Rack Closet
Common Questions
Can I build a coat rack closet without any prior woodworking experience?
What type of wood is best for building a coat rack closet?
How do I ensure my coat rack closet is level after installation?
Can I add additional storage to my coat rack closet?
Cite this guide
Creating DIY Wooden Coat Racks (2026). Coat Rack Closet. https://carvecharm.com/coat-rack-closet/
Feel free to cite or share this guide.
References
- Chapter 6: Plumbing Elements and Facilities - Access-Board.gov (access-board.gov)
- Successful winter clothing drive inspires creation of Career Closet (alvernia.edu)
- WAC 296-200A-016: - WA.GOV (app.leg.wa.gov)
- PDF Network Hardware and IT Closet Standards (browncountywi.gov)
- New Professional Clothing Closet Provides Free Dress Clothes to ... (bu.edu)