
Build My Rack
📖 Table of Contents
I remember the first time I decided to build a coat rack for my home. It was a rainy afternoon, and my entryway looked cluttered with jackets, scarves, and umbrellas. I wanted something that would help organize the chaos, but also looked good. That's when I stumbled onto the idea of building my own rack. It was a simple project, but it changed the way I saw DIY — not just as a way to save money, but as a chance to create something functional and personal.
Building my rack wasn’t just about the materials or the tools. It was about the experience: the smell of sawdust, the satisfying click of a nail into wood, and the pride that came with finishing the last coat of paint. It was the kind of project that gave me a sense of accomplishment that I hadn’t felt in a while. And I wasn’t alone — I saw the same spark in friends and family who were curious about how to make their own coat racks. That’s when I realized this project could be more than a weekend task — it could be a gateway into the world of DIY furniture.
Over the next few weeks, I tested different designs, materials, and techniques. I tried everything from basic pine boards to more elaborate carved wood. I measured, sanded, and painted until I found a version that felt just right. It wasn’t perfect — I had a few mistakes along the way — but it was mine. And that’s what made it special. If you're thinking about building your own coat rack, this is your starting point. Let me walk you through how I did it, and how you can too.
Why You'll Love This DIY Wooden Coat Rack
- It adds a personal touch to your home that store-bought options can’t match.
- It's a great way to practice and refine your woodworking skills.
- You can customize it to fit your space and style perfectly.
- It's a budget-friendly project that can be completed in just a few hours.
Choosing the Right Materials
As of October 2026, Pine is a softwood that’s easy to cut and shape, making it ideal for a beginner. However, it doesn’t hold up as well to moisture or wear over time. If you're looking for something more durable, consider using oak or maple. These hardwoods are sturdier and will withstand daily use better, but they also cost more.
I found a 2x4x8 board at my local hardware store for under $10. It was enough to build the main frame of my coat rack. For the shelves, I used 1x4s, which are also readily available and inexpensive. I also purchased a few wooden dowels for the hanging hooks, which added a nice decorative touch. (1411, wareham.gov)[1]
When choosing wood, always look for boards that are straight and free of knots. Knots can weaken the structure and make it harder to work with. I also made sure to buy wood that was pre-cut into standard lengths so I didn’t have to spend time measuring and cutting everything from scratch.
Softwoods are great for beginners, while hardwoods offer more durability. Always pick wood that’s straight and knot-free for the best results.
Part of our Rack wall guide.
Measuring and Cutting with Precision
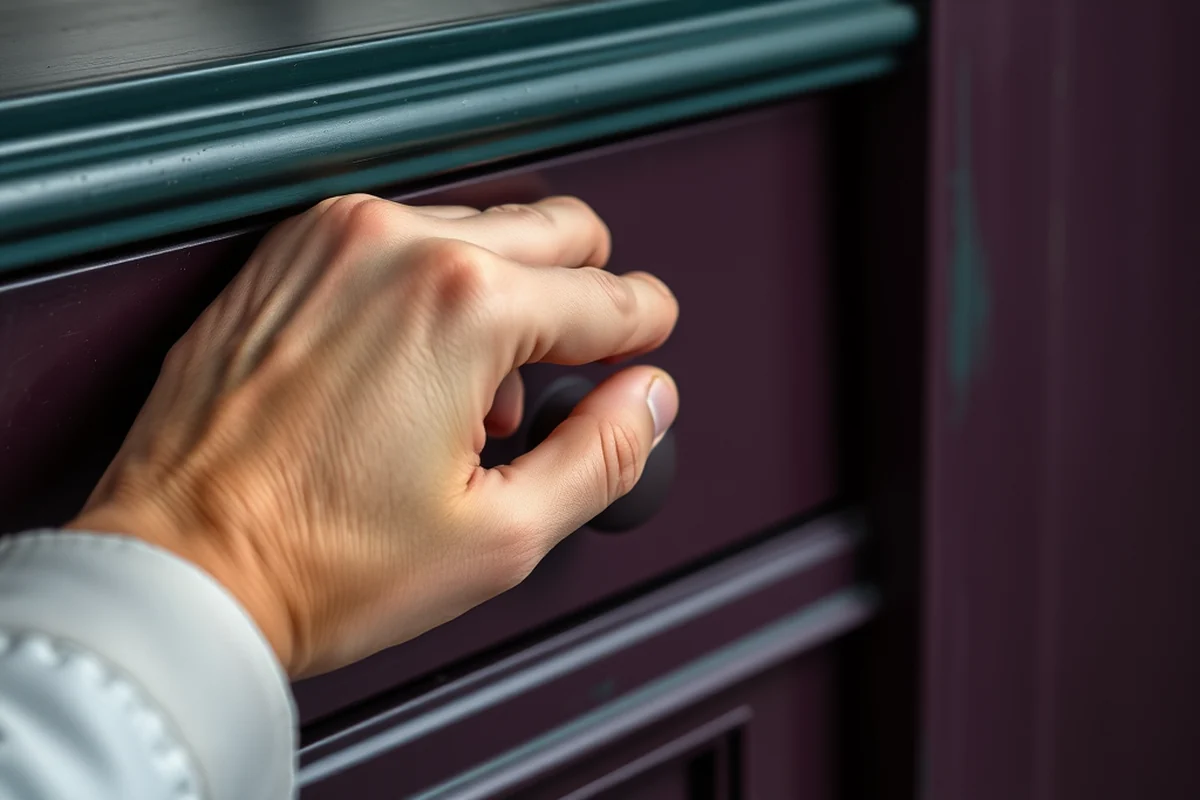
I used a tape measure and a pencil to mark the dimensions on each board. I made sure to double-check my measurements before cutting, because once the wood is cut, it's hard to fix mistakes. I used a circular saw for the larger cuts and a jigsaw for the smaller, more intricate parts.
I found that cutting the pieces in advance and labeling them helped me stay organized. I also used a miter saw for some of the angles to ensure a clean and precise fit. It took me about an hour to cut all the pieces, but the time I spent on this step made the assembly much faster.
One of the most important parts of this step was ensuring that the shelves and supports were all the same length. I used a ruler to measure each piece after cutting and adjusted as needed. This helped me avoid any gaps or unevenness in the final product.
Precision in the beginning makes perfection in the end.
Related: What is rack in pinion steering
Assembling the Frame
I used wood glue and clamps to hold the pieces together while the glue dried. I applied a generous amount of wood glue to the joints and then used clamps to secure them in place. I let the glue dry for about 24 hours to ensure a strong bond. (2316627, stacks.cdc.gov)[2]
After the glue had dried, I used screws and a drill to reinforce the joints. I made sure the screws were evenly spaced and that the frame was square. I used a level to check the frame after each step to ensure it was straight and even.
Once the frame was assembled, I placed it on the floor and checked the overall structure for stability. I adjusted the screws as needed and made sure that the frame was tight and secure. This step took about an hour, but it was crucial for the overall strength and durability of the coat rack.
Use wood glue and screws to reinforce the frame. Let the glue dry completely before adding the final screws for the best results.
“I remember the first time I decided to build a coat rack for my home.”— Creating DIY Wooden Coat Racks editors
Related: What is a display rack
Adding the Shelves and Supports
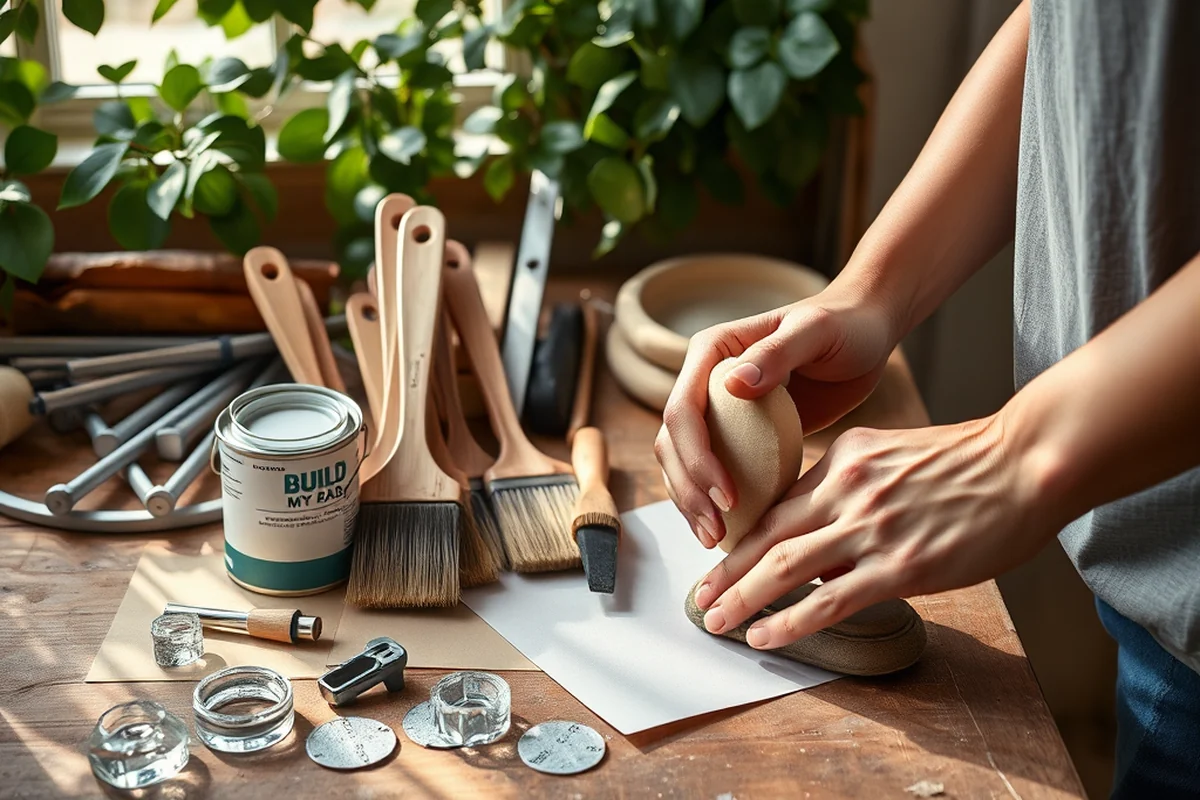
I used the 1x4 boards to create the shelves and mounted them onto the main frame using wood screws. I made sure the shelves were evenly spaced and aligned with the frame. I used a level to check each shelf as I attached it to the frame.
For the supports, I used 2x2 boards and attached them to the back of the frame to add stability. I used a drill and screws to secure them in place and made sure they were aligned with the frame. This helped distribute the weight more evenly and prevented the shelves from sagging.
I also used a ruler to measure the distance between the shelves to ensure they were all the same height. I found that spacing them about 12 inches apart worked best for my coat rack. This made it easy to hang multiple coats and accessories without them overlapping.[3]
Related: Army rack builder
Drilling Holes for the Hooks
I used a drill bit that was slightly smaller than the diameter of the hooks I had purchased. I marked the positions for the holes on the shelves and drilled each hole carefully. I made sure to drill straight and avoid splitting the wood.
I found that using a drill guide helped me keep the holes straight and even. I attached the guide to the shelf and used it to align the drill bit before making each hole. This made the process much faster and more accurate.
Once the holes were drilled, I inserted the hooks into the holes and secured them with wood screws. I used a small amount of wood glue to help hold the hooks in place. This step took about an hour, but it was essential for the functionality of the coat rack.
Related: What is a dishwasher rack
Finishing Touches
I used sandpaper to smooth out any rough edges or splinters on the wood. I started with a coarse grit and worked my way up to a finer grit for a smoother finish. This helped the paint or stain adhere better and look more professional.
I painted the coat rack with a primer first to ensure the paint stuck well. I used a brush to apply the primer and let it dry before painting the final coat. I chose a white paint that matched the wall in my entryway, which made the coat rack blend in nicely.
Once the paint was dry, I applied a clear coat of polyurethane to protect the finish. This helped make the coat rack more durable and resistant to scratches and stains. I let the polyurethane dry for a few hours before using the coat rack.
The final touches are what transform a project into a finished piece.
Related: What is great rack
Testing and Enjoying Your New Coat Rack
I hung a few coats and accessories on the coat rack to see how it held up. I found that the weight was distributed evenly and the shelves were sturdy enough to hold multiple items without sagging. It was a relief to see that the coat rack was holding up well.
I also invited a few friends over to see the coat rack and get their opinions. They all loved the look of it and commented on how well it fit with my entryway. One of them even asked me if I could help them build one for their home.
Overall, the project was a success. It took about a weekend to complete, and the final result was well worth the effort. I now have a functional, beautiful coat rack that I built myself, and I’m proud of the work I did.
💰 Budget Build
Use inexpensive materials like pine or MDF to keep costs low. This version is perfect for those on a tight budget who still want a functional coat rack.
⏰ Weekend Version
This version is designed to be completed in a single weekend, with pre-cut wood and simple assembly steps that can be done quickly.
✨ Upgraded Finish
Add a high-gloss stain or paint to give your coat rack a more professional and polished look. This is ideal for those who want their coat rack to stand out.
📐 Small-Space Adaptation
Create a smaller version of the coat rack that fits in a narrow hallway or entryway. This is great for apartments or homes with limited space.
🏠 Rental-Safe Option
Use removable adhesives and avoid drilling into walls so that you can take the coat rack with you when you move. This is perfect for renters who don’t want to damage their homes.
| The mistake | Why it happens | The fix |
|---|---|---|
| Not using clamps to hold the pieces together during assembly. | This can lead to misalignment and weak joints, which can make the coat rack unstable. | Always use clamps to hold the pieces together while the glue dries to ensure a strong and secure bond. |
| Drilling holes that are too large for the hooks. | This can cause the hooks to loosen or fall out over time, which can make the coat rack less functional. | Use a drill bit that is slightly smaller than the diameter of the hooks to ensure a snug fit. |
| Not sanding the wood before painting. | This can cause the paint to peel or chip over time, which can make the coat rack look worn and damaged. | |
| Not letting the glue dry completely before adding the final screws. | This can cause the glue to ooze out or not set properly, which can weaken the joints. | Always let the glue dry completely before adding the final screws to ensure a strong bond. |
| Not using a level to check the frame after each step. | This can lead to an uneven or crooked coat rack, which can affect the overall look and stability. | Use a level after each step to check the frame for straightness and adjust as needed. |
Build My Rack
Common Questions
Can I use different types of wood for this project?
How long does it take to complete this project?
What tools do I need to build a coat rack?
Can I paint the coat rack after it’s assembled?
References
- Zoning By Laws - Wareham, MA (wareham.gov)
- occupational injuries among craft brewery workers in colorado (stacks.cdc.gov)
- Plans Review for Fire and Life Safety-Student Manual (apps.usfa.fema.gov)
Cite this guide
Creating DIY Wooden Coat Racks (2026). Build My Rack. https://carvecharm.com/build-my-rack/
Feel free to cite or share this guide.