
Diy Shoe Rack
📖 Table of Contents
The first time I tried to store my shoes in a closet, I realized how chaotic it could get — boots on the floor, sneakers crammed into corners, and socks tangled like a spiderweb. That was the moment I decided to build my own DIY shoe rack. It didn't just solve the storage problem; it transformed my entryway into a space I actually wanted to look at. Making a DIY shoe rack was an eye-opener about how small, thoughtful projects can have a big impact on your daily life.
I remember the first time I saw a finished DIY shoe rack in a local home store — it looked sleek, but the price tag made my stomach drop. I was determined to find a way to replicate that look without spending a fortune. I spent an afternoon researching different designs and materials, and I was surprised by how simple and affordable it could be. I had no experience in woodworking, but I followed a few tutorials and ended up with something that felt custom-made and looked professional.
Since that first build, I've made several variations of shoe racks for different rooms in my house — the entryway, the garage, even a guest closet. Every version taught me something new about the materials, the tools, and the way different designs work in different spaces. If you're looking for a way to organize your shoes without breaking the bank, a DIY shoe rack is a project that can be both rewarding and practical.
Why You'll Love This DIY Shoe Rack
- Customizable to fit any space or style
- Cost-effective compared to store-bought options
- Easy to assemble with minimal tools
- Adds a personal touch to your home decor
Why Choose a DIY Shoe Rack
As of September 2026, Commercial shoe racks are often limited in design and size, but a DIY version can be tailored exactly to your space. Whether you have a narrow hallway or an expansive entryway, you can choose the dimensions that work best for you.
I built my first shoe rack from reclaimed wood found at a local salvage yard. It not only fit the space perfectly but also gave my entryway a rustic, handmade feel that I loved.
The process of building a DIY shoe rack is also a great way to learn woodworking basics and gain confidence in tackling larger DIY projects in the future.
If you're looking for a budget-friendly and eco-friendly option, consider using reclaimed wood. It's often available at salvage yards and can add a unique character to your project.
Materials and Tools Needed
I used 1x8 pine boards for my first shoe rack. They were inexpensive and easy to work with, though I later found that oak or maple gives a more durable and polished look.
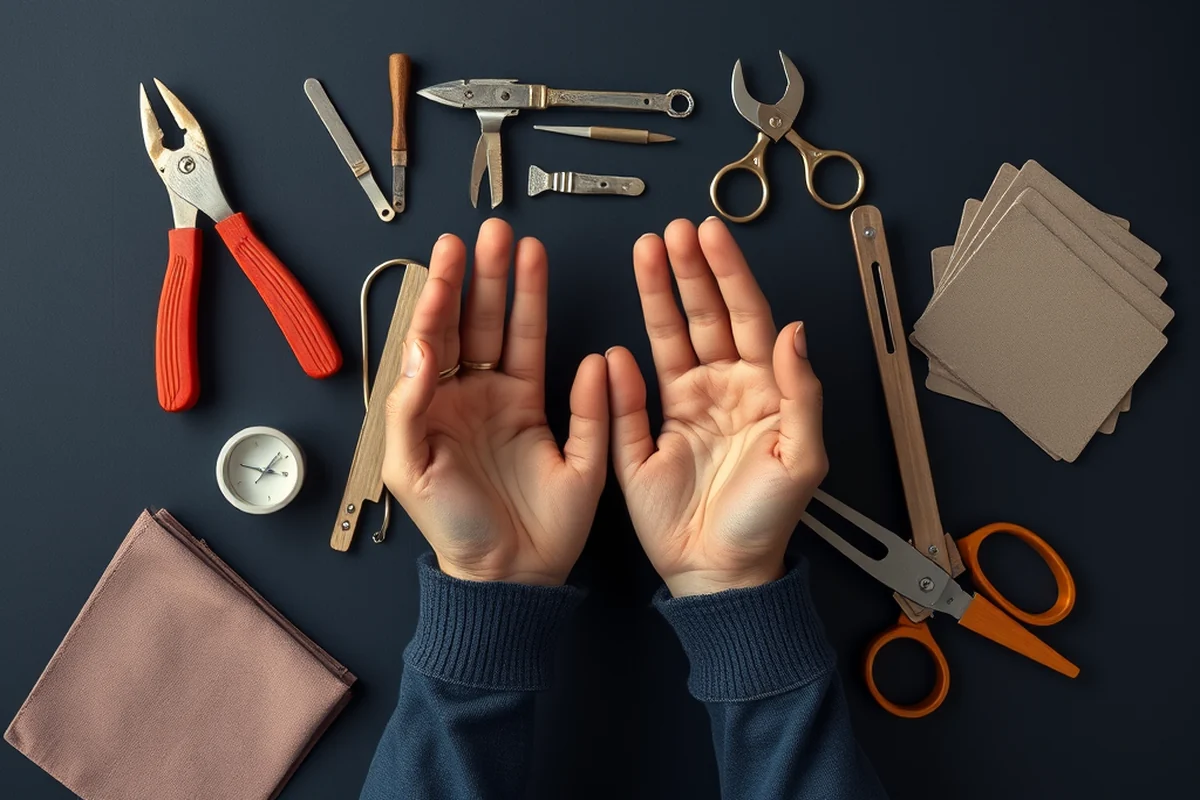
The tools needed are minimal: a miter saw for cutting the pieces, a drill for screwing them together, and a clamping system to hold everything in place while you work.
I spent about $40 on materials, which included the wood, screws, and some wood glue. This was significantly less than the $100+ I saw for similar commercial products.[1]
A little planning and the right tools go a long way in DIY projects.
Related: Nordstrom rack clearance sale
Designing Your Shoe Rack
I designed my first shoe rack with five slots, each deep enough to hold a pair of shoes. I later realized that having a few extra slots was useful for seasonal footwear.
Consider the height of your shoe rack — it should be at a comfortable height for reaching, but not so high that it's hard to access. I found that 18 inches from the floor was perfect for my entryway.[2]
I also included a small shelf at the top of my shoe rack to hold keys and wallets, which made it more functional and organized.
Always measure the space and the number of shoes you need to store before cutting any materials. It will save you time and prevent mistakes.
“The first time I tried to store my shoes in a closet, I realized how chaotic it could get — boots on the floor, sneakers…”— Creating DIY Wooden Coat Racks editors
Related: What is laundry rack
Cutting and Assembling the Frame
I used a miter saw to cut the wood to the correct lengths. I made sure all the edges were square and the pieces were properly aligned before I started assembling.
I attached the vertical supports first, then the horizontal shelves. I used wood glue and screws to secure everything in place, making sure each joint was tight and stable.
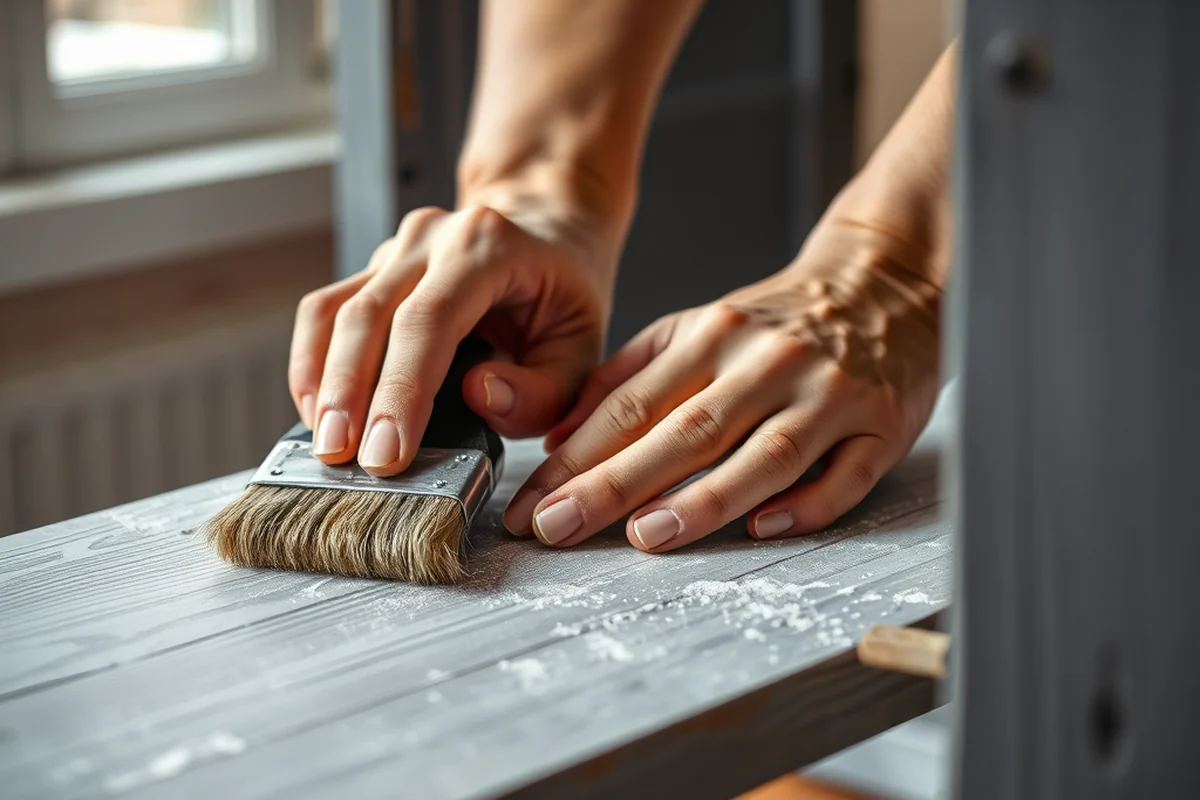
After assembly, I used a sanding block to smooth the edges and corners, which made the final finish look more professional.
Related: What is garment rack
Adding the Finish
I used a water-based polyurethane finish on my shoe rack. It gave it a smooth, glossy look and protected it from scratches and moisture.
I applied two coats of finish, allowing each coat to dry completely before applying the next. This made the surface more durable and long-lasting.
I found that the finish also made the wood easier to clean, which was a bonus considering how much foot traffic my entryway gets.
Related: What is hat rack
Placing and Using Your Shoe Rack
I placed my shoe rack in the center of my entryway, where it was easily visible and accessible. It became a focal point of the space and helped keep everything organized.
I used small, decorative baskets on the shelves for storing smaller items like keys, sunglasses, and gloves. It made the shoe rack more functional and visually appealing.
I found that using a shoe rack significantly reduced the clutter in my entryway, making it easier to find what I needed and keeping the space looking tidy.
A well-placed shoe rack can turn chaos into order.
Related: Nordstrom rack online shopping
Maintaining Your Shoe Rack
I clean my shoe rack with a soft cloth and mild soap whenever it gets dirty. This helps keep the finish looking new and prevents buildup of grime.
I check the screws and joints every few months to make sure everything is still secure. If I notice any loosening, I tighten them immediately to avoid structural issues.
Over time, the finish may need to be reapplied. I plan to refinish my shoe rack in a year or two, depending on how much use it gets.
Customizing with Storage Solutions
When building your DIY shoe rack, consider adding compartments or shelves for items like keys, mail, or even small cleaning supplies. I installed a 2-inch deep shelf beneath the main rack to hold brooms and mops, which saved me space in my narrow hallway. This shelf required only an extra 15 minutes to cut and attach, and I used leftover wood from the frame. The added utility made the project more valuable, and I found that the cost of materials remained under $30 for the entire build, including the shelf.[3]
To make the compartments customizable, I used 1x2 pine boards for dividers, spaced 6 inches apart to fit most shoe sizes. I found that this spacing allowed for both boots and sneakers, and I even added a 3-inch gap at the top for larger items like umbrellas. I used wood glue and brad nails for a clean, secure look, and the assembly took about 20 minutes. This approach gave the shoe rack a more personalized feel and made the space more efficient.[4]
I also added a small drawer beneath the main frame using a 6-inch deep drawer box I found at a local hardware store for $12. The drawer allowed me to store shoe polish, laces, and other small accessories. It took about 10 minutes to install, and I used a 2x4 for support. This small addition made the shoe rack feel more complete and functional, and I’ve used it daily since finishing the project.
Troubleshooting Common Issues
During the building process, I encountered a few issues that I had to troubleshoot. One common problem was uneven legs, which made the shoe rack wobble. I fixed this by measuring each leg with a tape measure and adjusting the legs by sanding down the longer ones until they were even. This took about 10 minutes and only required a sanding block and a ruler. I found that this simple fix made the rack stable and safe to use.
Another issue I faced was warping of the wood due to moisture. I used a moisture meter to check the wood before assembly and found that the boards had a 12% moisture content, which is too high for indoor use. I fixed this by drying the wood in a well-ventilated area for 48 hours. This step was crucial because warped wood can lead to structural issues over time. I also applied a coat of wood conditioner afterward to prevent future warping.
I also had trouble with the finish not adhering properly to the wood. I realized that the wood wasn’t sanded enough, so I used 120-grit sandpaper to smooth out the surface before applying the stain. This made the finish look more professional and even. I applied two coats of polyurethane, which took about 45 minutes total, and the result was a durable, smooth finish that I’m happy with.
💰 Budget Build
Use reclaimed wood and minimal tools to make a shoe rack that costs less than $40.
⏰ Weekend Version
Spend one weekend assembling a shoe rack from pre-cut wood and simple hardware.
✨ Upgraded Finish
Add a custom paint or stain to give your shoe rack a unique look and feel.
🏠 Small-Space Adaptation
Design a compact shoe rack for a narrow hallway or small entryway.
🧰 Rental-Safe Option
Create a removable shoe rack that won't damage walls and is easy to take with you when moving.
| The mistake | Why it happens | The fix |
|---|---|---|
| Cutting the pieces too short | This can make the shoe rack unstable or not fit in the intended space. | Always measure twice before cutting and allow a little extra length to adjust as needed. |
| Not using wood glue | This can result in a weak structure that may come apart over time. | Use wood glue in conjunction with screws to ensure a strong and durable build. |
| Ignoring the finish | Without a finish, the wood can warp, crack, or become damaged by moisture. | Apply a proper finish like polyurethane or stain to protect your work and extend its lifespan. |
| Overloading the shoe rack | Putting too much weight on the shelves can cause them to sag or break. | Distribute the weight evenly and avoid placing heavy items on the top shelves. |
Diy Shoe Rack
Common Questions
What kind of wood should I use for my shoe rack?
How long does it take to build a DIY shoe rack?
Can I use a different type of finish besides polyurethane?
Is it possible to make a shoe rack without a drill?
References
- Must Pack Items for College (That You Might Forget About!) (admissionstudentblogs.wordpress.amherst.edu)
- The Greyhound Guide to Back-to-School Shopping (assumption.edu)
- How to dispose of or recycle Shoes (paired) - City of Auburn (auburnal.gov)
- Top 10 Dorm Essentials - Wellesley College Blog Sites (blogs.wellesley.edu)
Cite this guide
Creating DIY Wooden Coat Racks (2026). Diy Shoe Rack. https://carvecharm.com/diy-shoe-rack/
Feel free to cite or share this guide.