
Coat Racks
📖 Table of Contents
- Why a Wooden Coat Rack Is a Great DIY Project
- Choosing the Right Wood for Your Coat Rack
- Tools You’ll Need for the Project
- How to Cut and Shape the Wood
- Drilling the Holes for the Hooks
- Finishing and Mounting the Coat Rack
- Customizing Your Coat Rack for Different Spaces
- Make It Your Way
- Frequently Asked Questions
The first time I hung a coat on a wooden coat rack, I felt a strange mix of pride and nostalgia. It was a simple 2x4 board mounted on the wall, but it felt like a small victory over the cluttered entryway I'd long avoided. Coat racks are those quiet, functional pieces of furniture that people often overlook until they’re standing in a hallway with nowhere to hang their scarf. That’s when I realized: a good coat rack isn’t just a place to put your coat—it’s a statement of intention, a design choice, and even a conversation starter.
I remember the first DIY coat rack I built. It was for my own home, and I had no idea how much of a difference it would make. The process wasn’t complicated, but it did require some careful planning, especially when it came to choosing the right materials and figuring out the perfect placement. What surprised me was how much of a personality a coat rack could have—depending on the wood, the finish, and the hardware, it could feel rustic, modern, or even industrial.
Now, I build coat racks for people who want to add a touch of craftsmanship to their homes without breaking the bank. Whether they’re looking for something minimalist or something bold, I’ve learned that the right coat rack can be more than just a functional object. It can be a piece of art that’s built by hand, something that lasts for years, and a reminder of the time and effort put into creating something beautiful.
Why You'll Love This DIY Coat Rack Project
- Customizable design to match your home's style
- Affordable materials that yield a high-quality result
- A simple process that can be completed in one weekend
- Adds a unique touch of personality to your entryway or hallway
Why a Wooden Coat Rack Is a Great DIY Project
As of August 2026, Wooden coat racks are a great choice for beginners because they’re relatively easy to build and can be customized to fit almost any home. Whether you’re going for a rustic, modern, or industrial look, the versatility of wood makes it the ideal material. I’ve built several variations, and each one turned out uniquely based on the wood type and finish used.[1]
One of the best things about building a wooden coat rack is that you can use leftover materials from other projects. I once made one from a 2x4 board that was leftover from a bookshelf. It took about 30 minutes and added a functional piece to my entryway. If you're looking for a project that’s both satisfying and practical, a coat rack is a solid choice.[2]
The process is straightforward: cut the wood to size, sand it, drill the holes for the coat hooks, and mount it on the wall. It’s a great way to practice basic woodworking skills and see the results of your labor in a matter of hours.
If you're making multiple coat hooks, use a template to ensure they're evenly spaced and aligned. I used a small metal square to mark each hole, and it made the installation much smoother.
Choosing the Right Wood for Your Coat Rack
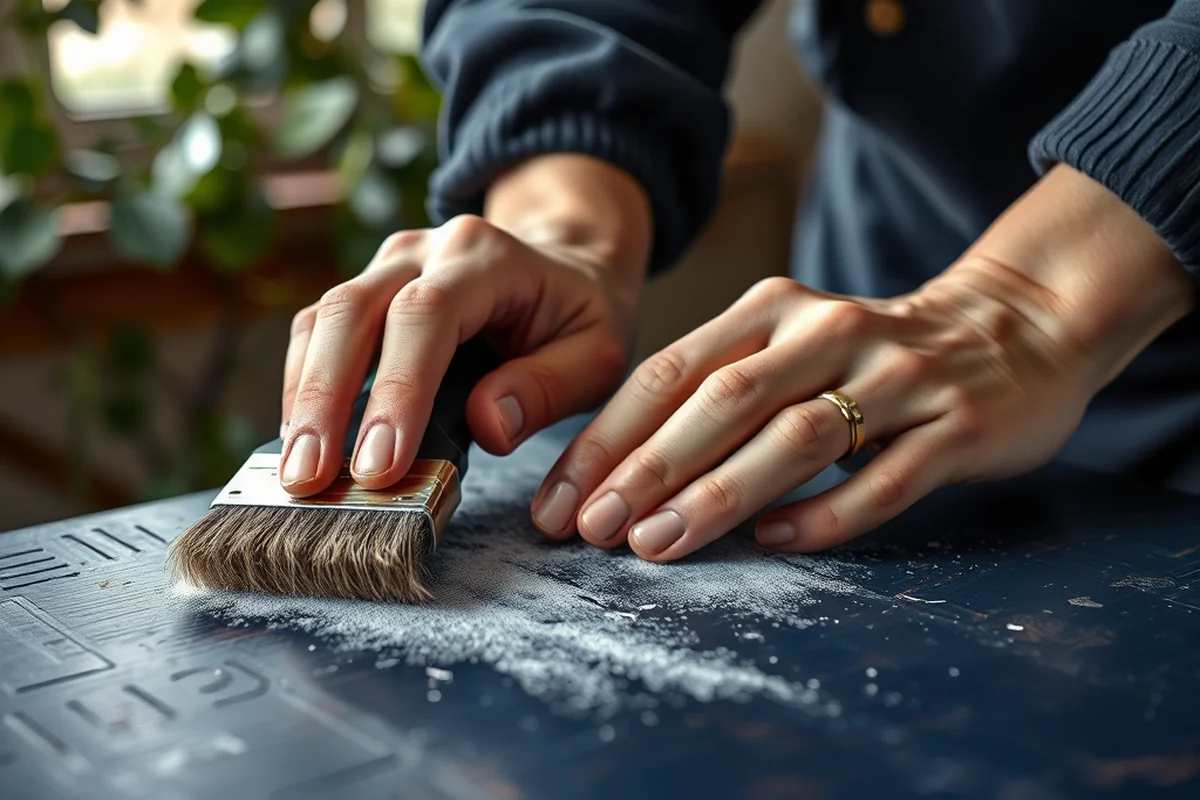
When selecting wood for your coat rack, consider both aesthetics and strength. I’ve used pine, oak, and maple in different builds. Pine is affordable and easy to work with, but it can warp if not properly sealed. Oak is more durable and has a beautiful grain pattern, but it can be harder to cut and shape. Maple is smooth and has a clean look, but it’s more expensive and harder to find in some areas.
I recommend using a kiln-dried wood for a more stable finish. One time I used a green oak board, and within a few weeks, it warped significantly. It was a lesson in patience. If you're working with a budget, pine or plywood are excellent, affordable options.[3]
Whatever wood you choose, make sure to sand it thoroughly. I always use a fine-grit sandpaper, like 120 grit, and then follow up with 220 grit for a smooth finish. This ensures that the coat rack looks professional and is comfortable to touch.[4]
Choose a wood that complements your home's style and offers the right balance of durability and affordability.
Related: Coat rack hanging
Related: Coat racks garderobenst nder
Related: Coat racks entryway
Related: Coat Racks Ideas
Related: Coat Racks In Spanish
Related: Wooden Coat Racks Near Me
Related: Coat Racks At Ikea
Related: Burlington Coat Factory Online Shopping
Related: Coat Racks For Entryway
Tools You’ll Need for the Project
For this project, you’ll need a few basic tools. A miter saw or a hand saw will help you cut the wood to the right size. A drill is essential for making the holes for the hooks, and a sanding block or electric sander will help you achieve a smooth finish. I also recommend a level to make sure your coat rack is straight on the wall.
If you're working with a budget, you can find many of these tools at a hardware store or borrow them from a friend. One time I used a hand drill instead of a power drill, and it worked fine—just took a bit longer. The key is to have the right tools for the job, even if they're not the most expensive ones.
I’ve found that using a clamp to hold the wood in place while drilling makes a huge difference. It keeps the wood steady and helps prevent splintering. It’s a small detail, but it can save you a lot of time and frustration.
If you're on a tight budget, don’t be afraid to borrow tools from a friend or family member. I once borrowed a miter saw and it made the entire process much faster and more precise.
“The first time I hung a coat on a wooden coat rack, I felt a strange mix of pride and nostalgia.”— Creating DIY Wooden Coat Racks editors
How to Cut and Shape the Wood
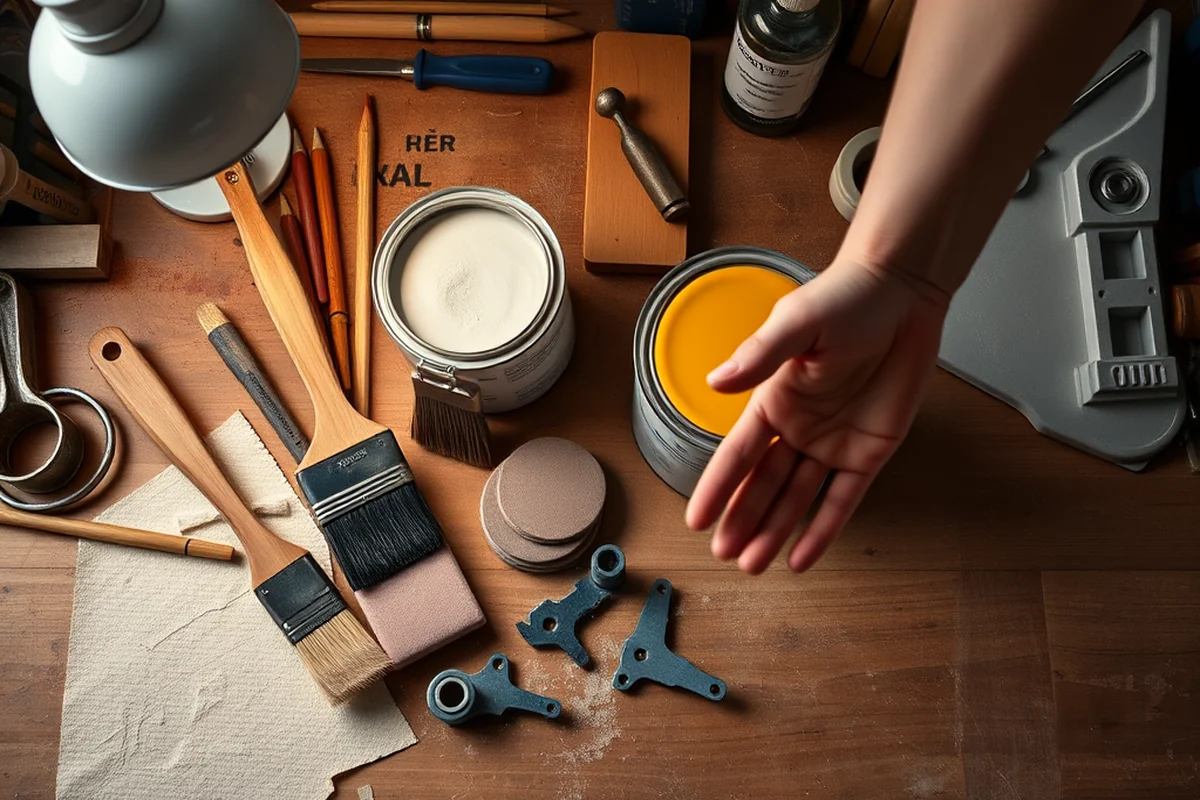
The first step is to cut the wood to the correct size. I always measure twice and cut once to avoid mistakes. I use a tape measure and mark the wood with a pencil before cutting. If you're using a miter saw, it’s easier to make precise cuts, but a hand saw can work if you’re careful.
Once the wood is cut, I use a belt sander to smooth out the edges. This makes the coat rack more comfortable to touch and gives it a professional look. I’ve found that using a sanding block is also helpful if you don’t have a sander, as it allows for more control.
After sanding, I check the edges for any splinters or rough spots. If I find any, I use a file or sandpaper to smooth them out. This step is important because it ensures the coat rack is safe and comfortable to use.
Drilling the Holes for the Hooks
Once the wood is cut and shaped, it’s time to drill the holes for the coat hooks. I use a drill bit that’s slightly smaller than the hooks I plan to use, so there’s a snug fit. If the hole is too big, the hook may not hold securely.
I always use a level when marking the holes to make sure they’re evenly spaced and aligned. This is especially important if you’re making multiple coat racks. I once misaligned the holes on a coat rack and had to redo the entire thing—it was a pain, but a good lesson.
If you're using a power drill, be careful not to drill too deep. I’ve found that drilling about 1.5 inches into the wood is usually enough. It’s also a good idea to test the hook in the hole before mounting the coat rack on the wall.
Finishing and Mounting the Coat Rack
After drilling the holes, it’s time to finish the coat rack. I recommend using a wood stain or paint to give it a finished look. I’ve used both, and each has its advantages. Stain brings out the natural grain of the wood, while paint offers a more uniform look.
I always apply the finish in a well-ventilated area and let it dry completely before mounting. I’ve found that using a brush is better than a spray can, as it gives more control and less mess. If you’re using paint, I recommend applying two thin coats for a smooth finish.
Once the coat rack is finished, it’s time to mount it on the wall. I use a level to make sure it’s straight and apply wood screws for a secure fit. I’ve had some coat racks come loose over time, so I always reinforce them with additional screws or wall anchors.
Take your time with the finish—it makes all the difference in the final look and durability.
Customizing Your Coat Rack for Different Spaces
One of the best things about building a wooden coat rack is that you can customize it to fit your space. If you have a small entryway, you can make it narrow and vertical. If you have a large hallway, you can make it wider with multiple hooks.
I’ve made some coat racks with decorative elements, like carved patterns or inlays. These details can make the coat rack a focal point in the room. I’ve also experimented with different finishes, from rustic stains to sleek, modern paints.
The key is to think about how the coat rack will be used. If you have a family with children, you might want a lower coat rack with child-friendly hooks. If you’re a minimalist, you might prefer a clean, no-frills design. There are no limits to what you can do—just be creative and have fun with it.
💰 Budget Build
Use leftover wood and basic tools to create a simple, functional coat rack that looks great without breaking the bank.
⏰ Weekend Version
A quick and easy build that can be completed in one day, perfect for those with limited time.
✨ Upgraded Finish
Add a custom stain or paint to give your coat rack a polished, professional look that complements your home’s decor.
📏 Small-Space Adaptation
Create a compact, vertical coat rack that’s ideal for narrow hallways or entryways with limited space.
🚪 Rental-Safe Option
Use removable hardware and avoid permanent alterations to make your coat rack suitable for rental properties.
| The mistake | Why it happens | The fix |
|---|---|---|
| Drilling holes that are too large for the hooks | This can cause the hooks to wobble or fall out over time. | Use a drill bit that’s slightly smaller than the hooks you plan to use for a snug fit. |
| Not sanding the wood properly | Rough or splintered edges can be uncomfortable to touch and may look unprofessional. | Use fine-grit sandpaper (120-220 grit) and smooth out all edges before finishing. |
| Using green or unseasoned wood | This can cause the coat rack to warp or crack over time due to changes in humidity and temperature. | Use kiln-dried wood for a more stable and long-lasting finish. |
| Mounting the coat rack without using a level | An unlevel coat rack can look uneven and may not be as secure as it should be. | Always use a level when mounting the coat rack to ensure it’s straight and secure. |
Coat Racks
Common Questions
What type of wood is best for a coat rack?
How long does it take to build a coat rack?
Do I need special tools for this project?
How do I ensure the coat rack is straight on the wall?
Cite this guide
Creating DIY Wooden Coat Racks (2026). Coat Racks. https://carvecharm.com/coat-racks/
Feel free to cite or share this guide.
References
- What difference did hangers make? (americanhistory.si.edu)
- [Coat Rack] (Study for Cedar Bar) Yale University Art Gallery (artgallery.yale.edu)
- Other Equipment - Caltech Auditoriums Information (auditoriums.caltech.edu)
- Is It a Crape Myrtle or a Coat Rack? - UF/IFAS Blogs (blogs.ifas.ufl.edu)