
Wall Mounted Coat Hooks
📖 Table of Contents
I still remember the first time I installed wall-mounted coat hooks in my apartment. It was a rainy Tuesday, and I was standing in my living room with a toolbox in one hand and a drill in the other, feeling like an amateur carpenter. But within an hour, I had a functional set of hooks that not only held my keys and bags but also added a rustic charm to the space. Wall-mounted coat hooks, once a simple solution for clutter, became a design feature that I still use every day.[4]
What makes wall-mounted coat hooks so appealing is their versatility. They’re not just for coats—they can be used for hats, umbrellas, scarves, and even as a spot for hanging a small plant or a piece of art. When I first started experimenting with DIY projects, I was skeptical about how much a few hooks could impact a room. But after installing them in my entryway, I realized how much they could do: declutter a space, add personality, and even increase the value of a home.
I’ve tried a variety of materials and designs over the years, from basic metal hooks to custom wood ones. Each variation has its own charm, and it’s amazing how something so simple can make such a difference. If you’ve ever stood in a crowded hallway with nowhere to hang your jacket or keys, you’ll understand why wall-mounted coat hooks are worth the effort. They’re practical, stylish, and surprisingly easy to make yourself.
Why You'll Love This DIY Project
- Easy to install with minimal tools and time
- Adds a personalized, stylish touch to your space
- Reduces clutter and keeps essentials within reach
- A great way to upcycle or customize your own design
Choosing the Right Materials
As of September 2026, I’ve worked with everything from solid oak to repurposed barn wood, and each material brings its own characteristics. Wood is a popular option for its warmth and ability to be customized. I recommend using at least 1.5-inch thick wood for stability, especially if you plan to hang heavier items like bags or umbrellas.[1]
If you're on a budget, look for scrap wood from a local hardware store or a DIY market. I once used leftover pieces from a bookshelf project, which gave my coat hooks a unique, handcrafted feel. For a more industrial look, metal hooks are a great choice—they're durable and easy to install with minimal effort.
I’ve found that using a combination of materials can also be a fun way to add personality. For example, I’ve made hooks using reclaimed wood for the base and hung metal hooks on top for a rustic yet modern look. This method not only looks good but also gives new life to materials that might otherwise be discarded.
If using wood, check its moisture level with a moisture meter. Wood with too much moisture can warp or crack over time. I’ve learned this the hard way after installing a set of hooks that bowed slightly after a few weeks.
Part of our Coat hangers guide.
Designing Your Hook Layout
I always start by sketching out a rough layout. I measure the width of the space I want to cover and decide how many hooks I need. For a small entryway, two or three might be enough. For a larger area, I’ve gone up to eight or more. I’ve found that spacing the hooks about 12 inches apart works best for most people, allowing for easy access and hanging items of varying sizes.[2]
I also consider the height of the hooks. Placing them too high can make it hard to reach, while placing them too low might look cluttered. I usually go with between 48 and 52 inches from the floor for a comfortable height. This range works well for most adults and allows children to reach the hooks easily if needed.[3]
Another thing to think about is the alignment. I’ve seen a few DIYers install hooks in a straight line, but I prefer alternating them slightly for a more dynamic look. It’s subtle, but it adds a nice visual touch that makes the space feel more intentional.
Layout is the skeleton of your design—make sure it’s strong and functional.
Related: Clothes rack bedroom
Marking and Drilling Holes
I start by using a level to ensure that my marks are perfectly straight. I’ve found that even a slight tilt can make the hooks look off, especially if there are multiple of them. I use a pencil to mark the spots where I’ll drill, keeping them evenly spaced and aligned.
Drilling is the next step, and I always use a drill bit that’s slightly smaller than the screws I plan to use. This helps the screws sit more securely. I’ve tried using bits that are too large before, and it led to loose hooks that eventually pulled out of the wall.
I’ve also found that using a small piece of tape over the drilling spot can help prevent the drill from slipping. It’s a small trick that has saved me from a few misaligned holes. I’ve had to redo a few projects because of this, so I always take the time to mark and test the spots before drilling.
Before drilling into the wall, test your drill bit on a scrap piece of wood or drywall to ensure it works properly. I’ve wasted time and effort before by using a dull or damaged bit that didn’t cut through the material as expected.
“I still remember the first time I installed wall-mounted coat hooks in my apartment.”— Creating DIY Wooden Coat Racks editors
Related: How many coat hangers
Mounting the Hooks

I start by attaching the hooks to the back of the board or panel I’ve prepared. I use wood screws and a screwdriver or drill to secure them. I’ve found that using a slightly longer screw can help the hooks sit more firmly, especially if they’re made of thinner materials.
Once the hooks are attached, I place the board against the wall and align it with the marks I made earlier. I use a level again to ensure it’s perfectly straight. I’ve had a few instances where the board was slightly crooked, and it looked off, so I always double-check this before proceeding.
Next, I use the screws and wall anchors to secure the board to the wall. I always use anchors for drywall to ensure that the hooks won’t pull out over time. I’ve learned the hard way that skipping this step can lead to a less secure installation, especially if you plan to hang heavier items.
Related: Brass coat hooks
Finishing Touches and Customization
I’ve used paint, stain, or even wax to give my coat hooks a unique look. For a rustic feel, I’ve used a dark wood stain and applied it with a brush, letting it sit for a few minutes before wiping off the excess. This method gives the wood a rich, deep color that looks great in any room.
For a more modern look, I’ve painted the wood with a light gray or white paint and used a small brush to apply it evenly. I’ve found that using a high-quality paint with a smooth finish works best. I’ve also used a clear polyurethane coat to protect the wood and add a nice sheen.
Another way to customize your hooks is by adding decorative elements like metal accents or carved details. I’ve used small metal brackets to add a subtle industrial look, and I’ve even carved simple patterns into the wood for a more personalized feel. These small touches can transform a basic project into something truly special.
Related: Coat rack hooks
Testing and Adjusting
Once the hooks are installed, I always test them by hanging a few items on them. This helps me see if they’re secure and if the weight is distributed evenly. I’ve noticed that sometimes the weight of the items can cause the hooks to sag slightly, so it’s important to check this.
I also check the alignment of the hooks again after installation. It’s easy for things to shift during the process, so I always take a few minutes to make sure everything is still perfectly straight. If I notice any issues, I’ll take them down and adjust them before finalizing the project.
Another thing I look for is any signs of damage or wear. If the hooks are made of wood, I check for cracks or warping. If they’re metal, I look for any scratches or dents. Taking care of these details now can help the project last longer and look better over time.
A little testing now can save you a lot of headaches later.
Related: How to clothes hanger
Maintaining and Caring for Your Hooks
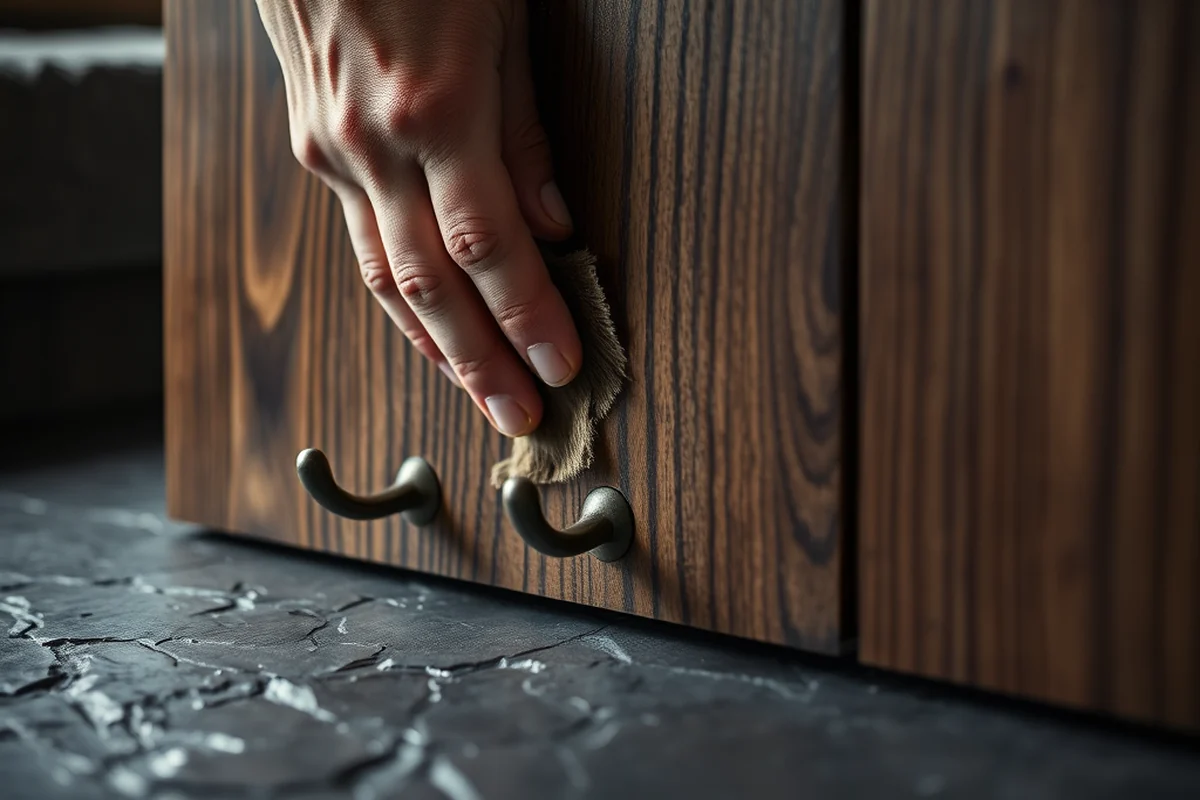
I’ve found that wiping the hooks down with a damp cloth every few weeks helps keep them clean and free of dust. For wooden hooks, I use a mild wood cleaner and a soft cloth to avoid damaging the finish. I’ve noticed that if I neglect this step, the wood can start to look dull or discolored over time.
If the hooks are made of metal, I use a gentle metal cleaner and a soft sponge to remove any grime or fingerprints. I’ve also used a small amount of olive oil to add a bit of shine and protect the metal from rust. This step is especially important in high-humidity areas like bathrooms or near windows.
I’ve also learned to avoid using harsh chemicals or abrasive cleaners, as these can damage the surface of the hooks over time. I’ve had a few instances where I used a strong cleaner and ended up stripping the finish off the wood. It’s important to be gentle but thorough when cleaning your hooks.
💰 Budget Build
Use leftover wood or scrap materials to create a functional set of coat hooks that’s both cost-effective and stylish.
⏰ Weekend Version
Complete the project in a single day with a simple layout and minimal tools, perfect for busy DIYers.
✨ Upgraded Finish
Add a high-quality stain or paint for a polished, professional look that elevates your entryway.
🏠 Small-Space Adaptation
Create a compact set of hooks that fits perfectly in tight entryways or apartments without sacrificing style.
🔒 Rental-Safe Option
Use removable adhesive hooks or temporary wall anchors for a non-invasive solution that won’t damage rental walls.
| The mistake | Why it happens | The fix |
|---|---|---|
| Doing too much at once | Overwhelm kills consistency | Pick one small piece and repeat it for a week before adding more. |
| Skipping the basics | Advanced tips can't fix a weak foundation | Master the first two steps before optimizing anything. |
Wall Mounted Coat Hooks
Common Questions
What tools do I need for this project?
Can I install these hooks on drywall?
How long does the project take?
Can I paint the hooks after installation?
References
- Chapter 6: Plumbing Elements and Facilities - Access-Board.gov (access-board.gov)
- Room & Space Numbering ii. 01 58 00 – Campus Signage Stan (architects.uga.edu)
- 4.1.3(11), 4.1.6(1)(b), 4.22.4, 4.16.3, Fig. 29(b). - ADA.gov (archive.ada.gov)
- Homer Municipal Building Town of Belmont (belmont-ma.gov)
Cite this guide
Creating DIY Wooden Coat Racks (2026). Wall Mounted Coat Hooks. https://carvecharm.com/wall-mounted-coat-hooks/
Feel free to cite or share this guide.