
Coat And Shoe Rack
📖 Table of Contents
- Why a Coat and Shoe Rack Matters in Your Entryway
- Choosing the Right Materials for Longevity
- Designing for Both Function and Style
- Building the Base for Stability
- Adding the Coat Hooks and Shoe Slots
- Finishing Touches for Long-Lasting Use
- Putting It All Together and Enjoying the Results
- Make It Your Way
- Frequently Asked Questions
I remember the first time I walked into my new home. The moment I noticed the cluttered entryway — coats piled on the floor, shoes scattered like confetti, and a general sense of chaos that followed me into every room. That's when I decided it was time to build my own coat and shoe rack. It wasn't just about tidying up; it was about creating a functional piece of furniture that would last for years and become a staple in my entryway. What I didn't expect was how much joy and satisfaction the project would bring, not just from the finished product but from the process of building it myself.[4]
Building a coat and shoe rack was the first real DIY project I tackled, and it taught me so much about the importance of thoughtful design and practicality. I didn't want just any rack — I wanted something that would hold both my winter coats and my everyday shoes, something that wouldn't take up too much space but would still feel sturdy and well-made. I ended up using simple materials. I had to pay attention to the details, like the depth of the shoe slots and the height of the coat hooks, to make sure everything would fit perfectly.
What surprised me most was how easy it was to get started. I had all the tools I needed, and with a few hours on the weekend, I had a finished piece that looked great and worked even better. It wasn't just about the final result, though — the process of building it, measuring, cutting, and assembling the pieces was incredibly satisfying. I learned that with the right planning and a little patience, even someone with no prior experience can create a piece of furniture that's both functional and beautiful.
Why You'll Love This Coat and Shoe Rack
- It adds storage and organization to a high-traffic area of your home.
- It's made from durable, affordable materials that are easy to find.
- It can be customized to fit your space and style preferences.
- It’s a satisfying DIY project that enhances your home and skills.
Why a Coat and Shoe Rack Matters in Your Entryway
As of September 2026, I used to think that a coat rack was just a small detail, but after building my own, I realized how much it can impact the flow and function of your entryway. My old coat rack was a simple hook on the wall, but it wasn’t enough to hold all my winter gear or shoes. I wanted something that could hold more, look good, and fit seamlessly into the space.
The process of building my own coat and shoe rack made me realize how much thought goes into even the simplest furniture. I had to measure my entryway carefully, take into account the height of the door, and make sure the rack would be at a comfortable level for both hanging coats and placing shoes.
What I also learned was that a well-designed coat and shoe rack can be a great conversation piece. Mine is now a favorite spot in my entryway, and it’s become a place where I hang not just coats, but keys, mail, and even a small basket for storing gloves and scarves.
Before you begin cutting any wood, double-check your measurements. Even a small error can throw off the entire project. I learned this the hard way when I miscalculated the depth of the shoe slots and had to rework the entire base.
Part of our Coat hangers guide.
Choosing the Right Materials for Longevity

I used a combination of pine boards and MDF for my project. Pine is affordable and easy to work with, but it can warp over time if not sealed properly. MDF was better for the base and shoe slots because it's more stable and doesn't warp as easily.
I also made sure to use wood screws instead of nails for a more secure connection. This made the structure feel more solid and sturdy, especially when I was hanging heavier coats. I also applied a wood sealer to protect the wood from moisture and scratches.
The cost for the materials was about $40, which included the wood, screws, and sealer. I picked up the materials from a local hardware store, and I was able to find everything I needed in one trip.[1]
Choose materials that balance cost and durability — they make all the difference in the long run.
Related: Brass coat hooks
Designing for Both Function and Style
I wanted the coat and shoe rack to look good, not just be functional. I chose a rustic, unfinished look for my piece, which gave it a warm and inviting feel. It also allowed me to stain or paint it later if I wanted a different look.
The design of the rack was simple but effective. I built it with three levels — one for hanging coats, one for shoe slots, and one for a shallow drawer to store keys and small items. This made it easy to access everything I needed without having to dig through a cluttered space.
I also made sure to leave enough space between the coat hooks and the shoe slots so that nothing would be too crowded. This was important because I didn’t want my coats or shoes to be crammed together, which could lead to wear and tear over time.
Allowing enough space between the coat hooks and shoe slots ensures that your items remain organized and don’t get damaged. I made sure to measure each part carefully to avoid tight spaces that would cause clutter.
“I remember the first time I walked into my new home, and the moment I noticed the cluttered entryway — coats piled on the floor…”— Creating DIY Wooden Coat Racks editors
Related: Coat rack hooks
Building the Base for Stability
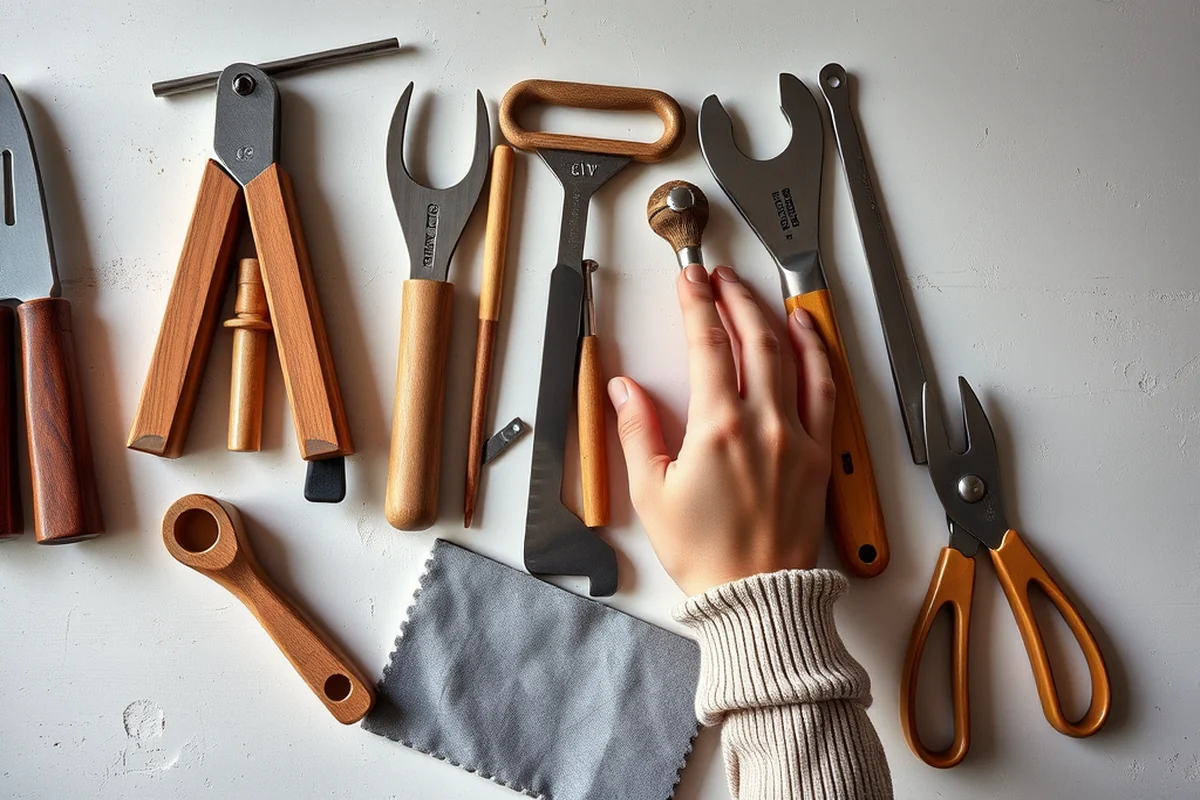
I used a 36-inch by 18-inch piece of MDF for the base of my coat and shoe rack. This gave it enough surface area to be stable while still fitting well in my entryway. I cut the base into three pieces — two for the sides and one for the bottom — and then assembled them with wood screws.[2]
I also added support legs to the base for extra stability. These legs helped to keep the rack from wobbling, especially when I was placing heavier items on the bottom shelf. I used 4-inch metal legs, which I found at a local hardware store for about $5 each.
Once the base was assembled, I sanded it down to make sure it was smooth and even. This step was important because it helped to prevent splinters and made the surface more comfortable to place shoes on.
Related: How to clothes hanger
Adding the Coat Hooks and Shoe Slots
I used 3-inch metal coat hooks for the upper section of my rack. I attached them to the back of the wooden frame with wood screws, making sure they were spaced evenly so that I could hang multiple coats without them overlapping.
For the shoe slots, I used 1-inch thick pine boards and cut them into 12-inch lengths. I attached them to the base of the rack, leaving about 4 inches of space between each slot. This allowed for enough room to insert shoes without them being too close to each other.[3]
I also made sure to drill small holes in the shoe slots for drainage. This was a small detail I didn’t think about at first, but it helped to prevent moisture from building up inside the slots, which could lead to mold over time.
Related: The coat hangers
Finishing Touches for Long-Lasting Use
After I assembled the entire rack, I sanded it down with a fine-grit sandpaper to make sure the surface was smooth. This step was important because it helped to remove any rough edges or splinters that could cause discomfort.
I then applied a wood sealer to protect the wood from moisture and scratches. I used a water-based sealer, which was easy to apply and didn’t give off any strong odors. This helped to keep the wood looking new for a longer period of time.
Finally, I stained the wood with a dark walnut stain to give it a warm, rich look. I applied two coats of stain, letting each one dry completely before applying the next. This gave the rack a finished look that blended well with my home’s overall style.
A little finishing goes a long way — it makes all the difference in how your coat and shoe rack looks and feels.
Related: Coat hangers heavy duty
Putting It All Together and Enjoying the Results
Putting the coat and shoe rack together was the final step in the project, and it was surprisingly straightforward. I simply attached the coat hooks to the wooden frame, then added the shoe slots to the base. Everything fit together well, and I didn’t have any issues with the assembly.
I also made sure to place the rack in the entryway before I finished the project. This allowed me to see how it would look in its final location and make any adjustments if needed. I found that it worked perfectly, and I was happy with the way it looked.
After the rack was fully assembled, I hung a few coats and placed some shoes in the slots to test it out. It was immediately clear that the rack was functional and well-made. It held everything I needed, and it looked great in the entryway.
💰 Budget Build
Create a functional coat and shoe rack using affordable materials and simple construction techniques that won’t break the bank.
⏰ Weekend Version
Build a coat and shoe rack in one day with minimal tools and a straightforward design that’s perfect for quick projects.
🎨 Upgraded Finish
Enhance the look of your coat and shoe rack with a custom finish, like a painted surface or a natural wood stain, to match your home’s decor.
🏠 Small-Space Adaptation
Design a coat and shoe rack that fits into compact spaces, such as a narrow hallway or a small entryway, using vertical space for extra storage.
🔒 Rental-Safe Option
Create a coat and shoe rack that’s easy to disassemble and move, making it ideal for renters who need a temporary but stylish storage solution.
| The mistake | Why it happens | The fix |
|---|---|---|
| Not measuring the space properly before starting the project. | ||
| Using the wrong type of wood for the project. | ||
| Not leaving enough space between the coat hooks and shoe slots. | ||
| Skipping the finishing steps, like sanding and sealing the wood. | ||
| Not testing the coat and shoe rack before finalizing the project. |
Coat And Shoe Rack
Common Questions
What tools do I need to build a coat and shoe rack?
Can I use a different type of wood for the project?
How long does it take to build a coat and shoe rack?
Can I customize the size of the coat and shoe rack to fit my space?
References
- ADA Standards for Accessible Design Title III Regulation 28 CFR ... (ada.gov)
- Must Pack Items for College (That You Might Forget About!) (admissionstudentblogs.wordpress.amherst.edu)
- What To Bring When Moving To College - - SUNY Blog (blog.suny.edu)
- 27 .0925 PETROLEUM LIQUID STORAGE IN FIXED ROOF TANKS ... (buncombenc.gov)
Cite this guide
Creating DIY Wooden Coat Racks (2026). Coat And Shoe Rack. https://carvecharm.com/coat-and-shoe-rack/
Feel free to cite or share this guide.