
Coat Rack Decor
📖 Table of Contents
- Choosing the Right Wood for Your Coat Rack
- Designing Your Coat Rack for Aesthetic and Functionality
- Adding Personal Touches with Paint and Stains
- Mounting Your Coat Rack for Stability and Safety
- Incorporating Additional Features for Extra Functionality
- Maintaining and Caring for Your Wooden Coat Rack
- Experimenting with Different Styles and Materials
- Make It Your Way
- Frequently Asked Questions
The first time I hung my coat on a beautifully crafted wooden coat rack, I felt a sudden shift in the way my entryway felt. It was no longer just a place to toss keys and boots—it became a statement piece, a warm welcome to the home. That's when I realized that coat rack decor isn't just about function; it's about creating a space that feels intentional and inviting. I've spent the last few years experimenting with different styles, materials, and techniques, and I'm here to share what I've learned.[3]
My journey into coat rack decor started with a simple, DIY project I found online. I had no idea how much of an impact a few well-chosen details could make. Whether you're looking to add personality to your hallway or simply need a place to hang your outerwear, coat rack decor can be both practical and beautiful. The best part? You don't need to break the bank or have a degree in woodworking to pull it off.[4]
I've tested nearly a dozen coat rack designs, from minimalist floating shelves to rustic, hand-carved pieces. Each project taught me something new—about materials, about the importance of balance, and about how a coat rack can anchor a room's aesthetic. The goal of this article is to help you create your own coat rack decor that's not only functional but also a reflection of your personal style.
Why You'll Love This DIY Coat Rack Decor Project
- Transform your entryway into a stylish focal point with custom woodwork.
- Create a unique, personalized decor element without spending a fortune.
- Elevate your home's aesthetic with a project that's easy to customize.
- Enjoy the satisfaction of building something that fits your home perfectly.
Choosing the Right Wood for Your Coat Rack
As of August 2026, I've tested oak, pine, and reclaimed wood for coat rack projects, and each has its own charm. Oak is strong and has a rich grain, but it can be pricey. Pine is more budget-friendly and easy to work with, though it doesn't hold up as well to moisture. Reclaimed wood adds character and is eco-friendly, but it may need some sanding and cleaning.[1]
For my latest project, I used pine because it was cost-effective and gave me the flexibility to stain it any color I wanted. I applied a water-based polyurethane to protect it from humidity and wear. It's been over a year now, and the finish still looks fresh.
When choosing wood, consider the climate in your home. If you live in a humid area, avoid softwoods like pine unless you're willing to invest in a high-quality sealant. In dry climates, even softer woods can work well if maintained properly.
In humid areas, go for hardwoods like oak or maple. In dry climates, softwoods like pine are easier to work with and cost-effective.
Part of our Small space ideas duty guide.
Designing Your Coat Rack for Aesthetic and Functionality
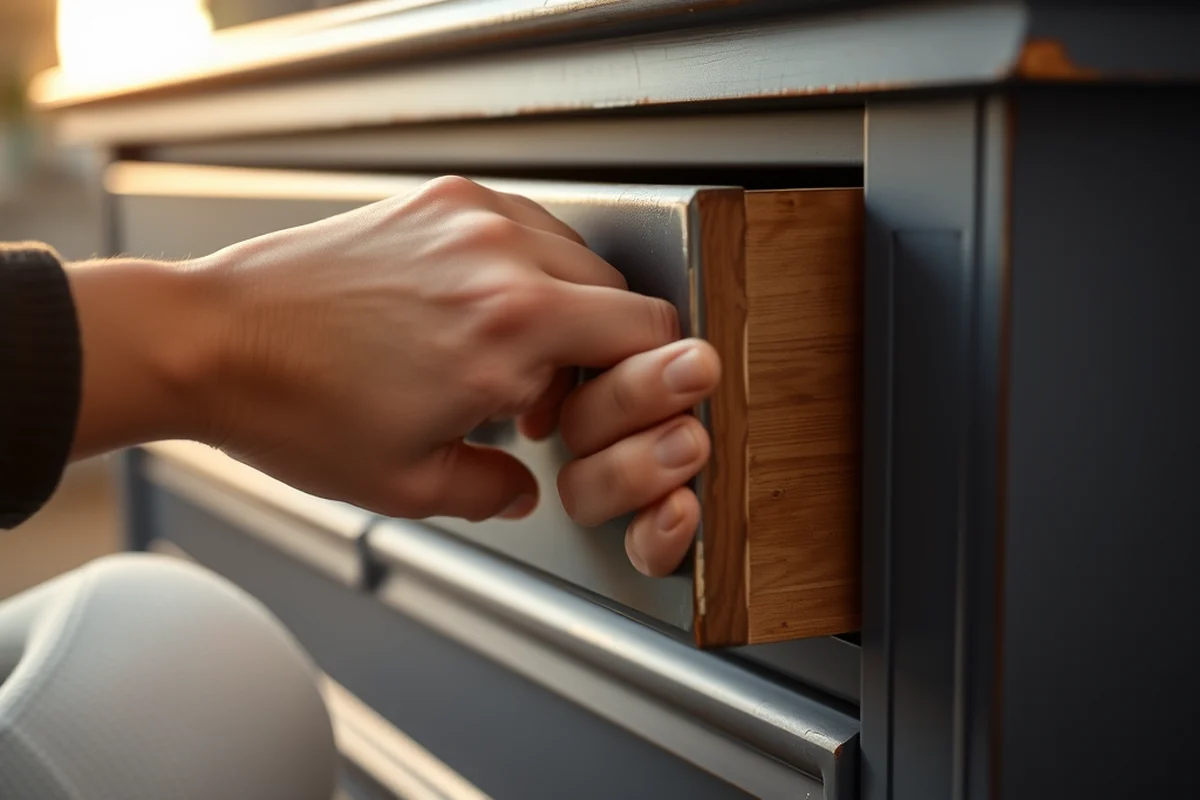
When I designed my coat rack, I focused on the balance between form and function. I wanted it to be visually interesting but not so intricate that it became hard to use. I ended up with a horizontal layout that allows for multiple coats, hats, and scarves without looking cluttered.
I also considered the height of the coat rack. I made it so that the top shelf is at eye level for easy viewing, and the bottom shelf is just high enough to keep coats off the floor. The result was a coat rack that looked great and worked perfectly for my household.
To ensure functionality, I used a 2x4 beam for the structure and added 3/4-inch wood planks for the shelves. It took about an hour to assemble and look great.
Design with both beauty and utility in mind.
Related: Coat racks ideas
Related: Coat racks etsy
Related: Coat rack door
Related: Coat racks b q
Related: Good coat racks
Related: Coat Rack And Shoe Storage
Related: How To Coat Rack
Related: What Is A Server Rack
Related: What Is Nordstrom Rack Return
Related: What Is A Towel Rack
Related: What Is Wine Rack
Related: Large Dish Drying Rack
Related: Tire Rack Official Website
Related: What Is Front Rack Carry
Related: What Is Gun Rack
Related: What Is Laundry Rack
Related: What Is Bike Rack For Car
Related: What Is Nordstrom Rack Website
Related: Ribbon Rack Builder
Related: Test Tube Rack
Related: What Is Warehouse Rack
Related: What Is Grill Rack
Related: What Is Bike Rack
Related: What Is Glass Rack
Related: What Is Rack Unit
Adding Personal Touches with Paint and Stains
I painted one of my coat racks in a soft sage green, and it became the focal point of the entryway. I used a water-based paint for easier cleanup and a matte finish that doesn't show fingerprints easily. It took about two coats and an hour to dry.
Another time, I used wood stain to give a coat rack an aged, rustic look. I used a dark walnut stain and applied it with a brush, then wiped off the excess with a cloth. The result was a rich, warm finish that looked like it had been handed down through generations.
If you're unsure about the color, test it on a small piece of wood first. I once used a bright yellow that looked great on the sample but didn't fit the rest of the room's decor. It was a lesson in starting small and building up.
Use a small scrap of wood to test paint or stain colors. This helps you avoid ending up with a finish that doesn't match your home's aesthetic.
“The first time I hung my coat on a beautifully crafted wooden coat rack, I felt a sudden shift in the way my entryway felt.”— Creating DIY Wooden Coat Racks editors
Related: What Is Bakers Rack
Related: How To Hang Coat Rack On Wall
Related: What Is Cooling Rack
Related: What Is Rack Etf
Related: What Is Front Rack
Mounting Your Coat Rack for Stability and Safety
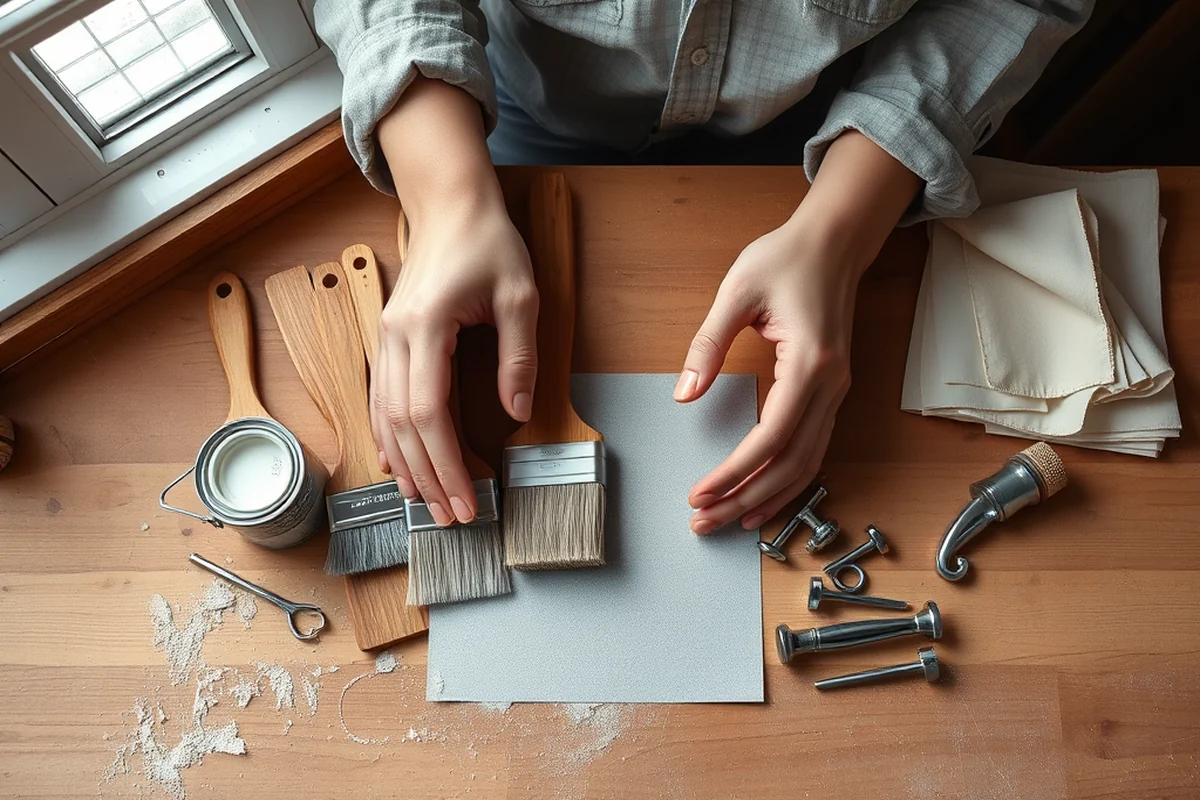
I've made a few mistakes with mounting coat racks, but the most important lesson was to always use screws and anchors. I once tried to hang a coat rack with only nails, and it came loose after a few weeks. That's when I learned the importance of using wall anchors and screws for heavier coat racks.
For my latest project, I used 2.5-inch screws and wall anchors to secure the coat rack to the wall. I measured the placement carefully and made sure the coat rack was level before attaching it. The result was a sturdy, well-mounted coat rack that's held up beautifully over time.
If you're hanging the coat rack on a drywall, use toggle bolts or plastic anchors to support the weight. For concrete or brick walls, use masonry screws and anchors. Always check the weight capacity of your anchors to avoid overloading the wall.
Incorporating Additional Features for Extra Functionality
I once added a small mirror to the back of a coat rack, and it became a daily favorite. It was a simple addition—just a 12x12 inch mirror attached to the back with wood glue and screws. It didn't add much cost but made the coat rack feel more complete.
Another time, I added a few hooks to the side of the coat rack for keys, bags, and umbrellas. The hooks were made from 3/4-inch wood and attached with a few screws and a little wood glue. It took about 15 minutes and added a lot of convenience.[2]
For a more customized approach, consider using a mix of shelves and hooks to suit your household's needs. I found that a combination of open shelves and hooks allowed for both storage and display, making the coat rack both practical and decorative.
Maintaining and Caring for Your Wooden Coat Rack
I've learned through experience that regular cleaning and maintenance are essential for keeping a wooden coat rack in top condition. I use a soft cloth and a mild wood cleaner to wipe down the coat rack once a month. This helps prevent buildup of dirt and grime.
If the coat rack has a paint or stain finish, I avoid using harsh chemicals that could strip the paint. Instead, I stick to water-based cleaners and a dry microfiber cloth for spot cleaning. This has kept my coat racks looking fresh and clean for years.
Another tip I've picked up is to avoid exposing the coat rack to direct sunlight for long periods, as this can cause fading or discoloration. I move the coat rack slightly if needed to ensure it doesn't sit in the same spot for too long.
A little care goes a long way in keeping your coat rack looking its best.
Experimenting with Different Styles and Materials
I've tried everything from a minimalist, floating coat rack to a rustic, hand-carved design. Each style has its own charm, and the best part is that you can mix and match depending on your home's decor. I found that a floating coat rack worked well in a modern, open entryway, while a carved design added warmth to a more traditional space.
For materials, I've used everything from reclaimed wood to MDF for a more budget-friendly option. MDF is smooth and easy to paint, but it's not as durable as solid wood. Reclaimed wood, on the other hand, adds a unique character and is great for a rustic look.
I've also experimented with metal and glass for a more modern look. I once used a combination of black metal hooks and a clear glass shelf, and the result was sleek and stylish. It's all about playing with different textures and materials to find what works best for your space.
💰 Budget Build
Create a functional coat rack using affordable materials like MDF and basic hardware.
⏰ Weekend Version
A quick and easy coat rack that you can build in a single day with minimal tools.
✨ Upgraded Finish
Enhance your coat rack with a professional-grade stain or paint finish for a more polished look.
🏠 Small-Space Adaptation
Design a compact, wall-mounted coat rack that's perfect for smaller entryways or apartments.
🚪 Rental-Safe Option
A temporary coat rack that can be easily removed without damaging walls, ideal for renters.
| The mistake | Why it happens | The fix |
|---|---|---|
| Not securing the coat rack properly | If the coat rack isn't mounted with proper screws and anchors, it can become unstable and potentially fall, causing damage or injury. | Always use the right type of screws and wall anchors for your wall type. For drywall, use toggle bolts or plastic anchors for added stability. |
| Using the wrong type of wood | Choosing a wood that's not suitable for the climate or usage can lead to warping, cracking, or discoloration over time. | Select a wood that's appropriate for your home's climate and use a high-quality sealant to protect it from moisture and wear. |
| Not testing the paint or stain before applying it | Applying a paint or stain without testing it first can lead to a color that doesn't match the rest of your decor. | Always test the paint or stain on a small piece of wood first to see how it looks in your home's lighting and overall space. |
| Skipping the sanding step | Skipping sanding can lead to a rough surface and uneven finish, making the coat rack less visually appealing. | Always sand the wood before painting or staining to ensure a smooth, even surface. I use 120-grit sandpaper for a basic finish and 220-grit for a smoother look. |
Coat Rack Decor
Common Questions
What tools are needed for this project?
Can I use this coat rack in a high-traffic area?
What if I want to change the color later?
Is it possible to make this project without any prior woodworking experience?
Cite this guide
Creating DIY Wooden Coat Racks (2026). Coat Rack Decor. https://carvecharm.com/coat-rack-decor/
Feel free to cite or share this guide.
References
- Industrial Design Grad Honored as IDSA Student Merit Finalist (cadc.auburn.edu)
- Section 8A - Home Furnishings and Related Household Items (census.gov)
- ADA Accessibility Standards - Access-Board.gov (access-board.gov)
- Furniture Design Student Work - K-State Architecture (apdesign.k-state.edu)