
How To Hang Coat Rack On Wall
📖 Table of Contents
There’s nothing quite like the satisfaction of hanging a coat rack on your wall, knowing it was built by your own hands. I remember the first time I did it — the smell of fresh wood, the slight sting in my palms from the screws. The quiet pride that came when I stepped back and saw it all come together. A coat rack is more than just a place to hang your keys; it's a functional statement piece that adds character to your entryway. And the best part? You can make it yourself for less than $50.
I’ve tried a lot of DIY projects over the years, but nothing beats the joy of creating something that stays with you — literally. A coat rack is one of those things that you use every day, and when it’s made with care, it feels like a part of your home. The process of hanging a coat rack on your wall isn’t as complicated as you might think, and with a few basic tools, you can do it in one weekend. The real magic is in the details: the right screws, the proper drilling technique, and the way the wood feels as it meets the wall.
I’ve had my share of failures too — like the time I tried to use wood screws that were too long and ended up stripping the drywall. But through trial and error, I learned that patience and the right tools make all the difference. If you’re thinking about how to hang a coat rack on wall, don’t be intimidated. With a little planning and the right approach, you’ll have a durable and stylish piece that makes your entryway feel more welcoming and organized.
Why You'll Love This DIY Coat Rack Project
- It adds a personalized touch to your home and reflects your style.
- You’ll save money compared to buying a pre-made coat rack.
- You can customize the design, color, and materials to suit your space.
- It’s a low-effort project that gives a big return in terms of functionality and aesthetics.
Choosing the Right Materials
As of September 2026, I always start with a solid piece of wood — I prefer oak or pine because they are both strong and affordable. For a coat rack, I recommend using 3/4-inch thick wood, which is sturdy enough to hold multiple coats and heavy items like keys and hats. If you’re going for a rustic look, unplaned wood can add texture and character, while planed wood gives a cleaner, more modern appearance.
The number of hooks you choose will depend on the size of the rack and your needs. A typical coat rack might have between 4 to 8 hooks, but I’ve seen some people go as high as 12. I’ve found that 6 hooks work well for most households — it’s enough for a family of four to have their own space, and it doesn’t overwhelm the design.
When I built my first coat rack, I used 2x3 lumber for the base and 1x1 for the vertical supports. It took about two hours to cut and assemble, and I used wood glue and screws for added strength. The total cost was under $40, which included the wood, screws, and a few sanding blocks.[1]
Always measure twice before cutting. Using a square helps ensure that your cuts are straight and your rack is level once it's mounted.
Part of our Rack wall guide.
Designing the Shape of Your Coat Rack
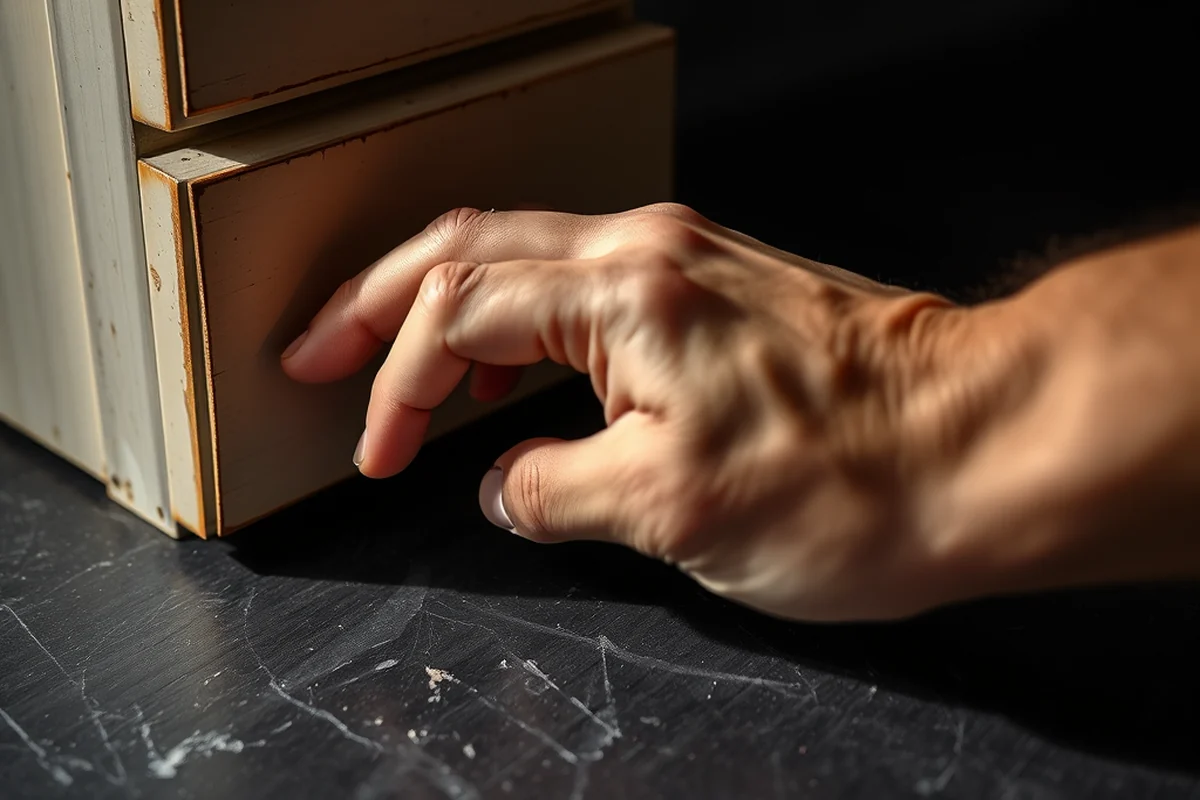
I’ve built coat racks in various shapes — straight, L-shaped, and even curved — and each has its own advantages. A straight coat rack is the simplest and easiest to build, while an L-shape can fit into corners and save space. Curved designs are more decorative but require more careful planning to ensure the structure is stable.
When designing your coat rack, consider where it will be placed. If it’s going in a narrow entryway, a vertical design might be better. I’ve found that a horizontal coat rack is easier to build but takes more space on the wall. I also prefer to add a small base to my coat rack to prevent it from falling off the wall — it’s a simple addition that adds a lot of security.
I built my coat rack with a 36-inch length and 12-inch width. That size worked well for my hallway, and I used 6 hooks spaced evenly along the horizontal bar. I used a jigsaw to cut the shape, which allowed me to customize the design to fit my space perfectly.
A well-designed coat rack can be both functional and a focal point in your entryway.
Related: Clothes drying racks at home depot
Related: Coat rack for wall black
Related: Wooden coat racks near me
Related: What is bakers rack
Related: What is rack cards
Cutting and Assembling the Pieces
I always start by cutting the main bar and the vertical supports. I use a miter saw for straight cuts and a jigsaw for curved or angled pieces. After cutting, I sand down the edges to prevent splinters and to make the wood look cleaner. I’ve found that using a hand sander with 120-grit sandpaper works best for this step.
Assembling the coat rack is straightforward — I use wood glue and screws to attach the vertical supports to the main bar. I’ve noticed that using a combination of glue and screws provides a more secure hold, especially when the coat rack is going to hold heavier items. Once the pieces are attached, I let the glue dry for at least 24 hours before moving on to the next step.
I used a Kreg Jig to drill pocket holes for added strength. This method allowed me to attach the vertical supports without visible screws on the front of the coat rack, which kept the design clean. After assembling the frame, I applied a wood finish — I used a water-based stain and a clear polyurethane top coat for protection and a nice sheen.
Before drilling into the wall, make sure the coat rack is fully assembled and secured with glue and screws. This helps prevent it from shifting once you start mounting it.
“There’s nothing quite like the satisfaction of hanging a coat rack on your wall, knowing it was built by your own hands.”— Creating DIY Wooden Coat Racks editors
Marking the Wall for Installation

I always use a level and a pencil to mark the wall where the coat rack will be mounted. I start by holding the coat rack against the wall and marking the positions of the mounting brackets. I’ve learned that using a level is essential to ensure that the rack is straight and will hang evenly.
For drywall, I use a wall anchor and a screw to secure the coat rack. I’ve found that using 2-inch wood screws with a 1/4-inch diameter works best for most drywall types. I use a driver bit to drill the holes, which makes the process faster and more precise.
I’ve had to adjust the height of my coat rack a few times to make sure it was at the right level — generally around eye level for the average person. I also like to leave a little space between the wall and the back of the coat rack to allow for airflow and prevent warping over time.
Mounting the Coat Rack
I use a drill and a screwdriver to attach the coat rack to the wall. I’ve found that using a screwdriver with a magnetic tip makes it easier to hold the screws in place while drilling. I start by drilling the holes, then insert the screws into the wall anchors and tighten them until the coat rack is firmly attached.
I always check that the coat rack is level and plumb after mounting. I’ve had a few instances where the rack was slightly off, and it looked awkward once the hooks were added. Using a level again after mounting helps ensure that the final result looks professional and even.
I’ve also used a small amount of wood glue on the back of the coat rack before attaching it to the wall. This extra step adds a bit more stability and helps the rack stay in place over time. It’s a small effort that can make a big difference in the longevity of the project.
Adding the Hooks
I’ve used a variety of hook types over the years — from simple metal hooks to decorative ones that match the style of the coat rack. I’ve found that using 1/4-inch diameter screws works best for attaching the hooks to the coat rack. The holes should be pre-drilled to prevent the wood from splitting.
I always space the hooks evenly along the coat rack to make it easier to use. I’ve had to adjust the spacing a few times depending on how many people use the coat rack and what items are being hung. A typical spacing is 6 inches between each hook, but I’ve seen people go as close as 4 inches for smaller coat racks.
I’ve found that using a metal hook with a slight curve helps prevent coats from slipping off. I also like to apply a small amount of wood glue on the back of the hook before attaching it to the coat rack. This helps keep the hook in place and adds a bit of extra strength.
The right hooks can make all the difference in how your coat rack looks and functions.
Finishing Touches and Maintenance
I always finish my coat rack with a wood stain and a clear polyurethane top coat. This not only gives it a nice sheen but also protects the wood from moisture and wear. I’ve used both oil-based and water-based finishes, and I’ve found that water-based finishes are easier to clean up and have less of an odor.
I’ve also used a wood wax to add a little extra protection and to bring out the grain in the wood. This step is optional but can give your coat rack a more polished look. I’ve noticed that applying a second coat of polyurethane after the wax gives the best results.
Once the coat rack is finished and mounted, I like to give it a quick wipe down with a soft cloth to remove any dust or residue. I’ve found that keeping the coat rack clean and free from dirt helps it look its best for years to come.
💰 Budget Build
A basic coat rack made with repurposed wood and minimal finishing for under $30.
⏱️ Weekend Version
Build a simple coat rack in under 4 hours with minimal tools and basic materials.
✨ Upgraded Finish
Add a custom stain and hardware to make your coat rack look like it was bought from a furniture store.
🏠 Small-Space Adaptation
Build a vertical coat rack that fits into tight corners and saves wall space.
🧰 Rental-Safe Option
Use removable adhesive and temporary brackets to hang a coat rack without damaging rental walls.
| The mistake | Why it happens | The fix |
|---|---|---|
| Using the wrong type of screws | Using screws that are too long can damage the wall or cause the coat rack to be unstable. | Always use screws that are appropriate for the thickness of your wood and the type of wall you're mounting on. |
| Not using a level | If the coat rack isn’t level, it can look unprofessional and be harder to use. | Use a level to ensure the coat rack is straight both horizontally and vertically before securing it to the wall. |
| Overlooking the need for wall anchors | Mounting a coat rack without proper wall anchors can lead to it falling off the wall, which can be dangerous. | Always use wall anchors and screws that are strong enough to support the weight of the coat rack and the items you’ll be hanging on it. |
| Not leaving space for airflow | Mounting the coat rack too close to the wall can cause the wood to warp over time, especially in humid environments. | Leave a small gap between the back of the coat rack and the wall to allow for airflow and prevent warping. |
How To Hang Coat Rack On Wall
Common Questions
What kind of wood is best for a coat rack?
Can I use a coat rack on a plaster wall?
How long does it take to build a coat rack?
Do I need a power drill to build a coat rack?
References
- AARP Home Fit Guide (hhs.cuyahogacounty.gov)
Cite this guide
Creating DIY Wooden Coat Racks (2026). How To Hang Coat Rack On Wall. https://carvecharm.com/how-to-hang-coat-rack-on-wall/
Feel free to cite or share this guide.