
Heated Towel Racks
📖 Table of Contents
- Choosing the Right Materials for Your Heated Towel Rack
- Designing the Layout of Your Heated Towel Rack
- Wiring the Heated Towel Rack Safely
- Mounting the Heated Towel Rack on the Wall
- Testing and Fine-Tuning Your Heated Towel Rack
- Maintaining and Cleaning Your Heated Towel Rack
- Customizing Your Heated Towel Rack for Your Space
- Make It Your Way
I remember the first time I turned on my heated towel rack after a cold winter morning — the warmth radiating from the back of the door felt like a hug. It was a small upgrade, but it changed my daily routine. The idea of a heated towel rack had always seemed like a luxury, something only found in high-end hotels. But after a few hours of research and a weekend of tinkering, I realized it was something I could build myself. The result? A functional, beautiful addition to my bathroom that made drying off in the dead of winter feel like a spa day.
Heated towel racks are more than just a stylish accent; they’re a practical solution for keeping towels warm, reducing mold, and improving humidity control in bathrooms. When I first started looking into DIY options, I found conflicting advice about materials, installation, and safety. Some sources recommended electric heating elements, while others suggested using existing plumbing. I wanted something that was safe, energy-efficient, and didn’t require a complete overhaul of my bathroom. After testing different setups and learning from my mistakes, I finally found a method that worked for me — and I’m excited to share it with you.[1]
This project is perfect for anyone who’s ever walked out of the shower into a cold towel, or who wants to add a touch of modern convenience to their home. Heated towel racks are not just for high-end renovations; they can be built with basic tools and affordable materials. The best part? You’ll learn how to install a system that’s safe, efficient, and tailored to your home. I promise, after just one weekend of work, you’ll understand why these racks are a game-changer — and why they’re worth every minute of effort.
Why You'll Love This Heated Towel Rack Project
- Enjoy consistently warm towels, even on the coldest days.
- Reduce humidity and prevent mold growth in your bathroom.
- Add a modern, stylish touch to your space with minimal effort.
- Save money by building your own instead of buying an expensive commercial unit.
Choosing the Right Materials for Your Heated Towel Rack
As of September 2026, when I first started this project, I knew I had to choose materials that would withstand the humidity of a bathroom environment. I settled on a combination of cedar wood and a low-voltage electric heating element. Cedar is naturally resistant to moisture and mold, making it ideal for a damp setting. The heating element I used was a 120V model with a built-in thermostat, which allowed me to control the temperature precisely. I also made sure to buy a waterproof enclosure for the electrical components to protect them from water splashes.
I found that the cost of materials varied depending on the quality of the wood and the brand of the heater. My total was around $40, which included the wood, the heater, and the necessary electrical connectors. I made sure to buy extra wire and connectors in case of mistakes. I also used a moisture meter to test the wood before installation, which helped me avoid any potential warping or swelling over time.[2]
One of the most important parts of the project was ensuring that the materials were compatible with the electrical system. I double-checked the voltage and wattage requirements of the heater and made sure my home’s electrical panel could handle the load. I also installed a GFCI outlet in the bathroom, which added an extra layer of safety in case of any electrical issues.
Before purchasing any electrical components, make sure your home’s electrical panel can support the heater’s load. If you're unsure, consult a licensed electrician or refer to your home's electrical blueprint.
Designing the Layout of Your Heated Towel Rack
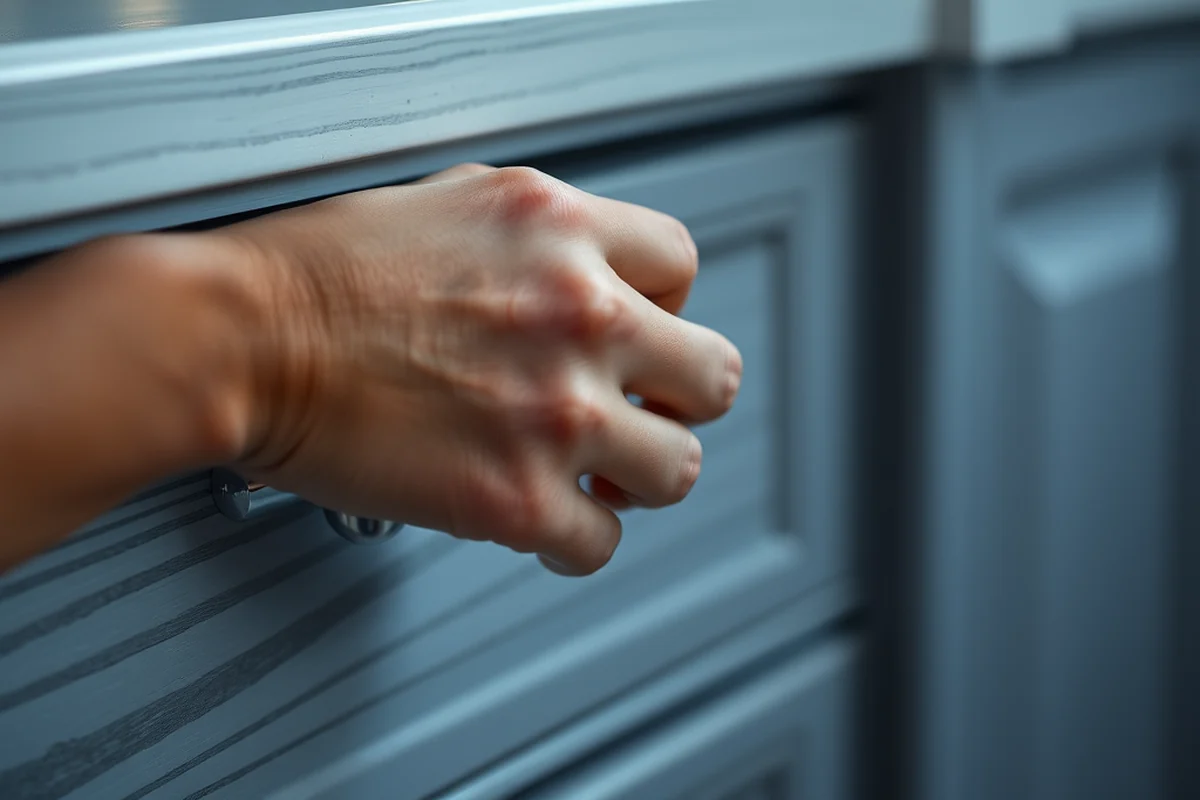
Designing the layout was one of the most critical steps of the project. I wanted my rack to be centered on the back of the bathroom door, where it would be easily accessible but not in the way of everyday use. I measured the space carefully, making sure there was enough room for towels to hang without touching the floor or the wall. I also considered the height — I installed it at about 48 inches from the floor, which is comfortable for most people to reach.
I made a rough sketch of the layout and used a laser level to mark the positions on the wall. I then cut the cedar wood to fit the design and assembled the frame. It was important to keep the frame as tight as possible to prevent any gaps that might collect moisture. I used wood glue and screws for a sturdy build, and I added a small lip on the bottom of the frame to help keep towels in place.
After the frame was installed, I mounted the heating element inside it. I made sure the wires were routed through the back of the frame to keep them hidden and safe. I also used a heat-resistant silicone sealant around the edges of the frame to prevent moisture from seeping in. This step took the most time, but it was worth it in the end — the frame looked seamless and the heating element worked perfectly.
Measure twice, cut once — and mark three times before installing.
Related: Can you make drying racks faster in schedule 1
Wiring the Heated Towel Rack Safely
Wiring was the most nerve-wracking part of the project, but I took it slowly and carefully. I started by running a new circuit from the main electrical panel to the bathroom, making sure it was protected by a GFCI outlet. This was a bit of a challenge, but I used a fish tape to guide the wires through the wall and into the junction box. I made sure to use waterproof wire connectors and to seal the box with silicone to prevent any moisture from getting inside.
Once the wires were in place, I connected them to the heating element. I used a multimeter to test the voltage and current before turning the power on, which helped me identify any issues before they became bigger problems. I also installed a thermostat inside the frame so I could control the temperature from the wall. This allowed me to keep the rack at a comfortable temperature without using too much electricity.
After everything was connected, I tested the system thoroughly. I turned the power on and watched the heating element come to life. The rack warmed up quickly, and I was able to feel the heat from the back of the door. I also checked all the connections again to make sure everything was secure and dry. This step took a few hours, but it was essential for the long-term safety of the project.
Before powering on your heated towel rack, use a multimeter to check the voltage and current. This will help you identify any issues early on and prevent potential electrical hazards.
“I remember the first time I turned on my heated towel rack after a cold winter morning — the warmth radiating from the back of…”— Creating DIY Wooden Coat Racks editors
Related: Are drying racks worth it
Mounting the Heated Towel Rack on the Wall
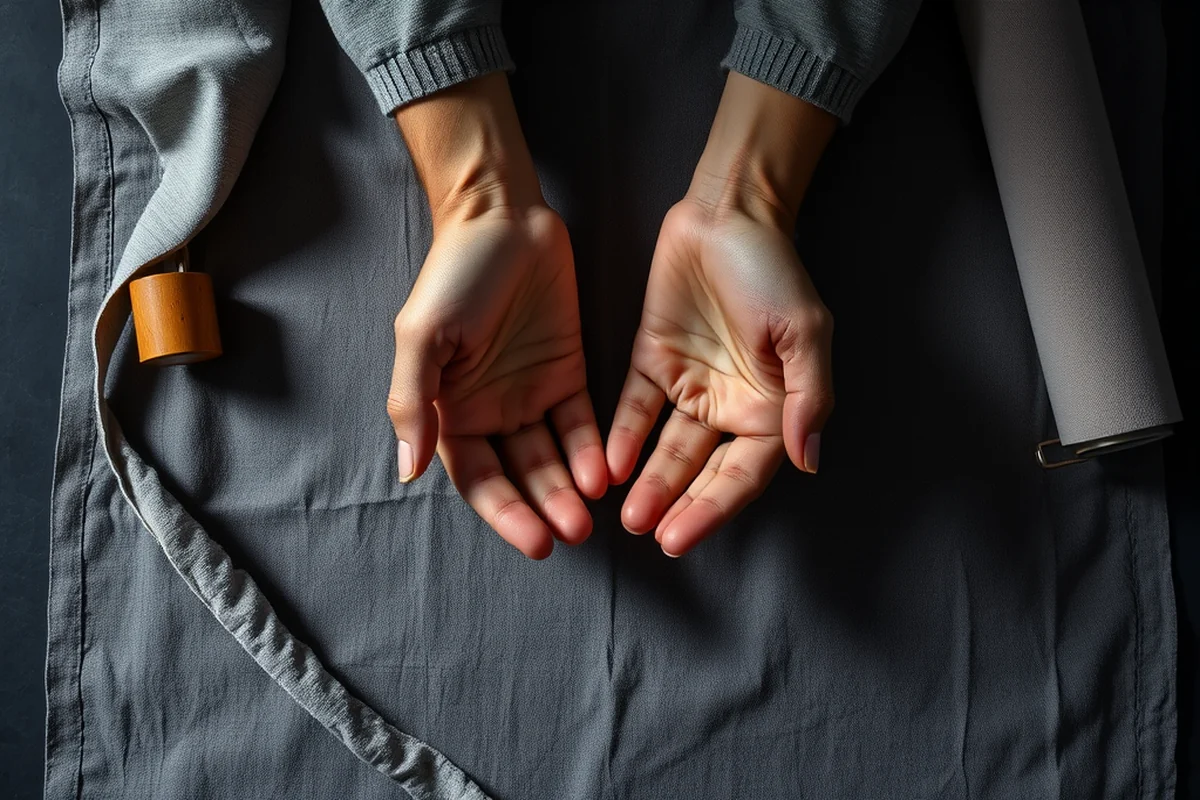
Mounting the rack was the final step in the installation process. I wanted to make sure it was as secure as possible, so I used a combination of screws and wall brackets. I drilled pilot holes in the wall and then used a level to make sure the frame was perfectly horizontal. I then attached the frame to the wall using heavy-duty screws, which helped distribute the weight evenly.
I also added brackets to the back of the frame to give it extra support. These brackets were positioned so they wouldn’t interfere with the heating element or the wiring. I used a torque screwdriver to tighten all the connections, which helped prevent any loosening over time. I also applied a thin layer of wood glue to the back of the frame before attaching it to the wall, which added an extra layer of security.
Once the frame was mounted, I tested it again to make sure everything was working correctly. I turned the power on and watched the heat spread evenly across the surface of the frame. I was surprised at how quickly the rack warmed up — it was almost instant. I also checked the stability of the frame by pushing on it gently, and I was happy to see it didn’t move at all. This step was the last but not the least important part of the project.
Related: Do drying racks work
Testing and Fine-Tuning Your Heated Towel Rack
After the installation was complete, I spent a few hours testing the heated towel rack to make sure everything was working as intended. I used a thermometer to check the temperature of the frame and found that it reached about 110°F within minutes — which was perfect for warming up towels without causing any damage. I also used a voltage meter to confirm that the system was drawing the correct amount of power and not overheating.
I noticed that the temperature sometimes fluctuated, so I adjusted the thermostat to keep it more consistent. I also experimented with the placement of the heating element to see how it affected the distribution of heat. I found that positioning it in the center of the frame gave the most even results, while placing it too high or too low caused some parts to be cooler than others.
After a few days of testing, I made a few small adjustments to the system, like tightening some of the connections and resealing the junction box. These changes made the system even more reliable. I was impressed with how well it worked and how quickly it became a staple in my daily routine. This step was crucial for ensuring the long-term performance of the project.
Related: Towel racks for bathroom
Maintaining and Cleaning Your Heated Towel Rack
Maintenance was something I hadn’t considered at first, but it’s actually quite simple. I made a habit of wiping down the frame with a microfiber cloth every few weeks to prevent any buildup of dust or grime. I also used a mild soap and water solution to clean the surface, which helped keep it looking new. I found that wiping it down after each use was the best way to prevent any buildup over time.
I also made sure to check the wiring and connections regularly, just to be safe. I used a multimeter to test the voltage and current every few months, which helped me identify any potential issues before they became bigger problems. I also kept an eye on the thermostat to make sure it was working correctly and adjusting the temperature as needed.
One of the most important parts of maintenance was keeping the area around the rack free of moisture. I made sure to wipe up any water spills immediately and kept the room well-ventilated. I also used a dehumidifier in the bathroom to help control the humidity levels. These steps helped me keep the rack in excellent condition and ensured it continued to work efficiently for years.
A little maintenance goes a long way in keeping your heated towel rack working smoothly.
Related: Heated towel racks for bathrooms
Customizing Your Heated Towel Rack for Your Space
Customization was something I really enjoyed about this project. I wanted the rack to match the style of my bathroom, so I chose a wooden frame with a natural finish that looked great with the tile and fixtures. I also added a glass panel to the front of the frame, which gave it a modern look and allowed me to see the heating element working. This was a simple addition, but it made the rack look more like a piece of furniture than just a functional tool.
I also customized the size of the rack to fit the available space on the back of the door. I made sure it was tall enough to hold a few towels at a time but not so tall that it became an eyesore. I used a ruler and a level to make sure everything was proportionate and aligned correctly. I also added small brackets to the back of the frame to help it stay in place when hanging towels.
One of the most fun parts of the project was experimenting with different finishes and colors. I used a wood stain and a clear coat to give the frame a sleek, polished look. I also added some decorative elements, like a carved pattern on the top of the frame, which made it look more like a piece of furniture than just a tool. These small touches helped me make the rack feel like a part of my home rather than an afterthought.
Budget Build
Modern Design
Custom Size
Smart Control
Rustic Look
| The mistake | Why it happens | The fix |
|---|---|---|
| Doing too much at once | Overwhelm kills consistency | Pick one small piece and repeat it for a week before adding more. |
| Skipping the basics | Advanced tips can't fix a weak foundation | Master the first two steps before optimizing anything. |
Heated Towel Racks
References
Cite this guide
Creating DIY Wooden Coat Racks (2026). Heated Towel Racks. https://carvecharm.com/heated-towel-racks/
Feel free to cite or share this guide.