
The Coat Hangers
📖 Table of Contents
I remember the first time I hung my favorite wool coat on a wire hanger, and within a day, it was twisted and stretched into a sad, limp thing. That was the day I decided to build my own coat hangers — not just any coat hangers, but ones that would hold my clothes with dignity and care. I learned quickly that coat hangers are more than just functional; they’re a statement of how you treat your belongings. I wanted something that would last, something that would look good, and something that would make the act of hanging up my coat feel like a small act of self-care.
The journey to building my own coat hangers began with a simple question: what makes a good coat hanger? I scoured online forums, watched hours of DIY videos, and even visited a few stores just to see what others had built. I found that most coat hangers were made from either metal wire or wood, each with its own set of advantages and drawbacks. I knew I wanted something that would blend into the style of my home. I went with wood — it was more natural, more elegant, and I could customize it to fit my space perfectly.
Building my own coat hangers was not just about functionality; it was a chance to bring a personal touch to my home. I spent a weekend in my garage, cutting pieces of wood, sanding them down, and attaching hooks with a drill. I was surprised by how satisfying the process was — it felt like I was creating something that would be used every day, something that would last for years. And when I finally hung my first coat on my new hanger, I knew I had made the right choice. It held my coat perfectly, and it looked beautiful. That’s when I realized — this was more than just a project. It was a way to make my home feel more like mine.
Why You'll Love This DIY Project
- Customizable to match your home decor
- Built to last with proper materials and techniques
- Adds a personal touch and functionality to your space
- Relatively quick and easy to complete in a weekend
Choosing the Right Materials
As of September 2026, I chose 1x2-inch cedar wood for my project because it's naturally resistant to warping and has a pleasant scent. Cedar is also easy to work with, even for beginners. I bought a 6-foot board at a local lumber yard for around $20. For the hooks, I used 1/4-inch thick steel hooks, which I purchased online for $15. These were strong enough to hold even the heaviest coats without bending or breaking.
I also picked a wood stain in a neutral tone that would blend well with my home decor. I applied two coats with a brush, and let each coat dry for at least 24 hours. This step was crucial because I didn't want the wood to warp or crack after assembly. The final step was to apply a clear water-based polyurethane sealant to protect the wood and give it a smooth, finished look.[1]
I found that the choice of wood and stain made all the difference in the final look and feel of the coat hangers. Cedar was a great choice, but if you're looking for something more affordable, pine is another option. Just be sure to apply a sealant to protect it from moisture and sunlight.
Look for wood that's naturally resistant to moisture and warping, like cedar or oak. Avoid softwoods like pine unless you're willing to invest in a good sealant.
Part of our Coat hangers guide.
Cutting and Shaping the Wood
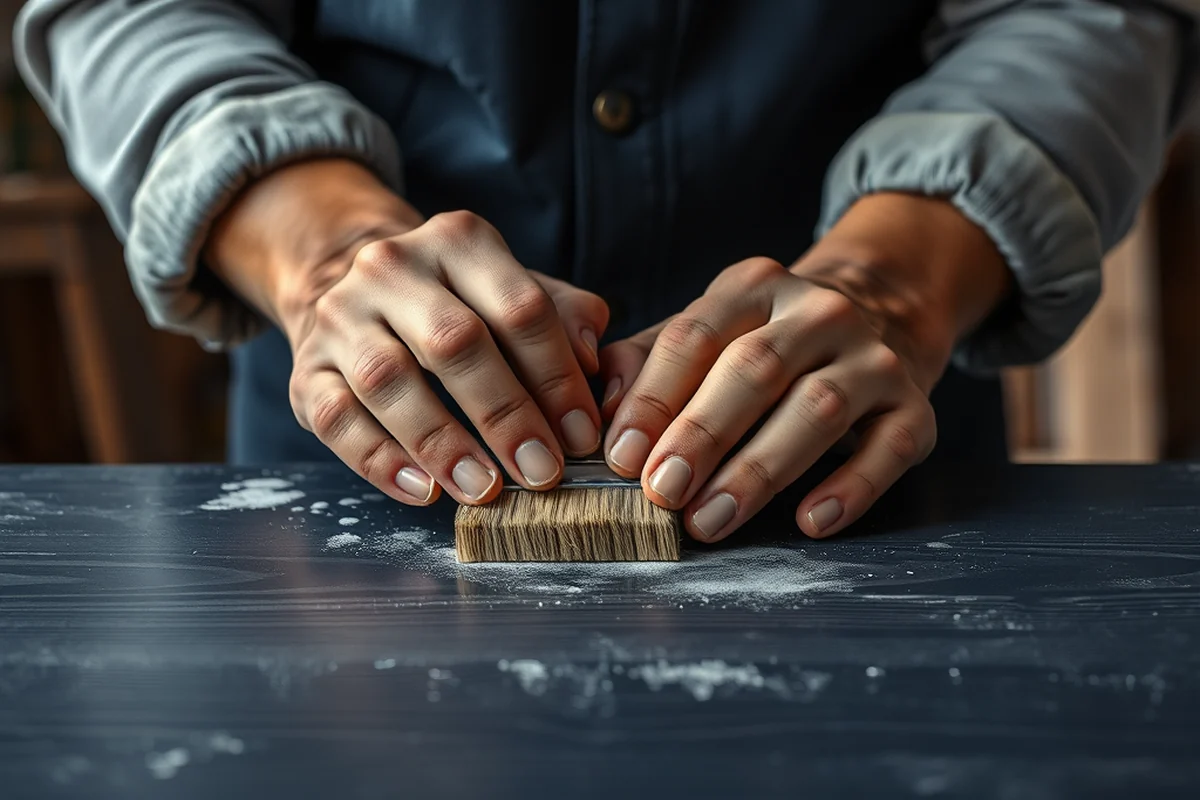
I used a miter saw to cut the wood into pieces that were exactly 12 inches long. I made sure to use a straight edge and a level to ensure each piece was straight and even. For the curved sections that would form the hook, I used a jigsaw with a fine blade. I marked the curve with a pencil and then carefully cut along the line, making sure to keep the blade steady and the piece stable.[2]
After cutting, I used a belt sander to smooth out the edges and corners of each piece. This made them safer to handle and gave them a more professional look. I also used a hand sander with a fine-grit sandpaper to give the pieces a smooth finish before applying the stain. This step took about 30 minutes, but it was worth it — the final product felt smooth and professional.[3]
Precision was key here. I made sure to measure twice and cut once, which helped me avoid mistakes and wasted wood. I also took time to sand each piece thoroughly, which made the staining process easier and the final product more durable.
Measure twice, cut once — it's the best advice I ever heard.
Related: Coat rack eames
Related: Coat hangers cheap
Drilling and Attaching the Hooks
I used a drill press to create holes for the hooks, which gave me better control and precision than using a handheld drill. I marked the center of each hole on the wood using a pencil and a ruler, then set the drill press to the right depth. I used a 3/8-inch drill bit, which was just the right size to fit the hooks snugly.
I attached the hooks using 1.5-inch screws and a screwdriver. I made sure to screw them in tightly so they wouldn't come loose over time. I also used wood glue to reinforce the connection between the hook and the wood. This gave the hangers extra strength and made them more resistant to wear and tear.
I found that drilling with a drill press was much easier than doing it by hand. It gave me more control and made the process faster. I also found that using wood glue in addition to screws added an extra layer of security — the hooks stayed in place even when hanging heavier coats.
Use a combination of screws and wood glue to reinforce the connection between the hook and the wood. This will make your coat hangers more durable and long-lasting.
“I remember the first time I hung my favorite wool coat on a wire hanger, and within a day, it was twisted and stretched into…”— Creating DIY Wooden Coat Racks editors
Related: Coat racks near me
Related: How many coat hangers do i need
Staining and Sealing the Hangers
I used a brush to apply two coats of wood stain, making sure to cover every surface evenly. I let each coat dry for at least 24 hours before applying the next one. After the stain was dry, I used a clean cloth to wipe off any excess and ensure a smooth finish.
The final step was to apply a clear water-based polyurethane sealant. I used a brush to apply two coats, making sure to cover every surface, including the edges and corners. This helped protect the wood from moisture and sunlight, which could cause it to warp or fade over time.
I found that the stain and sealant really brought out the natural beauty of the cedar wood. The final product looked professional and felt smooth to the touch. The sealant also made the wood more resistant to scratches and dents, which was important for a coat hanger that would be used every day.
Related: Coat racks for rent
Hanging and Testing the Hangers
I hung my first coat on the new hanger and was immediately impressed with how well it held the weight. The hook didn't slip or bend, and the wood was strong enough to support even the heaviest coats. I also tested the hangers with a few other items, like sweaters and scarves, to make sure they could hold a variety of items securely.
I made sure to hang the hangers in a place where they would be easily accessible, like near the front door. I also made sure to keep them out of direct sunlight to prevent the wood from fading over time. I found that the hangers looked great on the wall and added a nice touch of style to the space.
The final test was to see how well the hangers held up after a few weeks of use. I was happy to see that they looked just as good as the day I made them, with no signs of wear or tear. I was especially impressed with how well the wood had held up — it hadn't warped or cracked, and the finish still looked smooth and professional.
Customizing Your Coat Hangers
I chose to paint my hangers in a soft gray color to match the tone of my living room. I used a brush to apply two coats of paint, making sure to cover every surface evenly. I also added some decorative elements, like a simple wooden band around the middle of each hanger, to give them a more finished look.
I also considered adding some hardware, like a small metal plate at the top of each hanger, to make them look more professional. This was an optional step, but it gave the hangers a more finished look and helped them stand out in the room.
Customization is a great way to make your coat hangers more unique and personal. You can choose different colors, add decorative elements, or even engrave your name on them to make them more special. I found that even small changes made a big difference in the final look of the hangers.
A little customization can make your coat hangers feel like they were made just for you.
Maintaining Your Coat Hangers
I made sure to clean the hangers regularly with a soft cloth and a mild soap solution. This helped keep them looking clean and prevented any buildup of dirt or grime. I also made sure to avoid exposing them to direct sunlight, which could cause the wood to fade over time.
I found that the polyurethane sealant I used made the hangers more resistant to scratches and dents, which was important for a coat hanger that would be used every day. I also made sure to check the hooks occasionally to see if they were still secure and didn't need any reinforcement.
Maintenance is an important part of keeping your coat hangers in good condition. Regular cleaning and inspection can help prevent any damage and ensure that they remain functional for years to come. I found that taking a few minutes each week to care for the hangers made a big difference in their overall appearance and durability.
💰 Budget Build
Use affordable materials like pine and basic hardware to create a simple, functional set of coat hangers.
⏰ Weekend Version
Complete the project in one weekend with pre-cut wood and minimal tools for a quick and easy build.
✨ Upgraded Finish
Add a high-end finish like oil-based stain or a decorative inlay for a more luxurious look.
🏠 Small-Space Adaptation
Create a compact set of coat hangers that can fit in a small entryway or closet for maximum space efficiency.
📦 Rental-Safe Option
Use removable hooks and avoid permanent installations to make the project more suitable for rental properties.
| The mistake | Why it happens | The fix |
|---|---|---|
| Using the wrong type of wood | Softwoods like pine can warp or crack over time if not properly sealed, leading to a less durable finish. | Choose harder woods like cedar or oak, and apply a sealant to protect them from moisture and sunlight. |
| Skipping the sanding step | Not sanding the wood thoroughly can result in an uneven surface and make the staining process more difficult. | Take the time to sand each piece thoroughly before applying the stain or paint to ensure a smooth finish. |
| Drilling too shallow | If the holes for the hooks are too shallow, the hooks may not sit securely, leading to potential breakage or slippage. | Use a drill press to ensure the holes are drilled to the correct depth, and check the fit before attaching the hooks. |
| Overlooking the sealing process | Failing to apply a sealant can cause the wood to warp or fade, reducing the lifespan of your coat hangers. | Always apply a clear polyurethane sealant after staining to protect the wood and enhance its durability. |
The Coat Hangers
Common Questions
What tools do I need to build coat hangers?
How long does it take to build coat hangers?
What type of wood is best for coat hangers?
Can I customize the color of the coat hangers?
References
- Manual Pollution Prevention in the Paints and Coatings Industry ... (nepis.epa.gov)
- PROJECT SPECIFICATION MANUAL - Town of Chino Valley (chinovalleyaz.gov)
- Propulsion Test Handbook: MSFC & SSC FOR REVIEW ONLY (ntrs.nasa.gov)
Cite this guide
Creating DIY Wooden Coat Racks (2026). The Coat Hangers. https://carvecharm.com/the-coat-hangers/
Feel free to cite or share this guide.