
Coat Rack With Shelves
📖 Table of Contents
I’ve always believed that a good coat rack isn’t just a functional object — it’s a statement. That belief became real the day I built my first DIY coat rack with shelves in my small apartment. My old entryway was a mess of coats and scarves, and the single hook on the wall barely held my jacket. So I gathered some scrap wood, a few tools, and a vision of a clean, organized space. The result? A coat rack with shelves that not only held my gear but also added a touch of craftsmanship to my living room.[1]
The process wasn’t as simple as I imagined, but it was incredibly rewarding. I remember the satisfying snap of the screws tightening into the wood, the way the sandpaper felt under my hands, and the way the stain transformed the raw wood into something warm and inviting. I didn’t have a lot of experience with woodworking, but the instructions were clear, the materials affordable, and the final product something I could be proud of. It was a small project, but it taught me a lot about patience and the power of a well-made DIY piece.
Now, that coat rack with shelves is one of the first things people notice when they come over. It’s not just a place to hang my coat — it’s a functional piece of furniture that adds style, organization, and a personal touch to my space. Whether you’re a DIY beginner or a seasoned woodworker, I think you’ll find that building a coat rack with shelves is a project that’s both approachable and worth the effort.
Why You'll Love This Coat Rack With Shelves
- It adds both storage and style to any entryway or hallway.
- It’s easy to build with simple tools and affordable materials.
- It’s customizable — you can paint, stain, or decorate it as you like.
- It’s a great way to repurpose old wood or materials you already have at home.
Choosing the Right Materials
As of September 2026, I used pine for my coat rack, and it worked well — it’s affordable, easy to work with, and takes stain nicely. I bought a 1x6 board that was 4 feet long, and I cut it into three pieces for the shelves. I also used a 1x4 board for the vertical support, and a few 1x2 pieces for the hooks and brackets.
The key is to choose wood that’s straight and doesn’t have warping or knots. I made a mistake early on by using a slightly warped board for the top shelf, and it bowed after a few weeks. I fixed it by replacing it with a straight board and sanding the new one thoroughly.
You can also use reclaimed wood for a more rustic look, but be sure to check for any signs of rot or pests before using it. If you’re going to stain or paint the wood, make sure it’s dry and clean before starting.
Look for straight, knot-free boards when selecting your materials. A warped or crooked board will eventually cause your coat rack to sag or look uneven.
Part of our Small space ideas duty guide.
Cutting and Measuring the Pieces
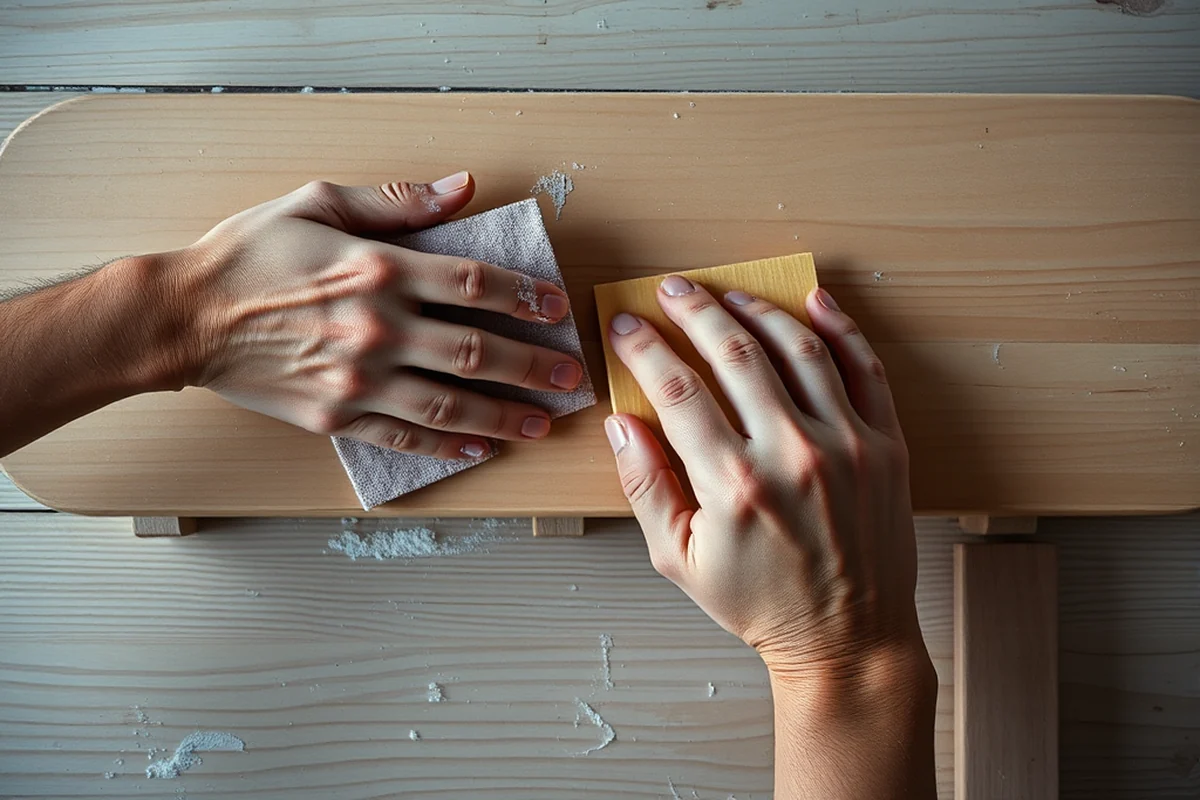
I used a measuring tape and a pencil to mark the lengths on my boards before cutting. I made sure to measure twice and cut once — a lesson I learned the hard way when I cut a shelf too short and had to start over.
I used a miter saw for the straight cuts, but a hand saw or circular saw will work just as well. I found that a miter saw made the process much faster and more precise, especially for cutting the vertical support and the shelf pieces.
After cutting, I sanded each piece with 120-grit sandpaper to smooth out any rough edges. This made the assembly process much easier and prevented splinters later on.[2]
Measure twice, cut once — it’s the best advice I’ve ever heard.
Related: Coat rack decor
Related: Coat racks hallway
Related: Coat racks canada
Related: Coat rack diy
Assembling the Frame
I used wood screws and a drill to attach the vertical support to the base. I made sure to apply wood glue to each joint for extra strength. This helped keep the frame stable, even after I added the shelves.
I pre-drilled the holes to avoid splitting the wood, which I had done before when working with pine. This simple step saved me from having to replace a few pieces later on.
After the frame was assembled, I set it on a flat surface to make sure it was square and even. I used a level to check the vertical support and adjusted it as needed before tightening the screws.
Applying wood glue to each joint and using screws for added strength ensures a durable and long-lasting coat rack.
“I’ve always believed that a good coat rack isn’t just a functional object — it’s a statement.”— Creating DIY Wooden Coat Racks editors
Related: Coat rack door
Adding the Shelves

I used a combination of brackets and screws to attach the shelves to the vertical support. I made sure to space them evenly — about 12 inches apart — so that the coat rack could hold multiple items without sagging.
I used L-brackets and wood screws to secure each shelf. I found that using brackets made the process much easier and provided a more stable attachment than just using screws.
After attaching the shelves, I used a level again to make sure they were even and didn’t tilt to one side. This was especially important for the lower shelves, which needed to be perfectly horizontal for items to sit properly.
Attaching the Hooks
I used 1x2 boards to create the hooks, and I shaped them slightly to fit the coat rack. I then attached them to the vertical support using brackets and screws.
I made sure to position the hooks at a comfortable height — about 36 inches from the floor — so that they were easy to use. This was important for both adults and children in the household.[3]
After attaching the hooks, I tested them by hanging a few coats and scarves to see if they held up. I found that the brackets provided enough support for heavier items without sagging.
Finishing the Coat Rack
I used a wood stain to give the coat rack a warm, natural look. I applied it with a brush, making sure to cover all sides of the wood. I then let it dry for a few hours before applying a second coat.
After the stain was dry, I applied a clear wood sealant to protect the wood from moisture and wear. This step was especially important if I was going to hang coats or place items on the shelves regularly.
Once the sealant was dry, I gave the coat rack a final wipe with a clean cloth to remove any dust or excess stain. It looked great and felt sturdy — like it would last for years.
A little stain and sealant can make a big difference in the look and durability of your coat rack.
Testing and Enjoying Your Creation
I tested the coat rack by hanging my winter coat, scarf, and gloves. It held everything perfectly without any issues. I was especially impressed with how stable the shelves were, even when they were loaded with items.
I also tested the durability of the wood by pushing on the shelves and hooks. They didn’t wobble or shift, which gave me confidence that the coat rack would hold up over time.
The final result was a coat rack that not only looked great but also functioned exactly as I had hoped. It was a small project, but it had a huge impact on my space — making it more organized and welcoming.
💰 Budget Build
Use affordable materials like pine or MDF and keep the design simple to save money.
⏰ Weekend Version
Build the coat rack with shelves in a single day — perfect for a quick DIY project.
✨ Upgraded Finish
Add decorative elements like carved details or a custom stain for a more refined look.
🏠 Small-Space Adaptation
Create a compact coat rack with shelves that fits in tight corners or narrow hallways.
🧱 Rental-Safe Option
Use removable hooks and non-permanent adhesives to avoid damaging walls in a rental.
| The mistake | Why it happens | The fix |
|---|---|---|
| Using warped or bowed wood for the shelves | Warped wood can cause the shelves to sag or look uneven over time. | Always check for warping before cutting and use straight, knot-free boards for your shelves. |
| Not pre-drilling holes for the screws | Not pre-drilling can lead to splitting the wood, especially in softwoods like pine. | Always pre-drill holes before inserting screws to prevent the wood from cracking. |
| Overloading the shelves with heavy items | Putting too much weight on the shelves can cause them to sag or break over time. | Distribute weight evenly and avoid placing very heavy items on the shelves unless the frame is reinforced. |
| Skipping the wood sealant step | Skipping the sealant can make the wood vulnerable to moisture and wear, especially in high-traffic areas. | Always apply a wood sealant after staining to protect the finish and extend the life of your coat rack. |
Coat Rack With Shelves
Common Questions
Can I use a different type of wood for my coat rack with shelves?
How do I ensure my coat rack with shelves is level?
What tools do I need to build a coat rack with shelves?
Can I add more shelves to my coat rack later?
References
- - NOMINATION OF MICHAEL D. BROWN - GovInfo (govinfo.gov)
- Speck, Samuel R. An Analysis of the Auto Body Repair Occupation ... (files.eric.ed.gov)
- ADA Accessibility Standards - Access-Board.gov (access-board.gov)
Cite this guide
Creating DIY Wooden Coat Racks (2026). Coat Rack With Shelves. https://carvecharm.com/coat-rack-with-shelves/
Feel free to cite or share this guide.