
Coat Rack Diy
📖 Table of Contents
- What Materials Do I Need for This Coat Rack DIY?
- How to Measure and Cut the Wood for Your Coat Rack
- How to Assemble the Coat Rack Structure
- Applying the Finish to Your Coat Rack
- How to Mount the Coat Rack on the Wall
- Tips for Customizing Your Coat Rack Design
- Final Steps and Maintenance for Your Coat Rack
- Make It Your Way
- Frequently Asked Questions
I remember the first time I built a coat rack for my own home — it was a cold, rainy evening, and I was determined to make something that felt both functional and warm. I had never worked with wood before, but the idea of creating something that would greet visitors every time they walked in felt deeply personal. A DIY coat rack became the first step in my journey into furniture making, and it taught me more about patience, precision, and the beauty of simple, well-made objects.
The process wasn’t without its challenges. I had to figure out how to measure the right angles, how to cut the wood with a steady hand, and how to apply the stain so it looked even and natural. But each step was satisfying in its own way, and by the end, I had something that not only held coats and keys but also made me feel proud of my work. I learned that a coat rack isn’t just a place to hang your things — it’s a statement of craftsmanship and a reminder of how much you can create with your own hands.
That first coat rack, made from reclaimed pine and painted with a soft gray stain, still sits in my hallway today. It’s seen the comings and goings of friends, family, and guests, and it has never once failed to do its job. What started as a simple DIY project turned into something that became part of my home’s character. If you’re looking for a way to add a personal, handmade touch to your space, building a coat rack is a perfect starting point.
Why You'll Love This Coat Rack DIY Project
- It adds a personalized, handmade touch to your home’s entryway.
- It’s a great way to practice and improve your woodworking skills.
- You can customize the design to match your home’s style and color palette.
- It’s a practical and affordable way to upgrade your entryway without breaking the bank.
What Materials Do I Need for This Coat Rack DIY?
As of August 2026, the materials list is intentionally simple, with most of the focus going on the wood itself. For my first coat rack, I used 3/4-inch thick pine planks, which were affordable and easy to work with. I purchased them from a local hardware store, and they came in a bundle of 10 for around $25.[1]
In addition to the wood, you’ll need wood screws — I used 2-inch screws for the vertical posts and 1.5-inch for the horizontal shelves. A quality wood saw is essential for making clean, precise cuts. I used a circular saw, but a hand saw would work for a smaller project.
Don’t forget the finishing touches. I used 120- and 220-grit sandpaper to smooth the edges, and a brush for applying a wood stain. The stain I used was a water-based one, which was easy to apply and gave a natural, warm tone to the wood.[2]
If you live in a humid climate, consider using a wood that resists warping, like maple or oak. If you’re in a dry area, pine or cedar will work well and are more affordable.
Part of our Small space ideas duty guide.
How to Measure and Cut the Wood for Your Coat Rack
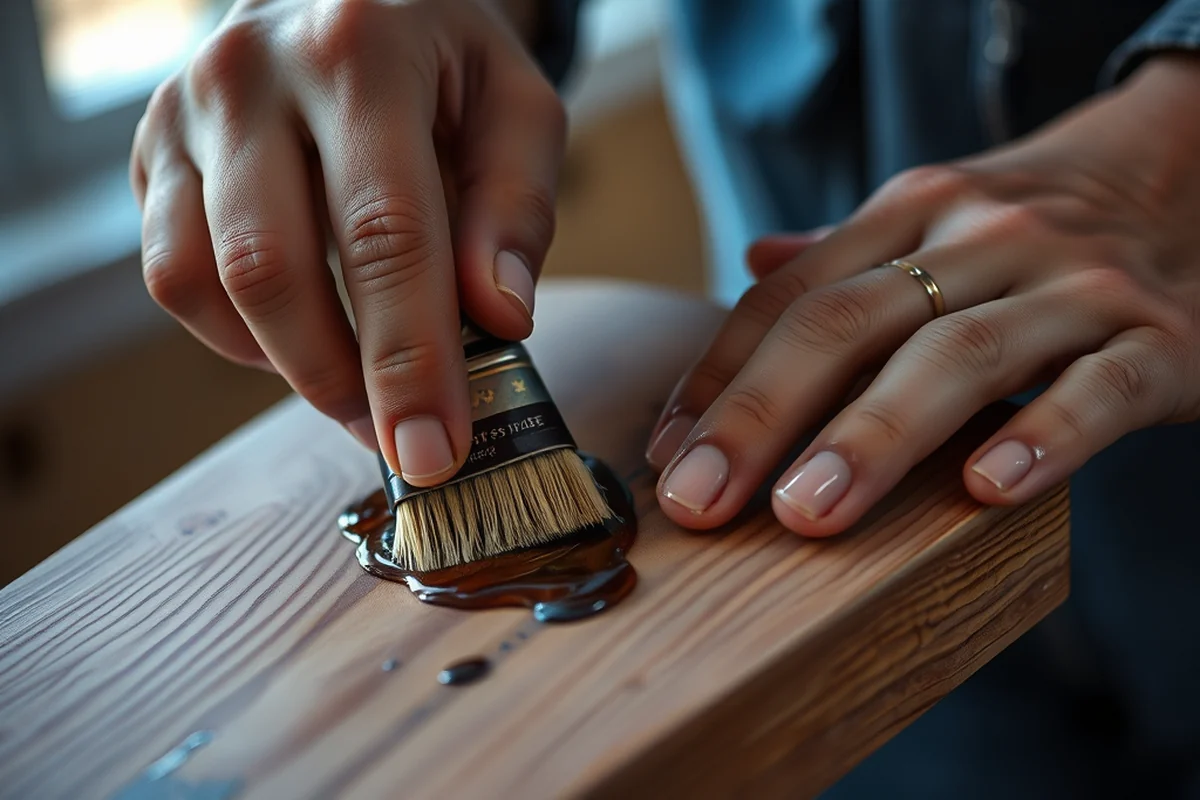
I measured the height of my entryway and decided on a height of 72 inches for the coat rack. I cut two vertical pieces at that length and then measured the horizontal shelves based on the width of the vertical posts.[3]
I used a carpenter’s square to ensure my cuts were straight and a measuring tape to mark each piece accurately. It’s important to double-check your measurements before cutting — I made a small mistake on my first cut and had to re-cut a piece, which cost me extra time.
After cutting, I sanded each piece to remove any splinters or rough edges. This step is crucial, especially for a coat rack that will be used daily and may be touched by small hands or pets.
Measure twice, cut once — and your coat rack will thank you for it.
Related: Good coat racks
Related: Coat rack price
Related: Coat racks ideas
Related: Diy Build For Kids
Related: Coat Rack For Office
Related: Coat Rack Wall Cheap
Related: What Is Dish Drying Rack
Related: Coat Rack With Shelf Wall Mounted
Related: Coat Rack Corner
Related: What Is Drying Rack For Clothing
Related: Diy Shoe Rack
Related: Nordstrom Rack Sale
Related: What Is Front Rack Carry
Related: Coat Of Arms Maker
Related: What Is Baking Rack
Related: Ribbon Rack Builder
Related: What Is Hat Rack
Related: What Is Rack In Pinion Steering
Related: What Is A Heated Towel Rack
Related: Coat Rack With Shelves
Related: What Is Glass Rack
Related: Nordstrom Rack Official Site
Related: What Is A Wire Rack For Cooking
How to Assemble the Coat Rack Structure
I laid out the vertical posts on a flat, level surface and marked where the shelves would go. I used a wood clamp to hold the pieces in place while I drilled pilot holes for the screws.
I applied wood glue to the joints before attaching the shelves with screws. This made the structure more rigid and ensured the pieces wouldn’t shift over time. I used a drill with a screwdriver bit to make the job faster and more precise.
After assembling the structure, I let the glue dry completely before moving on to the next step. I placed the coat rack in a corner of my garage for a few hours, just to be safe.
Clamps are invaluable when assembling wooden projects. They help you keep the pieces aligned while you apply glue and insert screws, reducing the risk of misalignment.
“I remember the first time I built a coat rack for my own home — it was a cold, rainy evening, and I was determined…”— Creating DIY Wooden Coat Racks editors
Related: What Is A Rack In A Server Room
Related: What Is Closet Rack
Applying the Finish to Your Coat Rack
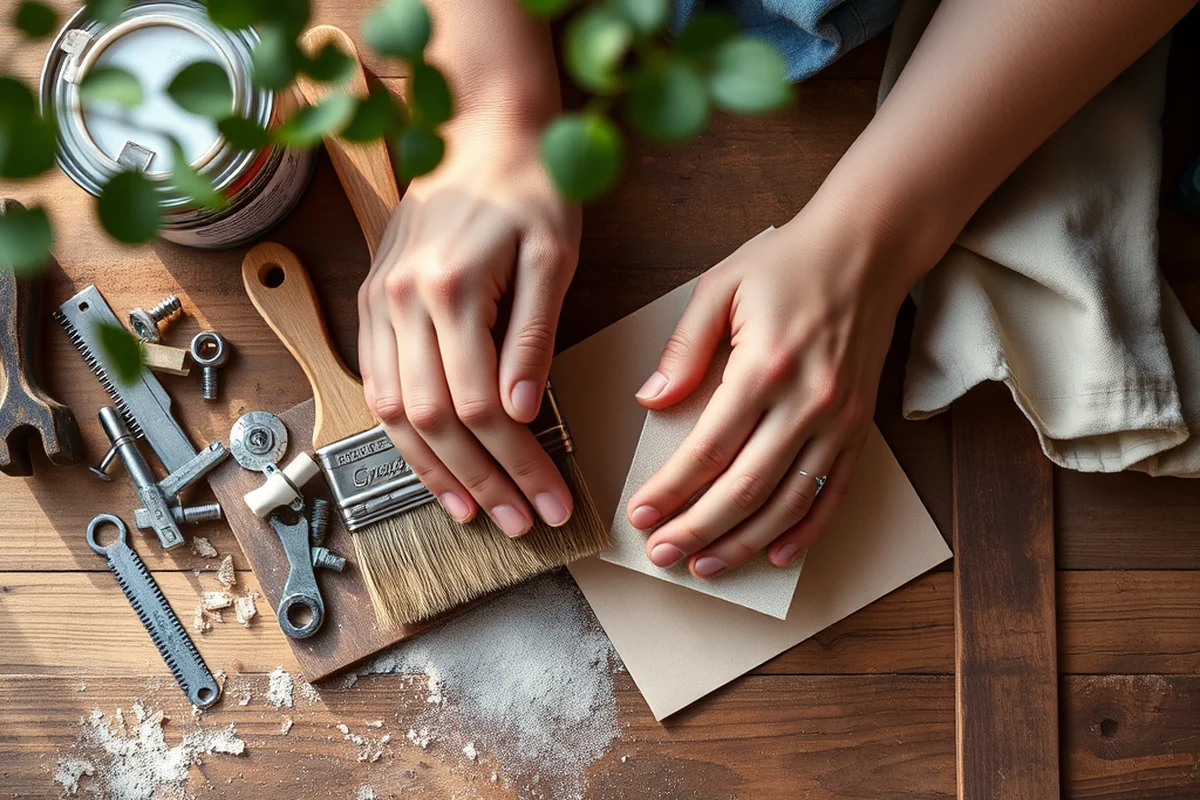
I used a natural wood stain to preserve the grain and add a warm tone to the wood. I applied it with a foam brush, making sure to work in the direction of the grain for an even finish. I let it sit for 10 minutes before wiping off any excess with a clean cloth.[4]
After the first coat dried, I applied a second coat, making sure to cover any missed areas. I used a fine sanding block to smooth any rough spots between coats.
Once the stain was dry, I applied a clear polyurethane finish to protect the wood from moisture and scratches. This step made the coat rack more durable and easier to clean.
How to Mount the Coat Rack on the Wall
For a freestanding coat rack, I used a few L-shaped brackets that I attached to the back of the vertical posts. These brackets provided extra stability and prevented the rack from tipping over when coats were hung on it.
If you’re mounting the coat rack directly to the wall, you’ll need to find the studs in the wall using a stud finder. I mounted mine on the studs, which gave it a solid base and prevented it from coming loose over time.
I used a level to make sure the coat rack was perfectly aligned. This step was especially important for the look of the project — I didn’t want it to look crooked or wobbly.
Tips for Customizing Your Coat Rack Design
I added a few decorative hooks to the top of the coat rack, which gave it a more finished look. These hooks were easy to install — I just drilled small holes and attached them with screws.
I also experimented with different finishes, including a darker stain and a light paint. I found that a darker stain gave the wood a more dramatic look, while the paint made it feel more modern and clean.
Another way to customize is by adding different types of wood or mixing materials, like using a metal frame for some shelves or adding carved details to the vertical posts. This allows you to make the coat rack truly your own.
Customization is where your personal style meets practical design.
Final Steps and Maintenance for Your Coat Rack
I made sure all the screws were tight and that the finish was even and smooth. I also checked the coat rack for any rough spots or splinters that might have been missed during the sanding process.
Over time, the coat rack may need a refinish if it gets scratched or if the finish starts to look worn. I have a small can of wood stain and some polyurethane on hand for touch-ups, which are easy to apply.
If you live in a high-traffic area or have kids or pets, you might want to consider using a more durable finish or adding a protective cover. This will help keep the coat rack looking new for years to come.
💰 Budget Build
Use affordable materials like pine planks and a simple stain for a quick and cost-effective coat rack.
⏰ Weekend Version
Finish the coat rack in one weekend with pre-cut wood and minimal tools.
✨ Upgraded Finish
Add a custom stain or paint and decorative hardware for a more refined look.
🏠 Small-Space Adaptation
Build a compact coat rack with a vertical design to save space in small entryways.
🧱 Rental-Safe Option
Create a temporary coat rack that can be easily disassembled and taken with you when moving.
| The mistake | Why it happens | The fix |
|---|---|---|
| Not measuring the wood before cutting. | Cutting without measuring can lead to pieces that don’t fit together properly. | Take the time to measure and mark each piece before cutting to ensure a perfect fit. |
| Skipping the sanding step. | Skipping sanding can leave rough edges that are uncomfortable and may damage your coats or keys. | Always sand the wood thoroughly to smooth the edges and surfaces. |
| Using the wrong type of wood. | Some woods are more prone to warping or cracking, which can affect the stability of the coat rack. | Choose a wood that is suitable for your climate and environment, like pine or maple. |
| Mounting the coat rack without securing it properly. | If the coat rack isn’t mounted correctly, it may wobble or even fall over when coats are hung on it. | Always use brackets or mount the coat rack on studs to ensure it’s stable and secure. |
Coat Rack Diy
Common Questions
Can I build a coat rack without any prior woodworking experience?
What tools do I need for this project?
How long does it take to build a coat rack?
Can I customize the size of the coat rack?
Cite this guide
Creating DIY Wooden Coat Racks (2026). Coat Rack Diy. https://carvecharm.com/coat-rack-diy/
Feel free to cite or share this guide.
References
- Coat Hanger II-I | The Art Institute of Chicago (artic.edu)
- Is It a Crape Myrtle or a Coat Rack? - UF/IFAS Blogs (blogs.ifas.ufl.edu)
- 2010 Standard Occupational Classification System (bls.gov)
- Object 13 | OSRD Coat Rack | Carnegie Science (carnegiescience.edu)