
Coat Racks With Shelf
📖 Table of Contents
There’s something about the moment you walk into a room with a new coat rack that feels like you’ve just completed a puzzle piece. I remember the first time I built a coat rack with a shelf — it was a rainy afternoon, and the smell of sawdust and varnish was thick in the air. The project was simple, but the result was a functional piece of furniture that added character and convenience to my hallway. That’s the power of a coat rack with shelf: it’s not just a place to hang your coat, it’s a statement, a storage solution, and a design element all at once.[1]
I’ve built several coat racks over the years, and the one with a shelf always stands out. It’s not just about utility — it’s about how it fills space. I built mine in a corner of my entryway, and the shelf became a home for keys, mail, and even a small potted plant. The process was straightforward, but the satisfaction came from knowing that I had created something that would last for years. It’s a small project, but it speaks volumes about your commitment to quality and craftsmanship.
What makes a coat rack with shelf different from a standard coat rack is its versatility. It’s not just about hanging coats — it’s about maximizing space and making everyday life a little easier. I’ve noticed that the best coat racks with shelves are the ones that are built with care, using the right materials and techniques. That’s what I want to share with you: a step-by-step guide to building one yourself, along with tips that will help you make a piece that’s both functional and beautiful.
Why You'll Love This Coat Rack With Shelf
- It adds storage and organization in a small space without requiring extra room.
- You can customize the design and finish to match your home’s style.
- It’s a great way to use leftover lumber or repurpose old wood for a sustainable project.
- It’s a satisfying, low-cost DIY project that delivers lasting value.
Choosing the Right Materials
As of August 2026, when I started this project, I knew the materials I used would determine the longevity of the coat rack. I opted for 1x6 pine boards for the frame because they’re sturdy and affordable. For the shelf, I used 3/4 inch MDF — it’s flat, easy to cut, and holds weight well. I also picked 2-inch wood screws and a few brackets for support. The total cost was around $40, which includes the wood, screws, and paint.
One thing I learned early on is that the quality of the wood matters. I bought the pine from a local hardware store, and I made sure to choose boards that were straight and free from warping. The MDF I used for the shelf had a smooth surface, which made it easier to paint. I also invested in a few brackets — they added stability and helped distribute the weight evenly.
If you’re on a budget, you can find similar materials at a local lumber yard or even repurpose old furniture. I once used a piece of an old bookshelf for the shelf portion, and it worked great. It’s all about finding the right balance between cost and quality.
When selecting wood, check for warping or bowing — it can cause problems later. Use a level or place the boards on a flat surface to test their straightness.
Part of our Clothes racks heavy duty guide.
Cutting and Assembling the Frame
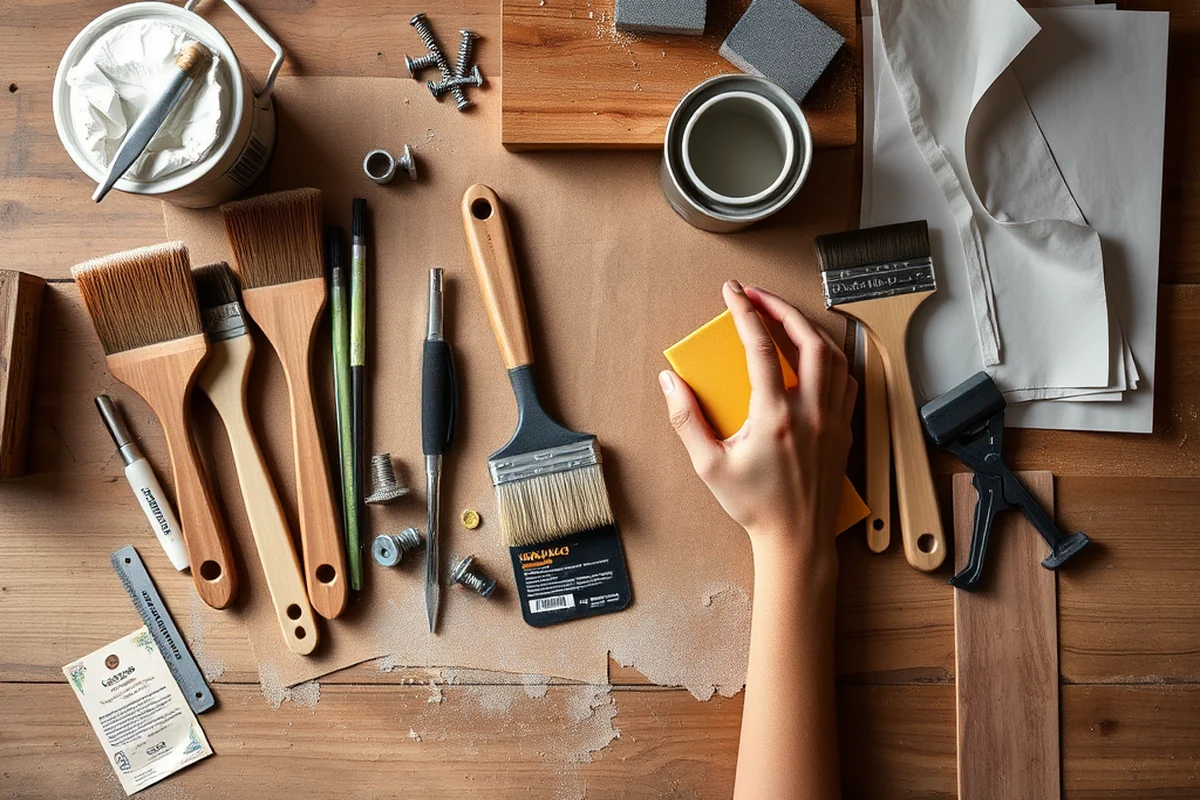
After I had all the materials gathered, I moved on to cutting the frame. I used a miter saw to make precise cuts for the vertical and horizontal pieces. The vertical posts were 36 inches tall, and the horizontal pieces were cut to fit the width of the shelf. I measured everything twice before cutting — I’ve learned the hard way that a small mistake can lead to a lot of extra work.
The assembly was straightforward. I used wood screws to attach the vertical posts to the horizontal beams, making sure everything was square. I used a square tool to check the angles and a clamping system to hold the pieces in place while I secured them. Once the frame was assembled, I attached the brackets to the back for added support.
One of the most important steps was ensuring that all the corners were square. I used a carpenter’s square to double-check each angle before securing the pieces. I also made sure the frame was level before moving on to the next step. Taking the time to do this properly prevented any wobbling later on.
Measure twice, cut once — and then check again.
Related: Ohio coat rack jysk
Related: Coat racks in store
Related: Coat rack and bench
Related: Coat Racks Canadian Tire
Related: Coat rack height
Related: Coat Racks Near Me
Related: Stone Coat Countertops
Related: Coat Rack With Shelf Wall Mounted
Related: Wall Coat Racks Near Me
Related: What Is Wire Shelf
Related: Good Coat Racks
Adding the Shelf and Brackets
Once the frame was assembled, it was time to add the shelf. I placed the MDF shelf in the center of the frame and marked where the brackets would go. I used a level to make sure the shelf was perfectly horizontal before attaching the brackets. I used 2-inch wood screws to secure the brackets to both the shelf and the frame.
I made sure the brackets were spaced evenly along the shelf — this helped distribute the weight and prevented sagging. I also added a few extra brackets for reinforcement in case of heavy use. I used a drill to make the pilot holes before screwing everything in place, which made the process much smoother and prevented the wood from splitting.
After attaching the shelf, I checked the stability again. I leaned on it a few times to see if it held up — and it did. It was a good test, and it gave me confidence that the coat rack would be strong enough for regular use.
Always drill pilot holes before screwing into wood, especially if you’re using a screw that’s longer than 1.5 inches. This will help prevent the wood from splitting and make the assembly more secure.
“There’s something about the moment you walk into a room with a new coat rack that feels like you’ve just completed a puzzle piece.”— Creating DIY Wooden Coat Racks editors
Painting and Finishing
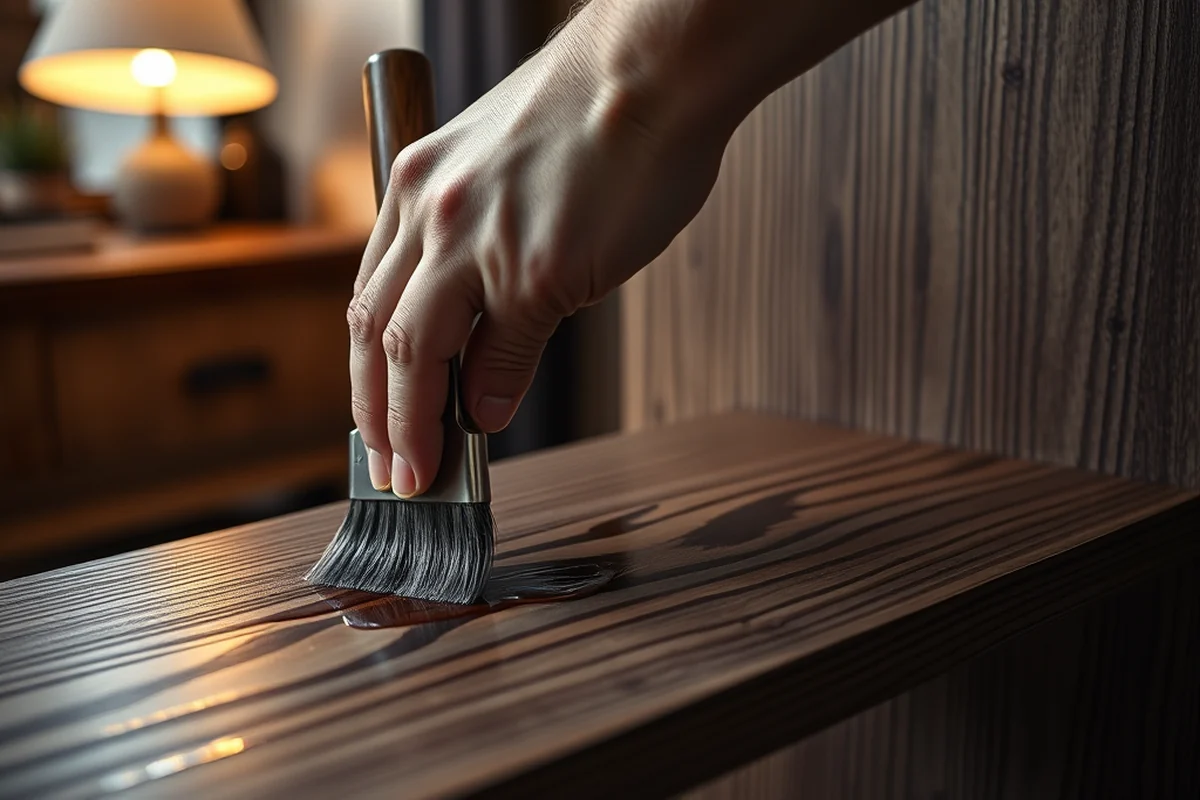
After the coat rack was assembled, I moved on to painting. I used a primer first to create a smooth base for the paint. I chose a light gray paint for the frame and a darker gray for the shelf — it gave it a modern, minimalist look. I used a brush for the frame and a roller for the shelf to make it easier to cover large areas.
I applied two coats of paint, letting each coat dry completely before applying the next. I used a foam brush for the edges and corners to avoid drips. I also used a clear wood finish to seal the paint and protect it from moisture. It took me about an hour to paint and seal the entire coat rack, and the results were well worth the effort.
The finish not only made the coat rack look better but also helped it last longer. I’ve noticed that the paint has held up well over time, even with regular use. It’s a small detail, but it makes a big difference in the overall quality of the project.
Mounting the Coat Rack
Once the coat rack was painted and sealed, it was time to mount it. I used a level to make sure it was perfectly straight before attaching it to the wall. I used 2.5-inch wall anchors and screws to secure the frame to the wall — it’s important to use the right size screws for the weight the coat rack will hold.
I measured the height carefully, making sure the coat rack was at a comfortable level for hanging coats. I used a pencil to mark the spots where the screws would go and then drilled the holes. I used a screwdriver to attach the brackets to the wall before securing the frame in place.
After I mounted the coat rack, I checked it again for stability. I hung a few coats on it to see if it held up — and it did. The mounting process was straightforward, but it was an important step that ensured the coat rack would be safe and functional for years to come.
Customizing Your Coat Rack
One of the best parts of building a coat rack with shelf is that it can be customized in so many ways. I added some decorative molding around the edges of the shelf to give it a finished look. I also used some metal hooks for hanging coats — they added a modern touch and made it easier to use.
Another customization I considered was adding a small shelf on the back of the frame for holding keys or a small plant. I used a 4-inch deep shelf for this, and it fit perfectly. I also painted the frame in a different color to match the rest of my entryway — it made a big difference in how it looked.
Customizing your coat rack allows you to express your personal style. I’ve seen people use different types of wood, add glass shelves, or even build a full coat rack with multiple shelves. The possibilities are endless, and the result is always something unique and personal.
Make it yours — the best coat racks are the ones that reflect your style.
Tips for Long-Lasting Use
After I built my coat rack, I made sure to take care of it properly. I used a wood polish to keep the finish looking good, and I made sure to wipe it down regularly to keep it clean. I also checked the screws periodically to make sure they were still tight — a loose screw can cause the coat rack to wobble or even fall.
One of the most important tips I learned was to avoid putting too much weight on the shelf. I found that using the shelf for heavy items like books or pots could cause the shelf to sag over time. I made sure to keep the weight balanced and avoid overloading it.
Taking the time to maintain your coat rack will help it last longer and look better. I’ve noticed that with regular care, my coat rack has stayed in great condition even after several years of use. It’s a small investment in maintenance that pays off in the long run.
💰 Budget Build
Use leftover wood or repurposed materials to create a coat rack with shelf for under $30.
⏰ Weekend Version
Build a simple coat rack with shelf in one day using pre-cut wood and basic tools.
✨ Upgraded Finish
Add a high-gloss paint or lacquer finish for a premium look and durability.
📏 Small-Space Adaptation
Create a compact coat rack with shelf that fits in narrow hallways or small apartments.
🏠 Rental-Safe Option
Build a coat rack with shelf using removable brackets and non-damaging hardware for temporary use in rental spaces.
| The mistake | Why it happens | The fix |
|---|---|---|
| Not drilling pilot holes before screwing in brackets. | This can cause the wood to split or the screws to strip, weakening the structure. | Always use a drill to make pilot holes before attaching any brackets or screws. |
| Ignoring the weight limit on the shelf. | Overloading the shelf can cause it to sag or break over time. | Distribute weight evenly and avoid placing heavy items on the shelf. |
| Not checking that the frame is square before assembly. | A misaligned frame can cause the coat rack to wobble or fall over. | Use a carpenter’s square to check all angles before securing the pieces. |
| Using the wrong type of screws for mounting. | Using screws that are too short or too long can compromise the stability of the coat rack. | Choose screws that are appropriate for the thickness of the wood and the weight the coat rack will hold. |
Coat Racks With Shelf
Common Questions
Can I use this coat rack with shelf in a bathroom?
How do I ensure the coat rack is level when mounting it?
What type of wood is best for a coat rack with shelf?
Can I add additional shelves later?
References
- City Facility Design and Construction Standards (fortcollins.gov)
Cite this guide
Creating DIY Wooden Coat Racks (2026). Coat Racks With Shelf. https://carvecharm.com/coat-racks-with-shelf/
Feel free to cite or share this guide.