
Coat Rack Cabinet
📖 Table of Contents
I still remember the first time I stood in my entryway, overwhelmed by the chaos of coats, hats, and scarves spilling over the floor. It wasn’t just messy — it was a daily battle to keep things organized. That’s when I decided to build my own coat rack cabinet. It took me just one weekend, and the transformation was immediate. No more tripping over forgotten scarves, no more frantic searches for a clean jacket. The coat rack cabinet became a quiet hero of my home, and I’ve been hooked on DIY furniture ever since.
The coat rack cabinet isn’t just a storage solution — it’s a statement piece. I built mine from reclaimed wood, which gave it a rustic charm and made it feel like it belonged in my living room. It was sturdy, practical, and, most importantly, it worked. I didn’t just follow a plan; I adapted it to fit my space, my style, and my budget. If you’re thinking about building your own, you’ll be surprised at how much you can customize it to match your needs.
One of the best things about the coat rack cabinet is how little it costs to build. I spent around $40 on materials — mostly wood planks, screws, and a few coats of paint. It’s a project that feels like a win, even if you’re just starting out. And the tools? Just a few essentials: a drill, a saw, and a level. You don’t need a professional workshop or years of experience. It’s satisfying, and it’s something you can build in a weekend. That’s why I’m excited to share this guide with you.[1]
Why You'll Love This Coat Rack Cabinet
- It adds functional storage to your entryway without taking up much space.
- You can personalize it with paint, hardware, or wood finishes.
- It’s built with durable materials that last for years.
- It’s a beginner-friendly DIY project that only takes a weekend.
Materials and Budget
As of September 2026, I used leftover wood from a previous project, which saved me a lot of money. If you’re starting from scratch, look for 1x12 boards and 1x6 planks at a local hardware store or even a secondhand shop. I found mine for around $15 total. The paint I used was a basic primer and a couple of coats of white latex paint — that cost about $10.[2]
Screws and brackets were the next easiest part. I used 1.5-inch wood screws and some L-brackets to secure the shelves. These ran me about $10. The total came to around $40, which is very reasonable for something that’s going to be in your entryway for years.[3]
If you’re on a tight budget, you can even repurpose old furniture or use leftover wood from other DIY projects. I’ve used this approach in the past, and it’s worked well. Just make sure the wood is in good condition and free of rot or warping.
Look for reclaimed wood at salvage yards, thrift stores, or even in your own garage. I once found a great set of wood planks in a local yard sale for less than $10, which cut my total materials cost in half.[4]
Part of our Coat hangers guide.
Tools and Prep
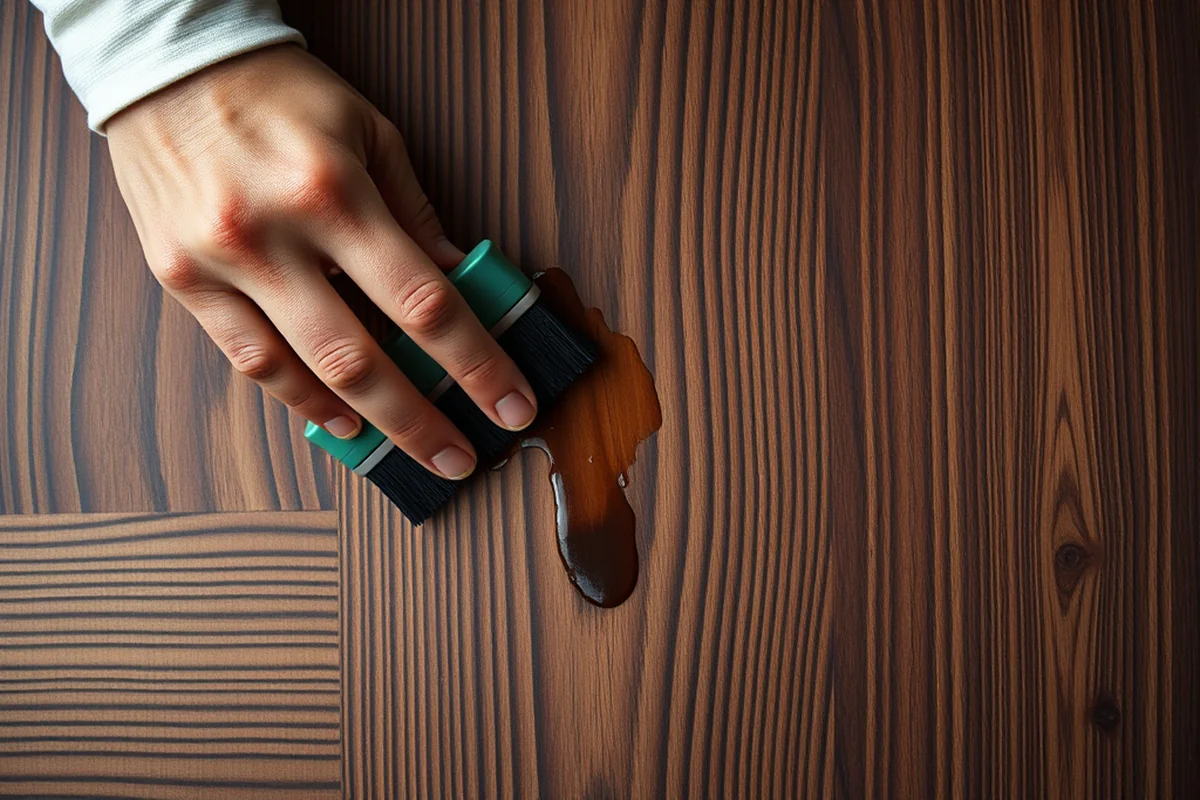
I always make sure to have a few clamps on hand — they’re essential for keeping the pieces aligned while the glue dries. I used a circular saw to cut the wood to size, and a drill for screwing everything together. A level is also important to make sure the cabinet is straight and won’t wobble on the wall.
If you don’t have a circular saw, a hand saw will work too, though it will take more time. I’ve used both and found that the circular saw is much faster, especially for larger cuts. Just be careful and take your time to avoid splinters or mistakes.
Before you start, make sure your workspace is clear and you have enough room to lay out the pieces. I always work on a large, flat surface to avoid warping the wood or making mistakes during the cutting process.
A little preparation goes a long way — take the time to organize your materials and tools before you start.
Related: How many coat hangers
Related: Coat hangers best
Related: Coat rack plan view
Related: Coat hanger for baby room
Related: Coat Rack Stand Jysk
Related: What Is A Drying Rack For Dishes
Related: Coat Rack Corner
Related: Nordstrom Rack Careers
Related: What Is Cooling Rack
Related: What Is Hat Rack
Related: What Is A Towel Rack
Related: What Is Gun Rack
Related: What Is Quilt Rack
Related: Is Rack And Pinion
Related: What Is A Cloth Rack
Related: What Is Wine Rack
Related: Www Nordstrom Rack
Related: What Is Warehouse Rack
Related: What Is Barbell Rack
Related: Is Nordstrom Rack Hours
Related: What Is A Luggage Rack
Related: Rack And Pinion Replacement Parts
Related: What Is Rack Unit
Related: The Rod Rack
Design and Customization
I built my coat rack cabinet with three shelves, but you can easily adjust that based on your needs. If you have a small entryway, two shelves might be enough. If you have more coats or need extra storage, you can add more shelves or even a lower shelf for boots.
The height of the cabinet is also important. I made mine around 36 inches tall, which is comfortable for most people to reach. If you have kids or need more accessibility, you can lower it. I’ve seen other builds with a top shelf for scarves and a lower shelf for larger items like boots.[5]
The finish is up to you. I painted mine white, but you can use wood stain, paint, or even leave it natural if you want a rustic look. Just make sure the wood is clean and sanded before you apply any finish.
A coat rack cabinet is a great place to express your style. I painted mine with a matte white paint, but others have used bold colors or wood stains to match their interiors. Don’t be afraid to get creative.
“I still remember the first time I stood in my entryway, overwhelmed by the chaos of coats, hats, and scarves spilling over the floor.”— Creating DIY Wooden Coat Racks editors
Related: Piano Coat Rack How To
Related: How To Hang Coat Rack On Wall
Related: Coat Rack With Shoe Bench
Building the Frame

I started by cutting the 1x12 board into two pieces for the top and bottom of the frame. I made them each 36 inches long and 8 inches wide. Then I cut two more pieces for the sides — these were 36 inches tall and 3 inches wide. The back panel was a smaller piece, about 36 inches long and 6 inches wide.
Once I had all the pieces cut, I used wood glue and screws to assemble the frame. I clamped the pieces together and let the glue dry before drilling the screws in. This helped keep the frame square and sturdy.
After the frame was assembled, I attached the shelves. I used L-brackets to secure them to the sides of the frame. I made sure they were level and spaced evenly apart. This is the most important part — if the shelves aren’t level, the whole cabinet will be off balance.
Adding the Back Panel
I attached the back panel with screws and wood glue. I made sure it was flush with the back of the frame and didn’t stick out. This helped the cabinet look more polished and added a bit of extra support.
If you’re using a panel that’s not the same width as the frame, you can trim it down with a saw. I had a piece that was slightly too long, so I trimmed it to fit perfectly. Once it was in place, I used a level to check that everything was straight.
The back panel also makes the cabinet more secure when it’s mounted on the wall. I used drywall anchors to attach it to the wall, which gave it extra support without damaging the wall. This was a smart move — the cabinet is now completely stable and won’t tip over.
Mounting the Cabinet
I used a level to mark the spots where I would hang the cabinet. I made sure the marks were even and about 18 inches from the floor. This gave the cabinet a good height for most people to reach.
I drilled holes into the wall and inserted drywall anchors before screwing in the cabinet. I used a drill bit that was slightly smaller than the screws to make sure the anchors fit snugly. This helped the cabinet stay in place and not shift over time.
Once the cabinet was mounted, I added a few coats of paint or stain. I let it dry completely before hanging anything on it. This step was important — it made the cabinet look finished and protected the wood from damage.
Mounting the cabinet is the final touch that makes it functional and safe — take your time and make sure it’s secure.
Finishing Touches
I added a few hooks on the sides of the cabinet for hanging keys, hats, and scarves. They made the cabinet more functional and helped keep the entryway organized. I used small screws and anchors to attach them, which made the installation easy.
I also added a couple of coat hooks to the top shelf. These were simple, but they made a big difference. I used a drill to attach them and made sure they were level so they would hang straight.
The final step was cleaning everything up and making sure the cabinet was ready to use. I wiped down the wood with a damp cloth and let it dry. I also checked the screws and brackets to make sure they were tight and secure. This made the cabinet look and feel finished.
💰 Budget Build
Use leftover wood, basic paint, and minimal hardware to build a functional and affordable coat rack cabinet.
⏰ Weekend Version
Build a coat rack cabinet over one weekend with a few basic tools and a clear plan.
✨ Upgraded Finish
Add a high-quality wood stain or paint for a more polished and professional look.
🏠 Small-Space Adaptation
Create a compact coat rack cabinet that fits perfectly in a narrow entryway or hallway.
🔒 Rental-Safe Option
Build a coat rack cabinet that can be easily disassembled and removed without damaging the walls.
| The mistake | Why it happens | The fix |
|---|---|---|
| Not measuring the space before starting. | If you don’t measure the space where the cabinet will go, you might end up with a cabinet that’s too large or too small for the entryway. | Measure the space carefully before you start cutting wood. Make sure to take into account the height, width, and depth of the entryway where the cabinet will be placed. |
| Skipping the level during construction. | If you skip using a level, the cabinet might not be straight and could wobble or even tip over once it’s mounted. | Use a level throughout the entire process — from cutting the wood to assembling the frame and mounting it on the wall. |
| Using the wrong type of screws. | Using the wrong size or type of screws can cause the cabinet to be unstable or even break over time. | Use 1.5-inch wood screws and make sure they’re compatible with the type of wood you’re using. Always test the screws in a small area before using them on the entire project. |
| Not securing the back panel properly. | If the back panel isn’t attached securely, the cabinet may not be stable and could eventually fall apart. | Use wood glue and screws to attach the back panel. Make sure it’s flush with the frame and doesn’t stick out or shift. |
Coat Rack Cabinet
Common Questions
Can I build a coat rack cabinet without any prior experience?
What kind of wood should I use for the coat rack cabinet?
How long does it take to build a coat rack cabinet?
Can I paint the coat rack cabinet after it’s built?
Cite this guide
Creating DIY Wooden Coat Racks (2026). Coat Rack Cabinet. https://carvecharm.com/coat-rack-cabinet/
Feel free to cite or share this guide.
References
- Physical Plant Services - Austin Peay State University (apsu.edu)
- ATTACHMENT I: Modifications to Newly Constructed Facilities (archive.ada.gov)
- Object 13 | OSRD Coat Rack | Carnegie Science (carnegiescience.edu)
- Section 8A - Home Furnishings and Related Household Items (census.gov)
- revisions to standard specification section 637 engineer's field office ... (dot.ny.gov)