
Coat Racks Diy
📖 Table of Contents
I still remember the first time I hung up my winter coat at the front door — it was a cold February morning, and I realized how much of a mess my entryway had become. I was tired of digging through a pile of coats, scarves, and umbrellas every time I came home. That’s when I decided to build my first DIY coat rack, and it changed the way I see my home forever. Not only did it add a touch of personality to my entryway, but it also kept things organized and made my daily routine smoother.[4]
Building a coat rack from scratch may seem like a daunting task, but I can tell you from personal experience that it's far more satisfying than you might expect. I’ve made several versions over the years, each with its own unique flair and purpose. The best part is that the materials are usually something you can find at your local hardware store, and the tools needed are minimal. What struck me most was how much of a difference it made in my home — a simple DIY coat rack can be both functional and an artful addition to any space.
If you’re thinking about taking on a DIY project, a coat rack is a perfect starting point. It’s not too complicated, but it offers enough room for creativity and personalization. I’ve used reclaimed wood, painted finishes, and even added hooks for keys and mail. Each time, I learned something new — about wood types, drilling techniques, and even how to make the most of a small space. The key takeaway is that you don’t need to be a professional woodworker to make a beautiful, lasting coat rack.
Why You'll Love This DIY Coat Rack
- It’s an affordable and customizable way to declutter your entryway.
- You can use recycled or salvaged materials to give your home a unique look.
- It adds a personal touch that store-bought racks can’t match.
- Building it gives you a sense of accomplishment and a functional piece of furniture.
Choosing the Right Materials
As of August 2026, for my first coat rack, I used 1x6 pine boards, which were both affordable and easy to work with. I also experimented with oak and maple for a more premium look. The key is to pick a wood type that’s durable and has a texture you like. I recommend checking the grain and density of the wood before purchasing, as this will affect the final appearance and strength of the coat rack.[1]
Another thing to consider is the thickness of the wood. I found that 3/4-inch thickness is ideal — it’s thick enough to hold a heavy coat without warping. If you’re using salvaged wood, be sure to check for any knots or imperfections that could weaken the structure. I’ve had to reinforce some joints with screws in the past when I wasn’t sure about the wood’s integrity.
Don’t forget about the finish. I’ve used wood stain, paint, and even a natural oil finish. Each gives the coat rack a different feel, so it’s worth experimenting. I once used a chalk paint finish for a rustic look, and it turned out beautifully.
For the best results, always go with 3/4-inch thickness for your boards — it’s strong enough and less likely to warp over time.
Part of our Small space ideas duty guide.
Designing Your Coat Rack
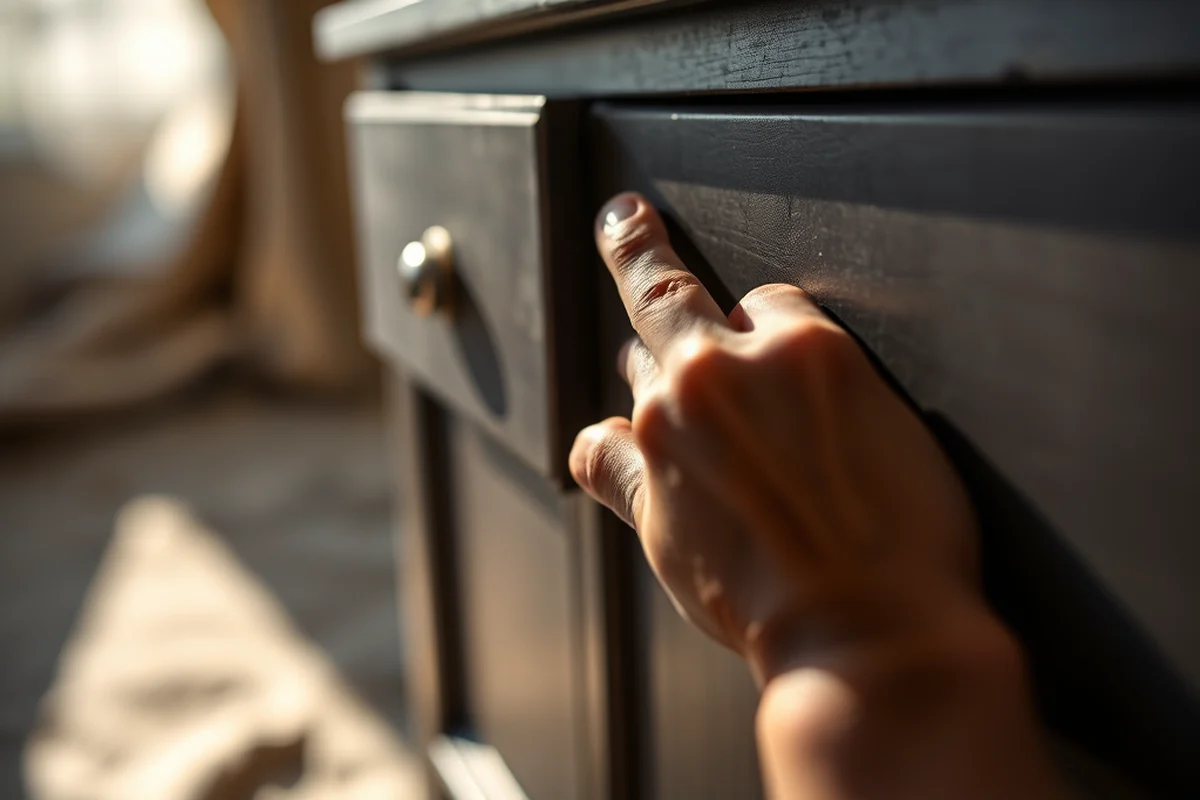
I recommend sketching out a few ideas before you start. Think about the space you have and how you want the rack to be used. For example, a vertical rack works well in narrow areas, while a horizontal one is great for a hallway or entryway with more width.[2]
I once designed a coat rack with angled shelves for hanging scarves, and it was a game-changer. The angle made it easier to see and access items, which was a big plus. I’ve also built ones with built-in compartments for keys, gloves, and even a small basket for storing mail.
It’s important to measure your space carefully. I’ve had to adjust my designs multiple times to fit the space properly. Once you have a rough sketch, it’s time to move on to the next step — cutting the wood.
Design is the first step to creating something that feels like yours.
Related: Coat rack door
Related: Good coat racks
Related: Coat racks for entrance
Related: Coat racks brass
Related: Coat racks hallway
Related: Creative Diy Costumes For Boys
Related: Coat Racks For Entryway
Related: Coat Racks For Wall
Related: Shoe Racks For Small Spaces
Related: Diy Build For Kids
Related: What Is A Laundry Bar
Related: Coat Racks In Spanish
Cutting and Assembling the Wood
I use a circular saw for cutting the boards to the desired length. I’ve also used a miter saw for making precise cuts. I always mark the measurements clearly on the wood before cutting. It’s easy to make a mistake if you’re not careful, so double-checking is essential.
For assembly, I use wood screws and a drill. I’ve found that using a Kreg Jig for pocket holes makes the joints much stronger and more secure. I’ve made a few mistakes in the past by not using enough screws, but now I always use at least two screws per joint to be safe.
I also use wood glue in addition to screws for extra reinforcement. I’ve had some joints come loose over time, so I now always apply a thin layer of glue before attaching the pieces. It’s a small detail, but it makes a big difference in the long run.
Before making any cuts, measure your space and the wood multiple times to ensure accuracy. A small error can lead to a bigger problem later.
“I still remember the first time I hung up my winter coat at the front door — it was a cold February morning, and I…”— Creating DIY Wooden Coat Racks editors
Adding the Hooks and Hardware
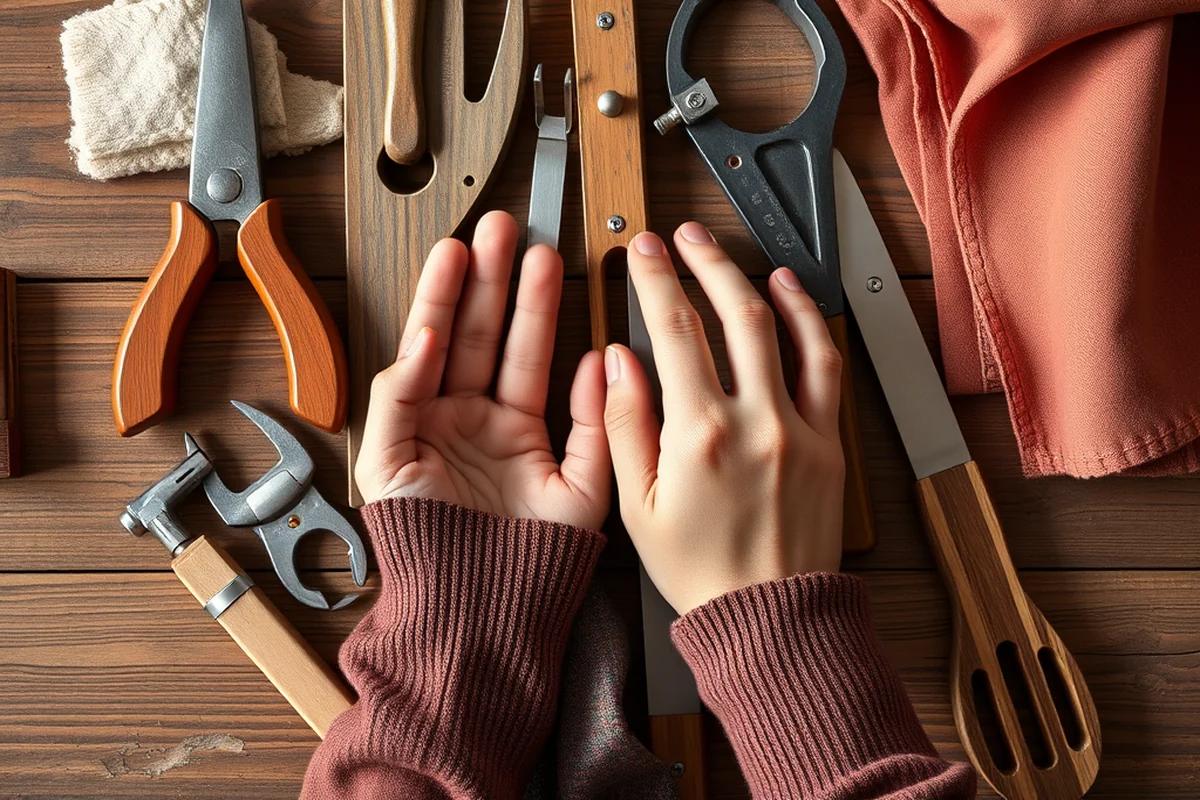
I’ve found that using 3/4-inch diameter steel hooks works best for heavier items like coats. I’ve also used smaller hooks for scarves and keys. It’s important to choose hooks that are strong enough to hold the weight of the items you plan to hang.
I’ve used both screw-on hooks and those that attach via brackets. Screw-on hooks are easier to install, but brackets can provide more stability. I’ve had to reinforce some hooks with additional screws when I wasn’t sure about the weight capacity.
I’ve also experimented with different types of brackets, like L-brackets and corner brackets. Each provides a different look and level of support. I recommend using a level to make sure the hooks are installed straight and evenly spaced.[3]
Finishing Touches and Installation
I always apply a finish to my coat racks to protect the wood and enhance the look. I’ve used wood stain, paint, and even a natural oil finish. Each gives the coat rack a different feel, so it’s worth experimenting.
I’ve also added decorative elements like a painted sign, beads, or even a small light fixture. These details can make the coat rack stand out and add a personal touch. I’ve used a chalkboard paint finish on one coat rack for a fun message board.
With installation, I use a level to make sure the coat rack is mounted straight. I’ve had to adjust my mounting hardware a few times to get it just right. Once everything is in place, it’s time to enjoy your new DIY creation.
Personalizing Your Coat Rack
I’ve used stencils, hand-painted signs, and even a small chalkboard to add a personal touch. I’ve also used beads, felt, and even small lights to make the coat rack more eye-catching.
I’ve had friends and family ask for custom coat racks, and I’ve used their favorite colors and patterns to make them unique. It’s amazing how a simple addition can transform the look of the coat rack.
I’ve also used natural materials like leather and wood to match the decor of the room. I’ve found that using a few bold colors or patterns can make the coat rack stand out and become a statement piece.
A coat rack with a personal touch can become a favorite part of your home.
Maintaining and Caring for Your Coat Rack
I clean my coat racks regularly with a soft cloth and a mild wood cleaner. I’ve found that using a natural oil finish helps protect the wood and keep it looking new. I’ve also used a damp cloth to wipe down the surface occasionally.
I’ve had to touch up the finish on some of my coat racks over time. I’ve used a small brush to apply a fresh coat of stain or paint to keep it looking fresh. I’ve also used wood polish to enhance the shine and make it easier to clean.
I’ve also made sure to avoid placing heavy items on the coat rack that could cause it to warp or break. I’ve had to reinforce some parts of my coat rack in the past, so it’s important to use the right hardware and materials from the start.
💰 Budget Build
Use salvaged wood and basic hardware for an economical, no-frills coat rack that still looks great.
🛠️ Weekend Version
A quick, simple build using pre-cut wood and minimal tools — perfect for a quick project over the weekend.
✨ Upgraded Finish
Add a high-end finish or custom details like carved patterns or metallic accents for a more luxurious look.
🏠 Small-Space Adaptation
Design a compact, wall-mounted coat rack that fits perfectly in small apartments or entryways with limited space.
🧰 Rental-Safe Option
Use removable adhesive hooks and avoid permanent modifications — ideal for renters who can’t make permanent changes.
| The mistake | Why it happens | The fix |
|---|---|---|
| Using the wrong wood thickness. | Thin wood can warp or break under the weight of coats and other items. | Always use 3/4-inch or thicker wood for a stronger, more durable coat rack. |
| Not reinforcing the joints properly. | Weak joints can cause the coat rack to fall apart over time. | Use wood screws and wood glue for extra reinforcement. I now use at least two screws per joint for stability. |
| Ignoring the finish on the wood. | Unfinished wood can warp, crack, or become damaged over time. |
Coat Racks Diy
Common Questions
Can I build a coat rack without any woodworking experience?
What type of wood is best for a coat rack?
How long does it take to build a coat rack?
What tools do I need for this project?
Cite this guide
Creating DIY Wooden Coat Racks (2026). Coat Racks Diy. https://carvecharm.com/coat-racks-diy/
Feel free to cite or share this guide.
References
- Other Equipment - Caltech Auditoriums Information (auditoriums.caltech.edu)
- What difference did hangers make? (americanhistory.si.edu)
- WAC 296-831-300: - WA.gov (app.leg.wa.gov)
- Coat Hanger II-I | The Art Institute of Chicago (artic.edu)