
The Rod Rack
📖 Table of Contents
- What Is a Rod Rack and Why It Works
- How to Measure and Cut Your Wood
- Drilling the Holes for Mounting
- Mounting the Rod and Adding the Finishing Touches
- Customizing Your Rod Rack for Different Spaces
- How to Maintain and Clean Your Rod Rack
- Why the Rod Rack Is a Great DIY Project
- Make It Your Way
- Frequently Asked Questions
The first time I hung a set of old ski poles on a wall, I realized I had a problem — my hallway looked like a junk drawer. The mess was embarrassing, but I also knew it was fixable. That’s when I stumbled on the rod rack, a simple, elegant solution that turned my cluttered space into something I could actually be proud of. It wasn’t just about tidying up; it was about creating a place that felt intentional, even if I was just putting things on the wall for now.[2]
I had no idea how easy it would be to build one, and I was surprised by how much it transformed the way I interacted with my space. The rod rack isn’t just a functional piece of furniture — it’s a design element that can anchor a room, whether you’re hanging coats, scarves, or even tools. It’s like adding a quiet, unobtrusive statement that says, 'This is a place where things belong.'[3]
The rod rack is one of those projects that feels like it should take hours, but in reality, it can be built in a weekend with just a few basic tools. It’s a project that’s perfect for beginners and seasoned woodworkers alike. It’s a testament to how a little bit of effort and planning can create something that feels like it belongs in your home.[4]
Why You'll Love This Project
- It’s a functional and stylish storage solution that keeps your space organized.
- It’s a DIY project that’s perfect for beginners and can be completed in a weekend.
- It’s a versatile piece of furniture that can be adapted to any room or space.
- It adds a custom touch to your home without breaking the bank.
What Is a Rod Rack and Why It Works
As of October 2026, a rod rack is a minimalist storage solution that’s perfect for small spaces, entryways, or even kitchens. It’s a wall-mounted unit with a single or multiple horizontal rods that you can use to hang items like coats, scarves, or even tools. Unlike traditional coat racks, which can look bulky and outdated, a rod rack is sleek, modern, and versatile.
I’ve used rod racks in my hallway, my bedroom, and even in my garage. In each space, it’s worked like a charm. The key is to choose the right size and rod thickness — too thin and it feels flimsy, too thick and it can feel overwhelming. I’ve found that a 1.5-inch diameter rod works best for most spaces.
The beauty of a rod rack is that it’s not just a place to hang things — it’s a design element that can anchor your space. It’s like a quiet statement that says, 'This is a place that’s thoughtfully curated.'
Use a 1.5-inch diameter rod for most spaces — it’s just thick enough to feel sturdy, but not so thick that it feels overwhelming.
Part of our Rack wall guide.
How to Measure and Cut Your Wood

When building a rod rack, accuracy in measurements is key. I always start by measuring the height and width of the space where I want to install the rack. The height of the rack can be anywhere from 24 to 36 inches, depending on the items you plan to hang. I like to build mine at 30 inches, which is tall enough to hold a full-length coat but short enough to avoid looking too bulky.[1]
After measuring the space, I cut the wood to size using a miter saw. I’ve found that using a miter saw gives me the cleanest cuts, and it’s much easier than trying to cut by hand. I always double-check the measurements before cutting — one small mistake and the whole project can look off.
Once the wood is cut, I sand the edges to remove any splinters or rough spots. This step is important because it makes the project safer to handle and gives the final product a more professional look.
Measure twice, cut once — the best advice I ever heard.
Related: What is grilled rack of lamb
Drilling the Holes for Mounting
After cutting and sanding the wood, the next step is to mark where the mounting holes will go. I use a pencil to mark the center of each side of the wood, about 1.5 inches from the top. This is where the screws will go to attach the rod to the wall.
I use a drill bit that’s slightly smaller than the diameter of the screws I plan to use. I’ve found that a 1/8-inch bit works well for most standard screws. I always drill slowly to avoid splintering the wood — it’s a small detail, but it makes a big difference in the final look.
Once the holes are drilled, I use a level to make sure the wood is straight before attaching it to the wall. I’ve had to redo this step a few times when I rushed it, but taking the time to get it right makes the project look more professional.
After drilling the holes, use a level to ensure the wood is straight before attaching it to the wall. This step is crucial for a professional finish.
“The first time I hung a set of old ski poles on a wall, I realized I had a problem — my hallway looked like…”— Creating DIY Wooden Coat Racks editors
Related: What is rack mount
Mounting the Rod and Adding the Finishing Touches
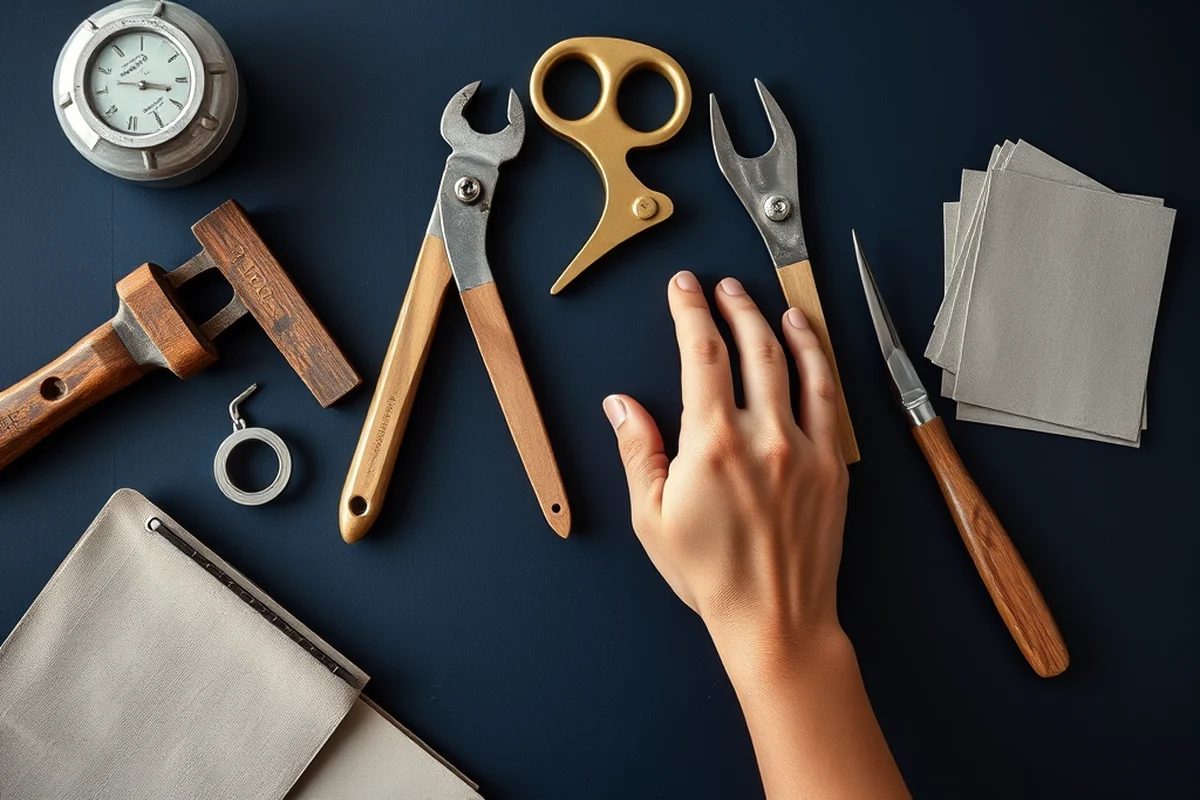
Once the wood is mounted to the wall, the next step is to attach the rod. I’ve used both metal and wooden rods in my projects, and I’ve found that a metal rod is more durable and easier to install. I use small brackets to attach the rod to the wood, which gives it a secure hold.
After attaching the rod, I add a few finishing touches. I’ve used wood stain, paint, or even a clear coat to protect the wood and give it a more finished look. I’ve found that a light coat of wood stain is the most subtle and elegant option, especially for a traditional or modern look.
Once everything is in place, I take a step back and admire my work. It’s always surprising how much of a difference a small project like this can make to the look and feel of a room.
Related: What is roasted rack of lamb
Customizing Your Rod Rack for Different Spaces
One of the best things about a rod rack is that it can be tailored to fit any space. If you’re working with a small hallway, you can build a smaller version with a single rod. If you have a larger entryway, you can build a larger version with multiple rods and more storage.
I’ve even used rod racks in my garage to hang tools and in my kitchen to hang aprons and utensils. The versatility of the rod rack makes it a great addition to any room. I like to use different materials and finishes for different spaces — in my hallway, I used a dark wood finish, while in my kitchen, I used a lighter one.
The key is to think about what you need the rod rack to do in your space. If it’s for coats, you’ll want it to be tall enough to hold a full-length piece. If it’s for tools, you might want it to be shorter and sturdier. It’s all about finding the right balance between function and style.
Related: What is cable rack
How to Maintain and Clean Your Rod Rack
Cleaning your rod rack is straightforward. I like to use a soft cloth and a mild wood cleaner to wipe it down every few months. This helps remove any dust or dirt that has accumulated on the surface.
If you’ve used a clear coat or wood stain, you can use a dry cloth to buff the surface and restore its shine. I’ve found that a dry cloth works best — it doesn’t add any moisture that could damage the wood.
For the rod itself, I use a dry cloth to wipe it down and remove any fingerprints or smudges. If the rod is made of metal, I use a small amount of polish to keep it looking shiny and new.
A little maintenance goes a long way in keeping your rod rack looking great.
Related: Scrabble rack boulter
Why the Rod Rack Is a Great DIY Project
For beginners, the rod rack is a great project because it doesn’t require any advanced skills or tools. You just need a few basic tools like a miter saw, a drill, and a level. It’s a project that’s perfect for someone who’s just getting started with DIY.
I’ve had friends and family ask me about this project, and I’ve found that they’re always surprised by how simple it is. It’s a project that looks complicated in the beginning, but once you start, it’s easy to see how it all comes together.
The best part of building a rod rack is that it’s a project that can be tailored to your space and your style. Whether you want a simple, minimalist version or a more elaborate one with multiple rods, you can customize it to fit your needs.
💰 Budget Build
Use affordable materials like pine wood and basic hardware to create a rod rack that looks professional without breaking the bank.
⏰ Weekend Version
Build a rod rack in one weekend with a few simple tools and a clear, step-by-step plan.
✨ Upgraded Finish
Add a custom finish to your rod rack using wood stain or paint for a more polished and professional look.
🏠 Small-Space Adaptation
Create a smaller, compact rod rack that fits perfectly into a small hallway or entryway.
🔒 Rental-Safe Option
Build a removable rod rack that can be easily taken down without damaging the walls — perfect for renters.
| The mistake | Why it happens | The fix |
|---|---|---|
| Not measuring the space properly before cutting the wood. | This can lead to a rod rack that doesn’t fit the space and looks out of place. | Take the time to measure the space carefully before cutting the wood, and always double-check your measurements. |
| Drilling the holes too quickly without checking the alignment. | This can cause the holes to be misaligned, making it difficult to mount the rod rack properly. | Use a level to ensure the wood is straight before drilling the holes, and take your time to get it right. |
| Using the wrong type of screws or anchors. | This can lead to a rod rack that isn’t secure and may fall off the wall. | Use screws and anchors that are strong enough to support the weight of the items you’ll be hanging on the rod. |
| Not sanding the edges of the wood. | This can leave rough spots that are uncomfortable to touch and can cause splinters. | Always sand the edges of the wood after cutting to remove any splinters or rough spots. |
| Not adding a clear coat or wood stain. | This can leave the wood exposed to moisture and damage over time. | Add a clear coat or wood stain to protect the wood and give it a more finished look. |
The Rod Rack
Common Questions
What tools do I need to build a rod rack?
How long does it take to build a rod rack?
Can I use a different type of wood for the rod rack?
How do I ensure the rod rack is secure to the wall?
References
- Sport Fisheries, Alaska Department of Fish and Game (adfg.alaska.gov)
- Group 4 - OPERATION CONCENTRATION - Capstone Showcase (capstone.mae.ufl.edu)
- "The Pod Rod" by Marshall Pollack, Kyle Araujo et al. (digitalcommons.uri.edu)
- Week 9: Output Devices - MIT Fab Lab (fab.cba.mit.edu)
Cite this guide
Creating DIY Wooden Coat Racks (2026). The Rod Rack. https://carvecharm.com/the-rod-rack/
Feel free to cite or share this guide.