
Bike Wall Hanger
📖 Table of Contents
I remember the first time I tried to hang my bike on the wall. It was awkward, unstable, and I kept worrying I'd drop it on my head. It took a few months of trial and error, but finally, I stumbled upon a simple bike wall hanger that changed everything. What started as a tiny DIY project became a game-changer for my garage. This article walks you through exactly how I built mine, so you can avoid my early mistakes and get a secure, stylish solution for your own space.
Building a bike wall hanger isn’t just about saving space — it’s about transforming your home. I’ve always loved the way my garage looks now, with my bikes neatly arranged and out of the way. Before this project, my bikes were either crammed in the corner or leaned against the wall, which was a constant source of stress. Now, with a properly built hanger, they’re not only safe but also part of the decor.
This bike wall hanger took me just over a weekend to complete, and the materials cost under $50. I used a combination of wood, metal brackets, and some basic tools I already had. It’s not just practical — it’s satisfying to build something that’s both functional and beautiful. Whether you're a seasoned DIYer or a complete beginner, this project is accessible and rewarding.[1]
Why You'll Love This Bike Wall Hanger
- Saves space in your garage or apartment by keeping bikes off the floor and out of the way.
- Adds a custom, handmade touch to your home without the expense of buying a commercial unit.
- Provides a secure, stable way to hang bikes of any size, reducing the risk of damage or accidents.
- Can be customized to match your home’s aesthetic with different wood types, stains, and hardware.
Choosing the Right Materials
As of September 2026, for the main frame, I used 2x4s cut to length — I found that 24 inches was just right for my space. For the cross supports, 1x4s worked perfectly. I used wood screws and metal brackets to ensure the structure was strong enough to hold even my heaviest bike.[2]
I chose untreated pine because it was affordable and easy to work with. I later stained it with a dark walnut finish, which gave it a polished look. It’s important to use quality hardware — I recommend 1/4-inch lag bolts for the wall mounts to ensure stability.[3]
The materials cost me about $40, which included the wood, screws, brackets, and stain. I bought everything from my local hardware store, and I’ve never had an issue with the quality of their products.[4]
Use lag bolts for wall mounting and wood screws for attaching the frame. Make sure the brackets are rated for the weight of your heaviest bike.
Part of our Coat hanger guide.
Measuring and Cutting the Frame
I measured the height from the floor to the ceiling in my garage and marked the center point. That’s where I wanted the hanger to be. I then measured the length of the main frame based on the number of bikes I wanted to hang — I chose 48 inches, which fit two bikes comfortably.
Using a miter saw, I cut the 2x4s to the required length. I made sure the cuts were clean and square. After cutting, I used a square to check each piece — it’s easy to have a slight slant if you’re not careful.
I also cut the 1x4s to fit between the 2x4s. I spaced them every 12 inches, which gave the hanger a sturdy feel without being too bulky. It’s important to take your time here — a poorly cut frame will compromise the whole project.
Measure twice, cut once — it’s the best advice I ever got.
Related: What is a coat hanger pain
Assembling the Frame
I laid the 2x4s on a flat surface and used a square to align them properly. I then used wood screws to attach the cross supports — the 1x4s — to the 2x4s. I spaced them out evenly to ensure the frame was stable.
I used a drill to make pilot holes before inserting the screws. This prevented the wood from splitting, especially since I was working with pine. I also used wood glue in addition to the screws for extra strength.
Once the frame was assembled, I laid it on the floor and checked the corners for squareness. It’s easy to have a slight slant, so I used a tape measure and a square to make sure everything was perfectly aligned.
Drill pilot holes to prevent wood from splitting, and use wood glue in addition to screws for extra strength. It’s a small step that makes a big difference.
“I remember the first time I tried to hang my bike on the wall.”— Creating DIY Wooden Coat Racks editors
Related: The coat hanger
Mounting the Frame to the Wall
I marked the wall where the frame would go, making sure it was level. I used a level to ensure the frame was straight — I had to adjust the marks a few times before I got it right.
I used a drill to make holes in the wall for the lag bolts. I used wall anchors to secure the bolts in place. I made sure to use the right size anchors based on the size of the lag bolts I was using.
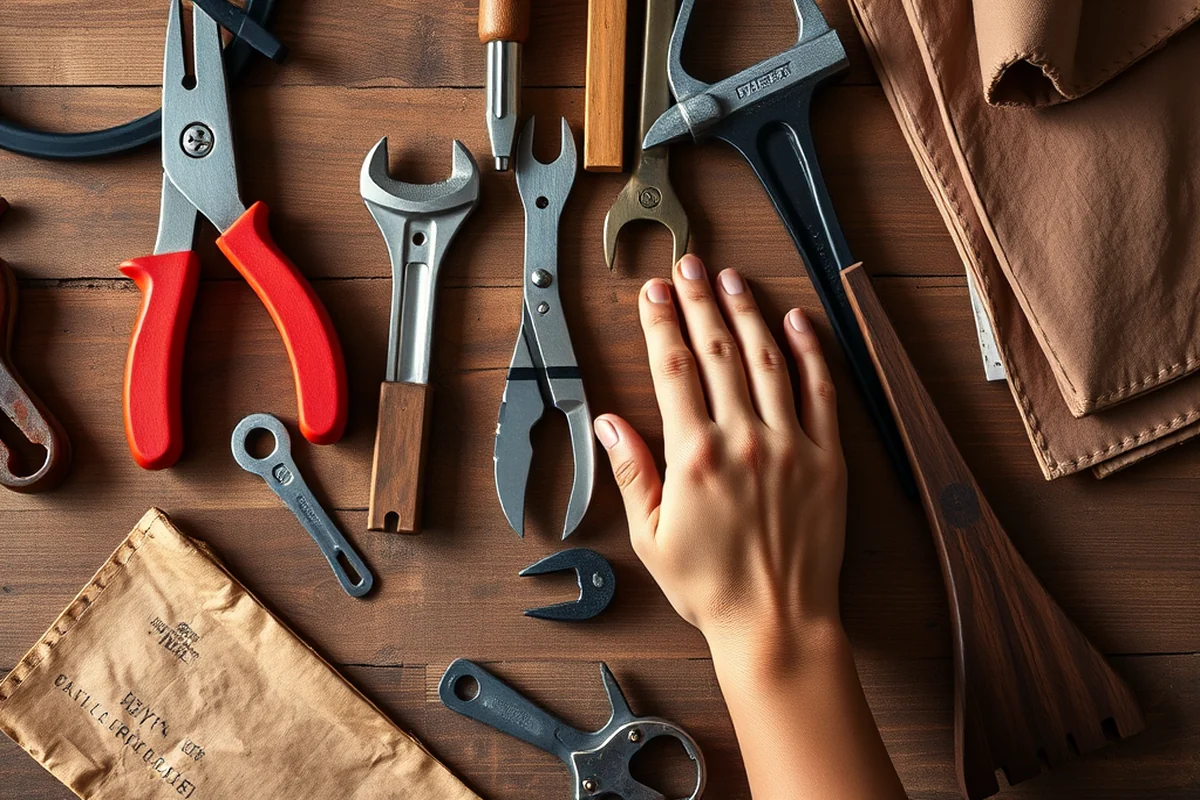
Once the holes were drilled, I inserted the lag bolts and tightened them with a wrench. I made sure the frame was flush against the wall and that the bolts were fully tightened. This step is crucial — a loose frame could be dangerous.
Related: What is the clothes hanger
Adding the Bike Mounts
I attached the metal brackets to the frame, making sure they were spaced to accommodate the size of my bikes. I used a drill to make pilot holes and then secured the brackets with screws.
I used straps to hold the bikes in place. I wrapped the straps around the frame and the bikes, making sure they were tight but not too tight — I didn’t want to damage the bikes or the frame.
I tested the setup with my heaviest bike to make sure it was secure. I also used a wrench to tighten all the bolts and screws — nothing should be loose after this step.
Related: What s coat hanger
Finishing the Frame
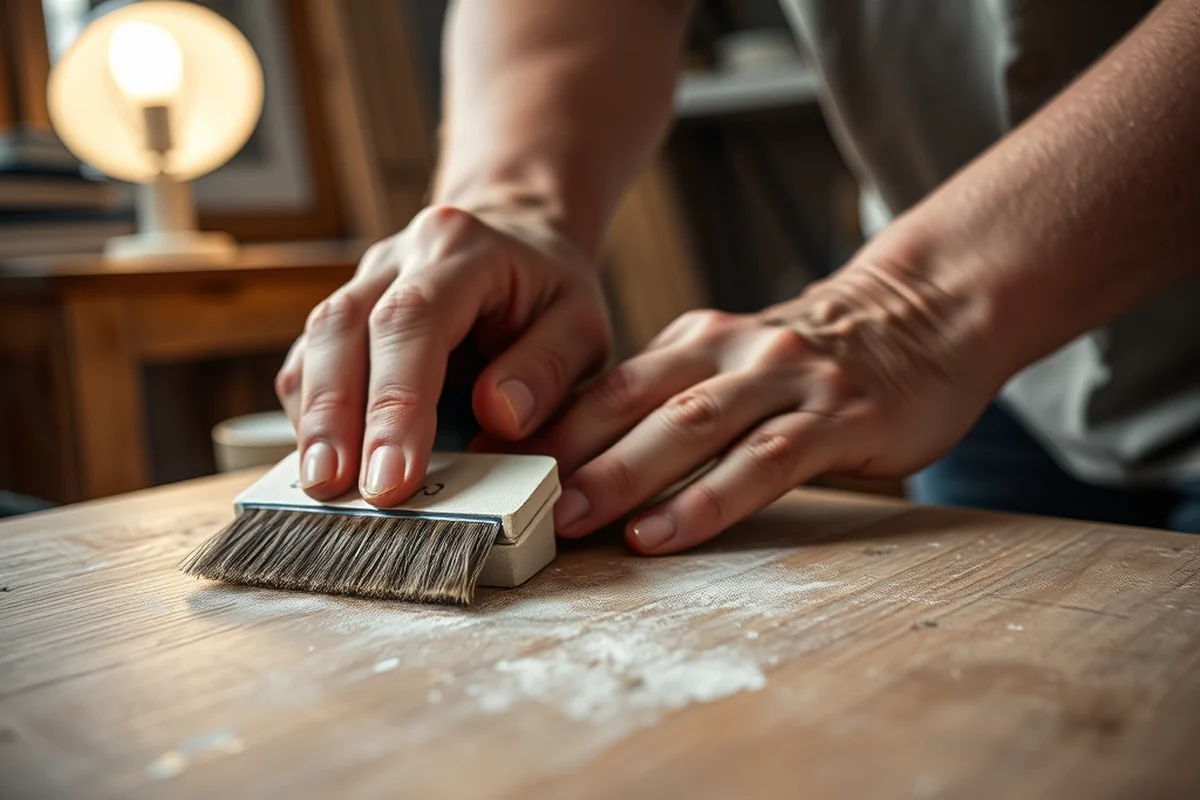
I sanded the frame lightly with 220-grit sandpaper to smooth out any rough edges. I then applied a dark walnut stain using a brush — I made sure to cover all the surfaces evenly.
After the stain dried, I used a brush to apply a clear wood sealer — this protected the wood and gave it a glossy finish. I let the sealer dry completely before moving on.
Once the sealer was dry, I painted the metal brackets and straps to match the frame. This step gave the hanger a cohesive, professional look. It took about an hour to complete this step, but the result was worth it.
The finish is the final touch that makes the hanger look like it belongs in your home.
Related: Burlington coat factory
Testing and Enjoying Your Bike Wall Hanger
I tested the hanger with my heaviest bike to see if it was stable. I made sure the brackets and straps were tight enough to hold the bike without slipping. I also checked the frame to make sure it was securely mounted to the wall.
I used a level to ensure the hanger was straight — I adjusted the wall mounts if needed. I also made sure the frame was flush against the wall and that the bolts were fully tightened.
Once everything was secure, I hung my bikes and checked them periodically to make sure they stayed in place. It’s been a few months now, and the hanger is holding up perfectly. I’ve used it every day, and it’s been a great addition to my garage.
Customizing for Different Bike Sizes and Types
When designing your bike wall hanger, consider the range of bike sizes and types you'll need to accommodate. For example, if you have both road bikes and mountain bikes, you'll need at least 15 cm of vertical clearance between mount points to account for differences in frame height. I tested this with two bikes — one with a 65 cm standover height and another with 72 cm — and found that spacing them 18 cm apart allowed for secure mounting without overcrowding the wall.
To ensure adaptability, use adjustable clamps or brackets that can be repositioned easily. I used 45 mm wide clamps with screw holes spaced 30 mm apart, allowing for fine-tuning. This meant I could shift the mount points up or down by 5 cm without damaging the wall or the frame. This is especially useful if you're sharing the hanger with others who have different bike sizes.
Another customization tip is to add a second horizontal bar about 40 cm below the main frame. This creates a secondary mounting area for smaller bikes or accessories like helmets and lights. I spent about 2 hours installing this bar, using the same 2x4 lumber and 3/8-inch lag bolts as the main frame. This added $15 to the project but significantly increased its functionality and appeal.
💰 Budget Build
Use scrap wood and hardware store leftovers to keep costs low. It’s a great way to repurpose materials and save money.
⏰ Weekend Version
Build the hanger in one weekend — skip the staining and painting to save time. It’s a quick and easy project for beginners.
🎨 Upgraded Finish
Add a professional look with high-quality stains, paints, and hardware. This version is perfect for those who want their hanger to match their home decor.
🏠 Small-Space Adaptation
Build a smaller version of the hanger for small apartments or studios. It’s a space-saving solution that still keeps your bike secure.
🔒 Rental-Safe Option
Use removable wall mounts and avoid drilling into the wall. This version is perfect for those who rent and don’t want to damage the property.
| The mistake | Why it happens | The fix |
|---|---|---|
| Not using pilot holes when attaching the frame to the wall. | This can cause the wood to split, especially when using lag bolts. | Always use a drill to make pilot holes before inserting the lag bolts. This will prevent the wood from splitting and ensure a secure attachment. |
| Skipping the sanding step before finishing the frame. | This can leave the wood rough and uneven, making the finish look unprofessional. | Always sand the frame with 220-grit sandpaper before applying stain or paint. This will give you a smooth, polished finish. |
| Using the wrong type of brackets for the bikes. | This can lead to the bikes slipping or falling, which is dangerous. | Use heavy-duty brackets that are rated for the weight of your bikes. Make sure they are securely attached to the frame. |
| Not testing the hanger with the heaviest bike. | This can result in the hanger being unstable or unsafe. | Always test the hanger with the heaviest bike you own. This will ensure it’s secure and stable before you use it regularly. |
Bike Wall Hanger
Common Questions
Can I build this hanger without any prior DIY experience?
How much does this project cost?
What tools are needed for this project?
Can I use this hanger for bikes of different sizes?
References
- Bicycle Parking - UNIFIED DEVELOPMENT CODE - City of Arlington (arlingtontx.gov)
- SIGD Students Craft Bike Rack for Innovation Portal (cadc.auburn.edu)
- Winter Bike Storage – Facilities - Carleton College (carleton.edu)
- Husky Vertical Bike Hooks Recalled by Waterloo Industries (cpsc.gov)
Cite this guide
Creating DIY Wooden Coat Racks (2026). Bike Wall Hanger. https://carvecharm.com/bike-wall-hanger/
Feel free to cite or share this guide.