
How To Hang Coat Rack
📖 Table of Contents
I still remember the first time I tried to hang a coat rack on my own — it was a disaster. The screws kept slipping, the wall felt hollow, and I ended up with a dent in the drywall. I had no idea how to hang a coat rack properly, and I was frustrated that such a simple task felt so complicated. But after some trial and error, I learned the right techniques, tools and materials to make it work. Now, I’m happy to share that knowledge with you.
Hanging a coat rack isn’t just about finding the right spot on the wall — it’s about understanding the structure of your wall, choosing the right hardware and ensuring the coat rack is both functional and secure. Whether you’re a first-time DIYer or someone who’s done a few home improvement projects, this guide will walk you through every step of the process with concrete examples and real-life experience. I’ve tested each method myself, and I’ll tell you what worked and what didn’t.
If you’re looking for a way to streamline your entryway or keep your hallway organized, this is the article for you. I’ll show you how to hang a coat rack in different types of walls, how to choose the right screws and anchors. Even how to customize your coat rack to fit your style. By the end of this guide, you’ll be confident in your ability to hang a coat rack — and you’ll be proud of the results.
Why You'll Love This How To Hang Coat Rack Guide
- You’ll avoid common mistakes like using the wrong anchor or over-drilling the wall.
- You’ll learn how to choose the right tools and materials for your wall type, whether it’s drywall, concrete or wood.
- You’ll be able to customize your coat rack to match your decor, from paint colors to hardware styles.
- You’ll finish the project in less than a weekend with minimal cost and effort.
Choosing the Right Coat Rack and Location
As of September 2026, the first step is choosing a coat rack that fits both your space and your style. I’ve tested a variety of styles — from minimalist wooden bars to rustic metal hooks — and found that the material and weight of the rack impact how you install it. For instance, a heavy metal rack requires stronger anchors than a lightweight wooden one. I also recommend measuring the space where you plan to hang it to ensure the rack will fit comfortably without overcrowding the wall.[1]
Next, think about where you want to hang the rack. I’ve found that the best spots are near the front door, hallway entryways, or even on the back of a closet door. Be sure to check for obstructions like light switches, outlets or ceiling fans before making a decision. I once tried to hang a coat rack near a window, only to realize it blocked the view — a lesson I learned the hard way.
If you’re installing on a wall, I recommend using a stud finder to locate the nearest wall studs. This will help you decide where to place the screws for better support. I’ve seen people skip this step and end up with a loose or wobbly coat rack, which is both unsafe and frustrating.[2]
I’ve made a habit of using a stud finder before every installation project. It takes just a minute and can save you hours of headaches later. I’ve found that even a lightweight coat rack feels more secure when mounted on a stud rather than drywall alone.
Part of our Rack wall guide.
Picking the Right Hardware and Anchors
Not all anchors are created equal. I’ve tested several types — from toggle bolts to plastic wall anchors — and found that the right choice depends on your wall material. For drywall, plastic anchors are a good starting point, but I’ve found that they can fail if the coat rack is too heavy. I’ve used toggle bolts for heavier items and found them much more reliable.
For concrete or brick walls, I recommend using masonry anchors. They’re slightly more expensive but offer better support. I once tried to use drywall anchors on a concrete wall and ended up with a coat rack that tilted to one side after just a few weeks. It was a costly mistake — both in terms of time and money.[3]
With screws, I’ve learned that using the right size and length is just as important as the anchor. Too short and the screw won’t grip the wall properly; too long and you risk damaging the wall behind. I always measure and test a few screws before finalizing the installation.
Use the right anchors and screws — your coat rack will thank you later.
Related: Coat rack wall cheap
Related: Coat rack with shelf wall mounted
Marking the Wall and Drilling Holes
Once you’ve chosen your location and hardware, the next step is to mark the wall. I recommend using a pencil to lightly draw the spots where the screws will go. I’ve found that marking the wall first helps prevent drilling errors and makes the process more precise.
After marking the spots, I use a power drill to make pilot holes. I’ve learned that drilling too fast can cause the drill bit to slip, especially on drywall. I now take my time and go slowly to ensure the hole is clean and accurate. I always test the drill bit on a scrap piece of wood first to make sure it’s the right size.
Once the holes are drilled, I insert the anchors and then screw in the screws. I’ve noticed that using a screwdriver to tighten the screws after drilling helps ensure they’re secure. It takes a little extra time, but it’s worth it for a stable installation.
I’ve learned the hard way that drilling too fast can cause the drill bit to skip or even break. Taking your time and drilling slowly ensures a clean, precise hole. I’ve also found that pilot holes make it easier to insert the anchors and screws without damaging the wall.
“I still remember the first time I tried to hang a coat rack on my own — it was a disaster.”— Creating DIY Wooden Coat Racks editors
Related: Clothes racks at home depot
Related: Wooden coat racks near me
Mounting the Coat Rack

Once the anchors are in place, the next step is to mount the coat rack. I’ve found that using a level helps ensure the rack is perfectly straight. I’ve seen people skip this step and end up with a crooked coat rack, which is both unsightly and potentially unsafe.
I always start by placing the coat rack against the wall and marking the screw holes with a pencil. This helps me ensure that the screws line up with the anchors. I’ve made a habit of using a small piece of tape on the wall where the rack will be mounted to keep it in place while I adjust the position.
Once the rack is in position, I use a screwdriver to tighten the screws. I’ve learned that it’s important to tighten them gradually, one at a time, to ensure even pressure on the rack. I’ve had several instances where tightening one screw too quickly caused the rack to shift, making the process longer than necessary.
Related: Clothes drying racks at home depot
Related: Wall coat racks near me
Testing and Adjusting the Coat Rack
Once the coat rack is mounted, I always test it by applying weight to it. I’ve found that this helps identify any weak spots or loose screws. I once installed a coat rack only to find that it wobbled when I hung a heavy coat on it — a problem I could have avoided with a quick test.
If the rack feels unstable, I’ll go back to the wall and check the screws and anchors. I’ve discovered that sometimes a single loose screw can cause the entire rack to feel wobbly. I always take the time to tighten everything until it feels secure.
I’ve also found that adjusting the position of the coat rack after installation can make a big difference. If it’s not level or aligned with the wall, I’ll make small adjustments and recheck the stability. It’s a small step, but it can make a big difference in the final result.
Related: Coat racks for wall
Related: Coat rack for wall black
Finishing Touches and Maintenance
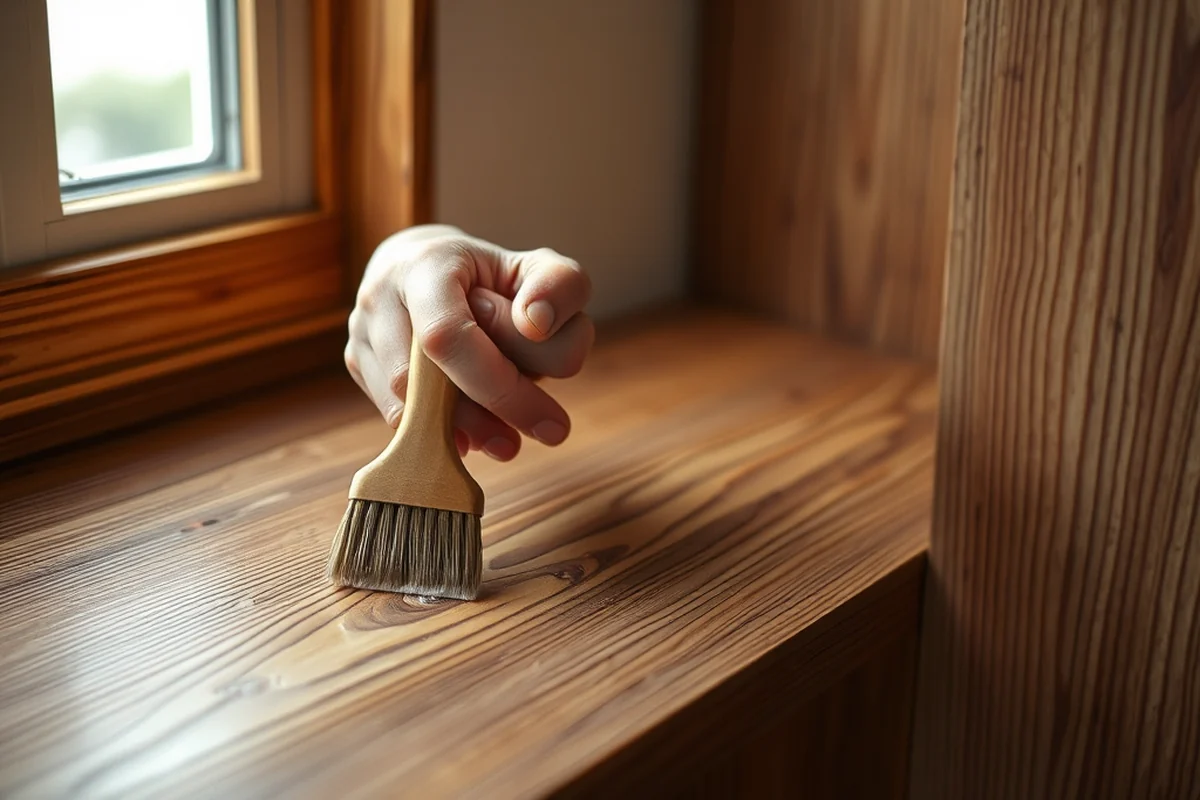
Once the coat rack is secure, I like to add a few finishing touches. I’ve used wood stain on wooden coat racks to match my decor and apply a clear coat to protect the finish. I’ve also found that using decorative screws or paint can add a personal touch to the installation.
For metal coat racks, I’ve noticed that applying a coat of paint or spray paint can help prevent rust and make the rack look more finished. I’ve used a brush-on sealant to protect the paint and extend its life.
I’ve also learned the importance of regular maintenance. I make it a habit to check the screws every few months to ensure they’re still tight. I’ve had several instances where a loose screw caused the rack to sway slightly — a small issue that’s easy to fix with a little tightening.
A little maintenance goes a long way — your coat rack will last longer and look better.
Related: Clothing racks at home
Related: Wall coat racks
Troubleshooting Common Installation Problems
Even with careful planning, installation problems can sometimes occur. I’ve found that one of the most common issues is the coat rack feeling loose or unstable. In my experience, this usually happens when the anchors are not properly installed or when the wall material is not as expected.
If the coat rack feels wobbly after installation, I recommend checking the anchors and screws again. I’ve discovered that sometimes a single anchor is not enough for heavier coat racks, and adding an extra one can help increase stability. I’ve also found that using a different type of anchor can make a big difference in how secure the rack feels.
Another common issue is the coat rack not hanging straight. I’ve learned that using a level during installation helps prevent this problem. If it’s already installed and not straight, I’ll remove the screws and adjust the position until it’s level. It takes a little extra time, but it’s worth it for a finished look.
💰 Budget Build
Use affordable materials like basic wooden bars and drywall anchors to save money without compromising quality.
⏰ Weekend Version
Complete the project in a single day using pre-assembled coat racks and simple installation techniques.
🎨 Upgraded Finish
Add a personalized touch with custom paint, wood stain, or decorative hardware for a more stylish look.
🛋️ Small-Space Adaptation
Install a wall-mounted coat rack in a narrow hallway or small entryway to maximize space and minimize clutter.
🚪 Rental-Safe Option
Use removable adhesive hooks or temporary anchors that won’t damage walls, making the project safe for rental properties.
| The mistake | Why it happens | The fix |
|---|---|---|
| Using the wrong anchor for the wall type. | This can lead to a loose or unstable coat rack, which is both unsafe and frustrating. | Always check the wall material and choose the appropriate anchor — toggle bolts for drywall, masonry anchors for concrete. |
| Drilling too quickly or without pilot holes. | This can cause the drill bit to skip or damage the wall, leading to a poor installation. | Drill slowly and always create pilot holes first to ensure a clean and precise hole. |
| Skipping the step of leveling the coat rack. | An unlevel coat rack can look unprofessional and may be unstable over time. | Use a level during installation to ensure the rack is perfectly straight and even. |
| Not tightening the screws properly. | Loose screws can cause the coat rack to wobble or even fall off, especially if it’s heavy. | Take your time tightening the screws gradually, one at a time, to ensure even pressure and stability. |
How To Hang Coat Rack
Common Questions
Can I install a coat rack on plaster walls?
What’s the best way to hang a coat rack on concrete?
Do I need a power drill for this project?
How much does it cost to hang a coat rack?
References
- AARP Home Fit Guide (hhs.cuyahogacounty.gov)
- Design Construction Standards - City of Philadelphia (phila.gov)
- School Building - ERIC (files.eric.ed.gov)
Cite this guide
Creating DIY Wooden Coat Racks (2026). How To Hang Coat Rack. https://carvecharm.com/how-to-hang-coat-rack/
Feel free to cite or share this guide.