
Creative Diy Idea
📖 Table of Contents
I remember the first time I built a coat rack from scratch. It was a weekend project that started with a few leftover boards and a vague idea of making something useful. What began as a simple task turned into a satisfying way to bring personality to my entryway. It was that moment I realized the power of a creative DIY idea — not just in transforming space, but in creating something that feels uniquely mine.
A creative DIY idea doesn’t have to be grand or complicated. It can be something as simple as repurposing old wood or using a few basic tools to craft a functional piece of furniture. I’ve since built several coat racks, each one different in design and materials, but all of them have taught me something new about woodworking, creativity, and the joy of building from scratch.
This article is a culmination of those lessons. Whether you're a complete beginner or have some experience under your belt, I’ll walk you through every step of creating a coat rack that's not only practical but also a personal expression. It's about finding beauty in the process, not just the finished product.
Why You'll Love This Creative DIY Idea
- Transforms old materials into something useful and beautiful.
- Adds a personal touch to your home’s decor.
- Can be completed in just one weekend with minimal cost.
- Offers a satisfying sense of accomplishment and creativity.
Choosing the Right Materials for Your Coat Rack
As of September 2026, I’ve used everything from reclaimed barn wood to leftover planks from previous projects. The key is to find something that’s sturdy, has minimal knots or warping, and fits your vision. For a rustic look, reclaimed wood is ideal — it adds character and sustainability to your project.
When I built my first coat rack, I used a 1x6 pine board I found at a local hardware store. It was affordable, easy to work with, and gave me a solid base to build upon. You can also use salvaged wood from old furniture or pallets if you're looking for a budget-friendly option.
Keep in mind the dimensions. I recommend using a 6-foot board for a traditional vertical coat rack, or 3-foot boards for a more compact design. Measuring and planning ahead will save you time and headaches down the line.[1]
Before cutting, check the moisture content of the wood. If it's too high, it can warp or crack later. I’ve learned this the hard way — it's worth the small investment for a more stable result.
Part of our Creative diya guide.
Marking and Cutting Your Materials
I always use a tape measure and a pencil to mark my cuts. For a traditional vertical rack, I mark the board at 4-inch intervals from the top down. This ensures even spacing for hooks or pegs later on. If I'm making a horizontal rack, I’ll measure the length needed and mark it accordingly.
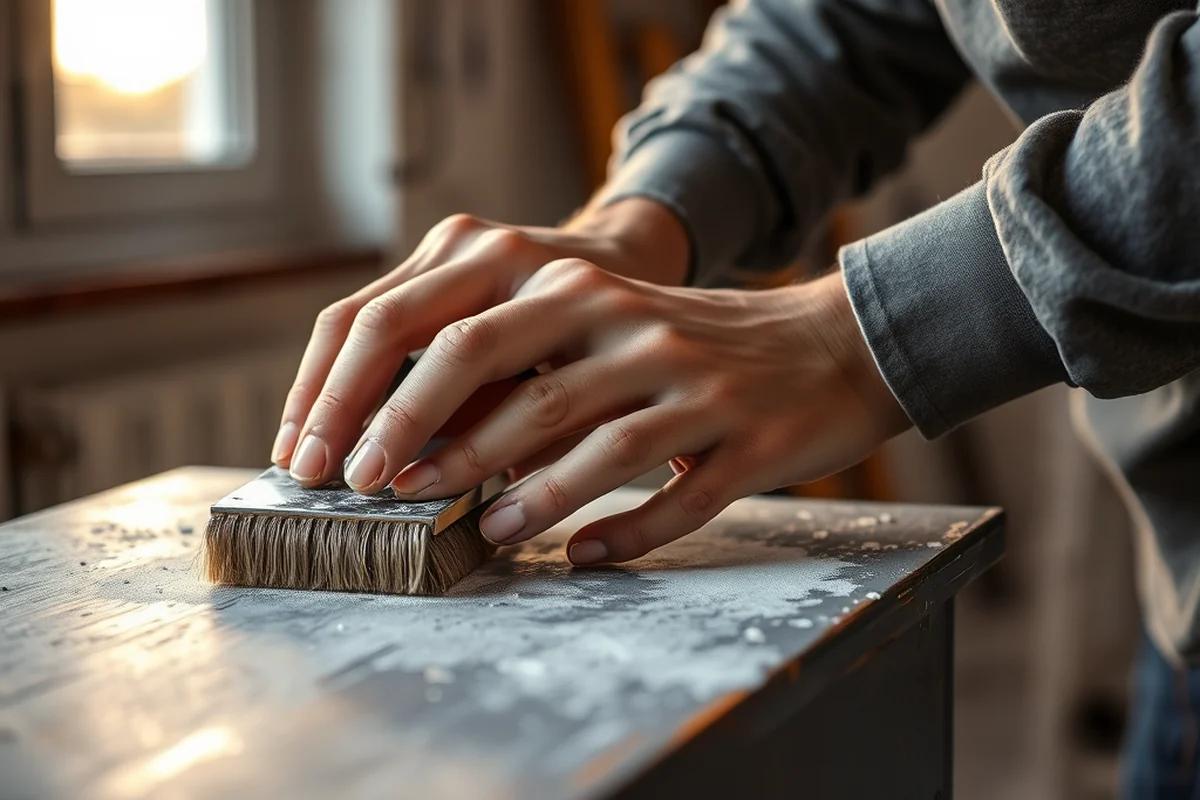
Cutting can be done with a circular saw or a hand saw. I prefer a circular saw for faster, cleaner cuts. I’ve found that a fine-tooth blade gives the best results and reduces splintering. After cutting, I sand the edges with 120-grit sandpaper to smooth them out and remove any splinters.[2]
Once the pieces are cut, I lay them out on a flat surface to double-check the measurements. I’ve made mistakes before by rushing this step — it's better to measure twice and cut once.
Measure twice, cut once — it's the mantra I live by.
Related: Creative diy costumes for boys
Related: Creative diy costumes for girls
Assembling the Frame of Your Coat Rack
I used wood screws and corner brackets to assemble the frame. For a traditional vertical rack, I attached the vertical boards to a base board using brackets. This gives the structure stability and ensures it doesn't wobble.
I’ve also used dowels or wood glue for a more seamless look. If you're not using brackets, I recommend pre-drilling holes to avoid splitting the wood. I’ve had the experience of splitting a board when I didn’t pre-drill, and it was frustrating to fix.
Once the frame is assembled, I check for squareness using a carpenter’s square. It’s surprising how easy it is for the corners to be off slightly, and catching that early makes all the difference in the final look.
Use a carpenter’s square to ensure your frame is perfectly square. I’ve learned that even a slight misalignment can throw off the entire look of your coat rack.
“I remember the first time I built a coat rack from scratch.”— Creating DIY Wooden Coat Racks editors
Related: Creative diya painting designs
Related: Competition creative diya painting designs
Adding the Hooks or Pegs

I’ve used both metal hooks and wooden pegs, and both have their advantages. Metal hooks are durable and come in a wide variety of styles, while wooden pegs give a more rustic feel. I’ve found that wooden pegs are easier to mount if you're not using pre-drilled holes.
To attach the hooks, I use a drill with a bit that matches the size of the hooks. I pre-drill holes at the correct height and angle to ensure the hooks sit flush with the wood. If I'm using pegs, I drill slightly larger holes to give the pegs a snug fit.
Once the holes are drilled, I insert the hooks or pegs and secure them with wood screws. I’ve found that using a slightly larger screw than the hole size helps prevent the hooks from wobbling or coming loose over time.
Related: Creative diy costume ideas
Finishing Touches and Sanding
I always start by sanding the entire coat rack with 120-grit sandpaper to smooth out any rough edges or splinters. This makes the surface ready for paint or stain. I’ve noticed that skipping this step can lead to an uneven finish and make the paint not adhere as well.
After sanding, I wipe the coat rack down with a damp cloth to remove any dust or debris. It’s important to ensure the surface is completely clean before applying any finish. I’ve found that even a small amount of dust can create a bumpy texture in the final coat.
For a painted coat rack, I used a brush and applied two coats of paint, allowing each coat to dry completely. I’ve found that using a primer first gives a better base for the paint and makes the final look more vibrant and long-lasting.
Mounting and Installing Your Coat Rack
I’ve used both screws and brackets to mount my coat racks. For a traditional vertical rack, I use screws that are long enough to reach the wall studs for maximum support. I’ve found that using a level during installation is crucial to ensure the coat rack is straight and even.
If you're using brackets, I recommend attaching them to the back of the coat rack first. I’ve found that using a drill with a bit that matches the screws size makes the installation faster and more precise. I’ve had issues in the past with misaligned brackets, so patience is key.
After mounting, I always test the coat rack by hanging a coat or a few items on it. This helps ensure it’s secure and can handle the weight. I’ve learned the hard way that skipping this step can lead to an unstable coat rack that might tip over.
Test your coat rack with weight — it’s the last thing you want to find out the hard way.
Personalizing Your Creative DIY Idea
I’ve used everything from hand-painted designs to carved initials to make my coat racks stand out. If you're not an artist, you can use stencils or even vinyl transfers to add patterns or text. I’ve found that using a spray paint with a fine tip gives the best results for intricate designs.
Another way to personalize is by using different types of wood or adding decorative elements like beads or metal accents. I’ve used wooden beads to create a more rustic look, and I’ve found that they add a nice visual contrast to the wood.
I’ve also used different stains or paints to achieve various looks. For a rustic feel, I’ve used a dark stain, while for a more modern look, I’ve used a light paint. The key is to experiment and find what works best for your space and style.
💰 Budget Build
Create a functional coat rack using salvaged materials and minimal tools. Great for those on a tight budget.
⏰ Weekend Version
Complete in just one day with simple steps and pre-cut materials. Perfect for quick, easy projects.
✨ Upgraded Finish
Add a professional touch with high-quality paint, stain, or decorative elements for a more polished look.
🏠 Small-Space Adaptation
Design a compact, wall-mounted coat rack that fits perfectly in tight entryways or small homes.
🔒 Rental-Safe Option
Build a coat rack that can be easily disassembled and removed without damaging walls or floors.
| The mistake | Why it happens | The fix |
|---|---|---|
| Not pre-drilling holes for screws | This can cause the wood to split, especially if using large screws or working with dense materials. | Always pre-drill holes with a bit that’s slightly smaller than the screw size. |
| Ignoring the moisture content in wood | High moisture content can lead to warping or cracking later on, especially if the wood is exposed to temperature changes. | Use a moisture meter to check the wood before cutting and allow it to dry if necessary. |
| Skipping the sanding step | Skipping sanding can leave rough edges, splinters, and an uneven surface that affects the final look of your coat rack. | Always sand the wood with 120-grit sandpaper before applying paint or stain. |
| Not checking for squareness during assembly | A misaligned frame can lead to an unstable or unbalanced coat rack that looks off and may not function properly. | Use a carpenter’s square to check all corners during assembly for accuracy. |
Creative Diy Idea
Common Questions
What type of wood should I use for my coat rack?
Can I build this coat rack without a circular saw?
How do I ensure my coat rack is level after installation?
What is the best way to attach the hooks to the coat rack?
References
- Divergent creativity in humans and large language models - Nature (nature.com)
- Designing for circular fashion: integrating upcycling into ... (link.springer.com)
Cite this guide
Creating DIY Wooden Coat Racks (2026). Creative Diy Idea. https://carvecharm.com/creative-diy-idea/
Feel free to cite or share this guide.