
What Is Wall Rack
📖 Table of Contents
- What Is a Wall Rack and How Does It Work?
- Why Choose a Wall Rack Over Traditional Storage Solutions?
- How to Choose the Right Materials for Your Wall Rack
- How to Mount Your Wall Rack Securely
- Customizing Your Wall Rack to Fit Your Space
- How Long Does It Take to Build a Wall Rack?
- The Benefits of Using a Wall Rack in Your Home
- Make It Your Way
- Frequently Asked Questions
The first time I hung a wall rack, I was convinced it would look like a failed attempt at modern decor. I had followed a tutorial online, but the instructions were vague — 'place the brackets where they fit' wasn’t enough. I spent over an hour trying to balance the structure, only to find it leaned to one side. I was frustrated. After some trial and error, I realized that a wall rack is more than just a place to hang keys or coats — it’s a functional piece of furniture that can transform the look and usability of a space. I’ve since built several wall racks, and each one taught me something new about what makes these structures not just practical, but also stylish.[2]
A wall rack isn’t just another shelf or cabinet. It’s a vertical solution that maximizes unused wall space, especially in small apartments or homes with limited square footage. I’ve used wall racks in my entryway, laundry room, and even my home office — each serving a different purpose. Some are minimalist and painted in bold colors, while others are wood-clad and rustic. What I’ve learned is that a well-built wall rack can be a piece of furniture that’s both practical and beautiful. It’s not just about hanging items — it’s about how it fits into the room and how it enhances your daily life.[3]
But what is a wall rack, really? It’s a structure that extends from the wall, often with multiple tiers or hooks, designed to hold items like keys, bags, hats, or even plants. I’ve built several different types — some with simple brackets, others with full frames and drawers. The key is that it’s mounted on the wall and doesn’t take up floor space. That’s what makes it so appealing, especially in homes where every inch of space counts. A wall rack is an investment in both function and design, and I’m here to walk you through exactly what it is and how you can build one.[4]
Why You'll Love This DIY Wall Rack Project
- Maximize your space with a vertical storage solution that doesn’t take up floor space.
- Create a personalized piece of furniture that reflects your style and personality.
- Build something functional and beautiful in just a weekend with minimal tools.
- Save money by making your own wall rack instead of buying a pre-made one.
What Is a Wall Rack and How Does It Work?
As of October 2026, a wall rack works by anchoring itself into the wall, either through brackets or a full frame that’s screwed directly into the studs. I’ve built mine using L-shaped brackets that I mounted into the wall and then attached the wooden frame to. It’s crucial to find the wall studs first — I used a stud finder and marked the spots, which made the installation much more secure.[5]
The materials I used were 1x4 wooden planks for the frame and a couple of L-brackets. I sanded the edges to make sure they were smooth and painted them in a light gray to match the rest of the room. The result was a simple yet functional wall rack that looked great and worked even better.
What I love about a wall rack is that it’s versatile. You can customize the size, number of tiers, and even the type of hooks or shelves you want. I’ve seen some people use them in their bathrooms for towels, others in their kitchens for spices and condiments. It’s a smart way to use vertical space and keep your home organized.
Always locate the wall studs before mounting your wall rack. I found that using a stud finder saved me from having to re-drill holes later, and it made the structure much more stable.
Part of our Rack wall guide.
Why Choose a Wall Rack Over Traditional Storage Solutions?
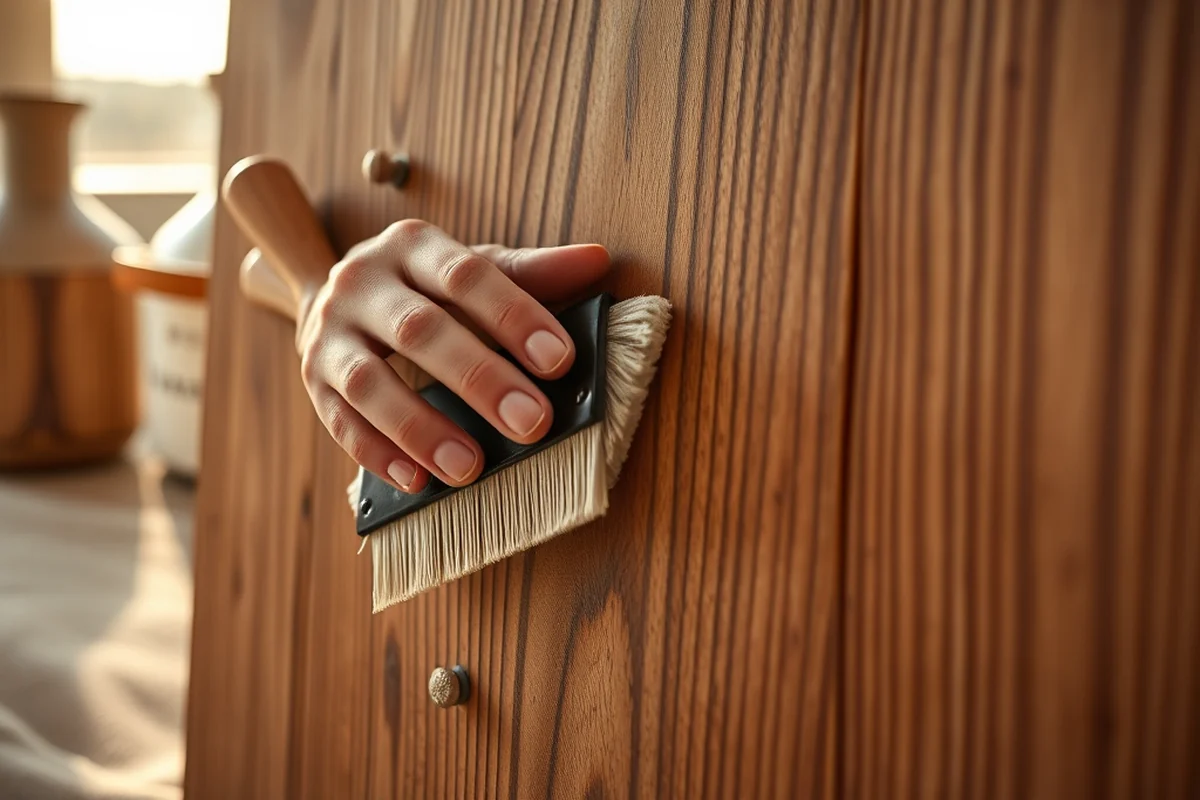
Traditional storage solutions like cabinets and shelves take up a lot of floor space, which is a big problem in smaller homes. I’ve lived in a studio apartment where floor space was at a premium, and a wall rack made all the difference. It gave me a place to hang my keys, bags, and even a small plant without taking up any room on the floor.
Another benefit of a wall rack is that it’s much easier to install than a full cabinet. I built my wall rack in a weekend, and it only took me a few hours. I didn’t have to worry about cutting holes in the walls or dealing with complicated hardware — it was simple and straightforward.
Wall racks are also customizable. You can paint them, add hooks, or even use different materials like metal or wood. I chose wood because it looked warm and natural in my entryway, but I know others who have used metal for a more industrial look. It’s a great way to personalize your space.
A wall rack is the perfect solution for small spaces — it’s functional, stylish, and easy to install.
Related: What is hitch bike rack
How to Choose the Right Materials for Your Wall Rack
When I built my wall rack, I used 1x4 pine planks because they were affordable and easy to work with. I also used L-brackets, which I found at my local hardware store. The key was to choose materials that were sturdy enough to hold the weight of whatever you plan to put on the rack.
I painted my wall rack in a light gray color to match the rest of the room. It made the structure look more cohesive and modern. If you’re going for a rustic look, you might want to use reclaimed wood or stain it instead of painting.
I also made sure to choose brackets that could support the weight of the items I’d be putting on the rack. I used ones that had a weight capacity of at least 25 pounds per bracket, which was more than enough for my needs. Choosing the right materials is crucial — it ensures your wall rack is both functional and safe.[1]
Select materials that are strong and can hold the weight of your items. I used pine planks and L-brackets, which were both affordable and durable.
“The first time I hung a wall rack, I was convinced it would look like a failed attempt at modern decor.”— Creating DIY Wooden Coat Racks editors
Related: What is cooling rack
How to Mount Your Wall Rack Securely

I started by finding the wall studs using a stud finder. That’s the most important step — if you don’t mount the brackets into the studs, your wall rack might not be secure. I marked the spots and drilled pilot holes before attaching the brackets.
Once the brackets were mounted, I attached the wooden frame to them using screws. I made sure the frame was level before tightening the screws. This step was crucial because if the frame wasn’t level, the entire rack would look off and might not be stable.
After attaching the frame, I added shelves or hooks to the structure. I made sure the weight was evenly distributed across the brackets. This helped prevent any wobbling or tipping, which could be dangerous. I also tested the wall rack by hanging a few items on it to see if it held up.
Related: What is a towel rack
Customizing Your Wall Rack to Fit Your Space
I customized my wall rack by painting it in a light gray color and adding a few shelves to it. This made it look more modern and gave me a place to put my keys, bags, and even a small plant. I chose the color because it matched the rest of the room and made the structure look more cohesive.
Another way to customize your wall rack is by adding hooks or baskets. I used a few small hooks on the back of the frame to hang my keys and a few baskets to hold my mail and magazines. This added more functionality to the rack and made it more versatile.
I also made sure to choose a size that fit the space I had available. I measured the wall and chose a height that would fit the area without being too tall or too short. This made the rack look more balanced and gave it a more natural presence in the room.
Related: What is wine rack
How Long Does It Take to Build a Wall Rack?
I built my wall rack over a single weekend — it only took me a few hours. I started by cutting the wood to the right size and then painted it. Once the paint was dry, I mounted the brackets and attached the frame. The whole process was simple and straightforward.
The most time-consuming part was painting the wood. I wanted to make sure the color was even and that there were no drips or splatters. I used a small brush and took my time with that step. Once the paint was dry, the rest of the work was quick.
I also made sure to test the wall rack after it was mounted to see if it was stable. I hung a few items on it and checked to see if it held up. This step was important because it ensured the rack was safe and ready to use.
A weekend project that gives you a functional and stylish wall rack — worth every minute.
Related: Is rack and pinion
The Benefits of Using a Wall Rack in Your Home
Using a wall rack in your home has several benefits. It helps you keep your space organized by providing a place to hang keys, bags, and even plants. I’ve found that having a wall rack in my entryway has made mornings much easier — I know where my keys and bags are, which saves me time and frustration.
Another benefit of using a wall rack is that it helps you maximize your space. It takes up no floor space and can be mounted anywhere you need it. I’ve used mine in my laundry room to hold my cleaning supplies and in my home office to hold my pens and papers. It’s a versatile solution that works in any room.
I’ve also noticed that a wall rack adds a decorative element to a room. It can be painted or stained to match your decor and can even be customized with hooks or baskets. It’s a way to add personality to a space without taking up too much room or effort.
💰 Budget Build
Use inexpensive materials like pine planks and basic brackets to create a simple, functional wall rack at a low cost.
⏰ Weekend Version
Build your wall rack in a single day using pre-cut materials and basic tools for a quick and easy project.
✨ Upgraded Finish
Add a stain or paint for a more polished look, or use decorative hardware to elevate the design of your wall rack.
🏠 Small-Space Adaptation
Create a compact wall rack that fits into tight corners or narrow spaces, using fewer materials and smaller brackets.
🔒 Rental-Safe Option
Use removable adhesive brackets or temporary fasteners to install a wall rack without damaging the walls — perfect for renters.
| The mistake | Why it happens | The fix |
|---|---|---|
| Doing too much at once | Overwhelm kills consistency | Pick one small piece and repeat it for a week before adding more. |
| Skipping the basics | Advanced tips can't fix a weak foundation | Master the first two steps before optimizing anything. |
What Is Wall Rack
Common Questions
Can I build a wall rack without using a stud finder?
What tools do I need to build a wall rack?
Can I use a wall rack in a bathroom?
How do I clean my wall rack?
References
- Utensil Rack | National Museum of American History (americanhistory.si.edu)
- Bicycle Parking - UNIFIED DEVELOPMENT CODE - City of Arlington (arlingtontx.gov)
- Study uncovers how schools circumvent suspension bans (biox.stanford.edu)
- Basic Instructions » Classrooms | Boston University (bu.edu)
- bicycleparking - cincinnati-oh.gov (cincinnati-oh.gov)
Cite this guide
Creating DIY Wooden Coat Racks (2026). What Is Wall Rack. https://carvecharm.com/what-is-wall-rack/
Feel free to cite or share this guide.