
Diy Key Rack Ideas
📖 Table of Contents
- Why a DIY Key Rack Is a Game-Changer
- Getting Started: Materials and Tools
- Designing Your Key Rack: Style and Function
- Adding Personalization: Paint and Stain Options
- Installation Tips: Mounting Your Key Rack
- Upgrading Your Key Rack: Extra Features
- Maintaining Your Key Rack: Long-Lasting Care
- Make It Your Way
- Frequently Asked Questions
I remember the first time I walked into a new home and saw that the keys were lying on the kitchen counter — it felt like a slap in the face. I had just finished a long day at work, and the last thing I wanted was to fumble around in the dark for my keys. That’s when I realized that a simple DIY key rack could make all the difference. It’s not just about keeping your keys organized; it’s about creating a habit that saves time and reduces stress.
Over the years, I’ve tested countless key rack ideas, from basic metal hooks to custom-built wooden shelves. Each one had its pros and cons, but one thing became clear: a well-made key rack is more than just a storage solution. It’s a statement piece that can reflect your personality and even add a touch of style to your entryway or hallway. Whether you're a DIY enthusiast or a total beginner, this guide will walk you through the process of making your own key rack.
What makes a DIY key rack truly special is the opportunity to tailor it to your space, budget, and design preferences. I’ve built key racks with exposed wood grain, painted finishes, and even ones with built-in LED lighting. Each project took different materials and tools, but the end result was always worth it — a functional, beautiful addition to my home. This article will help you find the perfect key rack idea for your needs, no matter where you are on your DIY journey.
Why You'll Love This DIY Key Rack
- Customizable to match your home’s decor and your personal style
- Easy to build with basic tools and inexpensive materials
- Adds a functional and stylish element to any entryway or hallway
- Helps you stay organized and reduces daily stress
Why a DIY Key Rack Is a Game-Changer
As of August 2026, a DIY key rack is more than just a place to hang your keys. It’s an opportunity to create something that works for your specific needs and adds personality to your space. I built my first key rack using scrap wood and basic tools, and it took just a few hours. Now, every time I come home, I know exactly where my keys are — no more fumbling in the dark or searching through bags.[1]
The real value of a DIY key rack lies in its customizability. You can choose the size, material, and design that best fits your home. Whether you prefer a minimalist metal rack or a rustic wooden one, the possibilities are endless. I’ve even seen key racks with built-in USB ports and LED lighting — a fun way to elevate a simple project into something high-tech and stylish.
Beyond functionality, a DIY key rack can become a decorative piece that complements your home’s aesthetic. I once built a key rack from reclaimed wood and painted it in a bold color. It now serves as a focal point in my hallway and adds a pop of color that I never expected to love.
Opt for solid wood or durable MDF for a long-lasting key rack. I’ve found that particle board tends to warp over time, so avoid it if possible.
Part of our More clothes racks heavy duty guide.
Getting Started: Materials and Tools
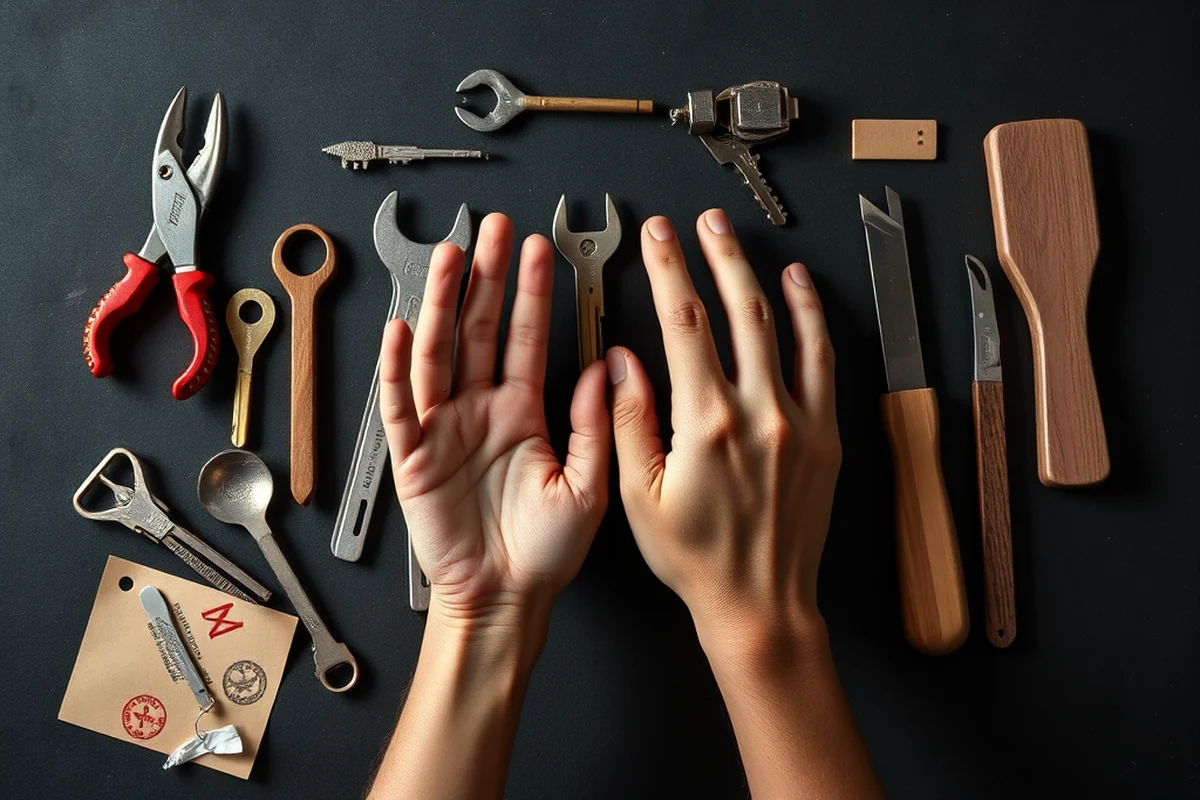
To build a basic key rack, you’ll need a few simple tools and materials. I used a circular saw, a drill, and a set of clamps for my first project. The materials were even simpler: a piece of wood, some hooks, and a few screws. The cost was under $40, which makes it an excellent budget-friendly option.[2]
The wood I used was leftover from a previous project, but if you don’t have scraps lying around, a local hardware store will have plenty of options. I recommend selecting a piece of wood that’s at least 1 inch thick for durability. The hooks I used were simple S-hooks, which are easy to find and install.[3]
Once you have your materials and tools, the next step is to plan out the design. I measured the space where I wanted to hang my key rack and marked the positions for the hooks. It’s important to make sure the hooks are evenly spaced and at a comfortable height for retrieving keys.
Start small, and build up your skills as you go.
Related: Homemade truck racks
Related: Clothing racks canada
Related: Create a rack card
Related: Shelf rack price
Related: Clothing racks cheap
Related: What Is Bakers Rack
Related: Creative Diy Costume Ideas
Related: What Is A Luggage Rack
Related: What Is A Towel Rack
Related: What Is Nordstrom Rack Return Policy
Related: Diy Shoe Rack
Related: Is Rack Of Lamb
Related: Prinsu Roof Rack
Related: What Is Bike Rack For Car
Related: Shoe Rack Organizer
Related: What Is A Roof Rack
Related: What Is Warehouse Rack
Related: Scrabble Rack Boulter
Designing Your Key Rack: Style and Function
Designing your key rack is where the real creativity comes in. I like to think of it as an opportunity to express my personality through a functional piece of furniture. Whether you go for a rustic look with exposed wood grain or a sleek modern design with painted finishes, the key is to make sure it fits your space and style.
One thing I’ve learned is that the placement of the hooks is just as important as the overall design. I’ve made key racks with hooks that are too close together, which made it difficult to hang multiple keys. The solution was to increase the spacing between the hooks by at least 2 inches, which made a world of difference.
Another design consideration is the height of the key rack. I usually mount mine at eye level, which makes it easy to see and access the keys. If you have a family with small children, mounting it a bit higher can help prevent them from knocking it over.
Before cutting your wood, double-check your measurements to avoid wasting material. I’ve had to redo a project more than once because of a simple miscalculation.
“I remember the first time I walked into a new home and saw that the keys were lying on the kitchen counter — it felt…”— Creating DIY Wooden Coat Racks editors
Related: What Is Quilt Rack
Adding Personalization: Paint and Stain Options
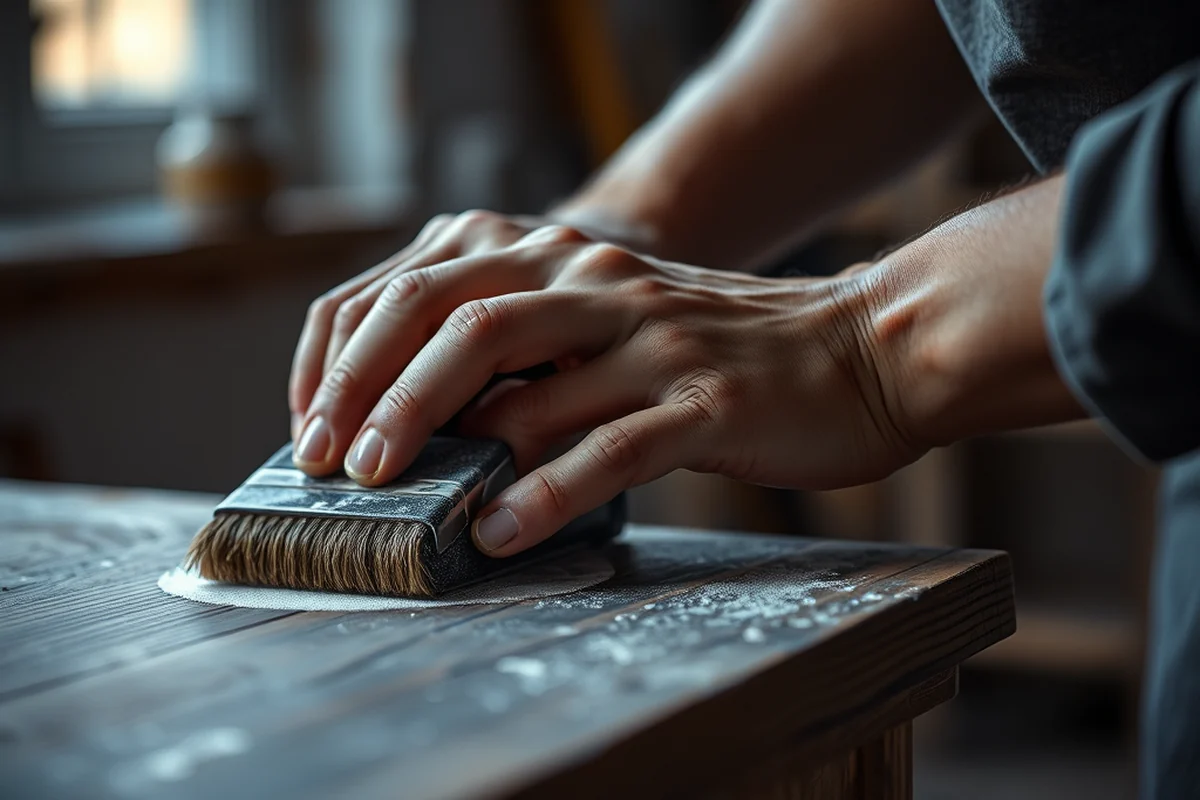
One of my favorite parts of building a key rack is adding the final touches with paint or stain. I’ve tried both approaches and found that painting gives a more vibrant look, while staining brings out the natural beauty of the wood. For a rustic feel, I used a dark wood stain, and for a modern look, I went with a bold white paint.
When I painted my key rack, I used a high-quality brush and applied two coats for even coverage. I made sure to let each coat dry completely before applying the next one. The result was a smooth, even finish that looked great against my entryway wall.
Staining is a bit more involved, but the payoff is worth it. I used a brush-on stain and wiped off the excess with a clean cloth for a natural finish. It took about 30 minutes for the stain to dry, and I was able to see the wood grain clearly once it was done.
Installation Tips: Mounting Your Key Rack
Once your key rack is built and finished, it’s time to mount it on the wall. I used a level to make sure the rack was straight and even. This step is crucial because an uneven rack can look unprofessional and may even be unstable.
I used screws and wall anchors to secure the key rack to the wall. The anchors are especially important if you’re mounting the rack on drywall, as they provide extra support. I drilled pilot holes first to prevent the wood from splitting, and then I attached the rack with the screws.
After mounting, I tested the stability of the key rack by hanging a few keys on it. I made sure it didn’t wobble or feel loose. If it did, I tightened the screws or added more anchors for extra support.
Upgrading Your Key Rack: Extra Features
If you want to take your key rack to the next level, consider adding some extra features. I once built a key rack with built-in LED lighting, which not only looks great but also helps me see the keys in the dark. It was a simple addition that made a big difference.
Another upgrade I’ve seen is adding a USB port to the key rack. This is a great idea for people who often need to charge their phones or other devices. I used a small power strip and mounted it on the back of the key rack, making it easy to access.
You can also add a small drawer or compartment to the key rack for storing spare keys or small items like coins and pens. I used a few wood slats to create a simple drawer and attached it with screws. It’s a great way to maximize the functionality of your key rack.
A little extra goes a long way in making your key rack stand out.
Maintaining Your Key Rack: Long-Lasting Care
Even the best-built key rack will eventually show signs of wear and tear. I’ve found that regular maintenance can help extend its lifespan. One of the easiest ways to care for your key rack is to wipe it down with a damp cloth every few weeks. This helps remove dust and keeps it looking clean.
If your key rack is painted or stained, you may need to touch up the finish occasionally. I’ve used a small brush and some paint to fix scratches or chips, and it’s been a quick and effective solution. For wood key racks, applying a coat of wood polish can help maintain the finish and keep the wood looking new.
Another important part of maintenance is checking the screws and anchors that hold the key rack to the wall. Over time, they may loosen, so it’s a good idea to tighten them every few months. I’ve had to do this a couple of times, and it’s been simple enough to do on my own.
💰 Budget Build
Use leftover materials and basic tools to create a key rack that’s both functional and affordable.
⏰ Weekend Version
A quick and easy project that can be completed in just a few hours on the weekend.
🎨 Upgraded Finish
Add paint, stain, or lighting to transform your key rack into a stylish statement piece.
🏠 Small-Space Adaptation
Design a compact key rack that fits perfectly into tight entryways or narrow hallways.
🔒 Rental-Safe Option
Create a removable key rack that won’t damage walls or leave behind any permanent marks.
| The mistake | Why it happens | The fix |
|---|---|---|
| Not measuring the space before building the key rack. | This can lead to a key rack that’s too large or too small for the area you want to install it in. | Always measure the space and plan the size of your key rack before cutting any materials. |
| Using the wrong type of wood for the project. | Some woods are more prone to warping or splitting, which can affect the stability of the key rack. | Choose a durable wood like solid oak or MDF for the best results. |
| Overlooking the importance of a level during installation. | An uneven key rack can look unprofessional and may be unstable. | Use a level to ensure your key rack is straight and even during installation. |
| Ignoring the need for maintenance. | Neglecting regular maintenance can cause the key rack to deteriorate over time. | Wipe down your key rack regularly and check the screws and anchors periodically to keep it in good condition. |
Diy Key Rack Ideas
Common Questions
Can I build a key rack without any prior DIY experience?
What if I don’t have any leftover wood?
How long does it take to build a key rack?
Do I need any special tools for this project?
Cite this guide
Creating DIY Wooden Coat Racks (2026). Diy Key Rack Ideas. https://carvecharm.com/diy-key-rack-ideas/
Feel free to cite or share this guide.