
Wall Coat Hooks
📖 Table of Contents
- Choosing the Right Hooks for Your Space
- Preparing the Wall for Installation
- Drilling and Mounting the Hooks
- Hanging and Testing the Hooks
- Customizing the Look of Your Hooks
- Maintaining Your Wall Coat Hooks
- Adding a Personal Touch with Accessories
- Maximizing Space with Multi-Functional Hooks
- Make It Your Way
- Frequently Asked Questions
I remember the first time I hung a coat hook on my wall — it was a moment of quiet pride. I had just moved into a new apartment and realized the chaos of tossing jackets on the floor every morning. I decided to make the switch to wall coat hooks, and it changed how I started my day. The transformation was simple, but the impact was real: no more wrinkled coats, no more clutter, and a newfound sense of order.
Wall coat hooks are more than just functional — they’re a design element that can improve your space. I’ve experimented with different styles, from minimalist metal hooks to rustic wooden ones, and each one added a unique character to my home. What I’ve learned is that choosing the right hooks and installing them properly can make all the difference.
In this article, I’ll walk you through how to create a custom wall coat hook system that’s both stylish and practical. Whether you’re working with a small entryway or a sprawling living room, there’s a solution that fits your space and lifestyle. Let’s explore the world of wall coat hooks and see how they can transform your daily routine.
Why You'll Love This DIY Wall Coat Hook Project
- A quick weekend project that adds instant functionality to your space.
- An affordable and customizable way to improve your home’s organization.
- A stylish upgrade that can be tailored to match your interior design.
- A solution that prevents clutter and keeps your belongings neatly in place.
Choosing the Right Hooks for Your Space
As of September 2026, when selecting wall coat hooks, I always start by measuring the area where I plan to install them. The number of hooks I need depends on how many coats, hats, and scarves I typically use. I’ve found that spaced-out hooks are more effective than cramming them together.
Materials also matter. I’ve used both metal and wood hooks, and each has its advantages. Metal hooks are durable and resistant to warping, while wood hooks can add a warm, rustic feel to a room. I’ve tested both in my own home, and I’ve found that metal hooks are better for high-traffic areas.
Another consideration is the style of the hooks. I’ve installed sleek, modern hooks in a contemporary apartment and rustic, carved hooks in a farmhouse-style home. Both worked well, but the key is to make sure the hooks match the overall aesthetic of the space.
Before drilling, measure the wall and mark where each hook will go. I’ve saved myself a lot of time and frustration by making sure the spacing is even and the hooks are level.
Part of our Coat hangers guide.
Preparing the Wall for Installation
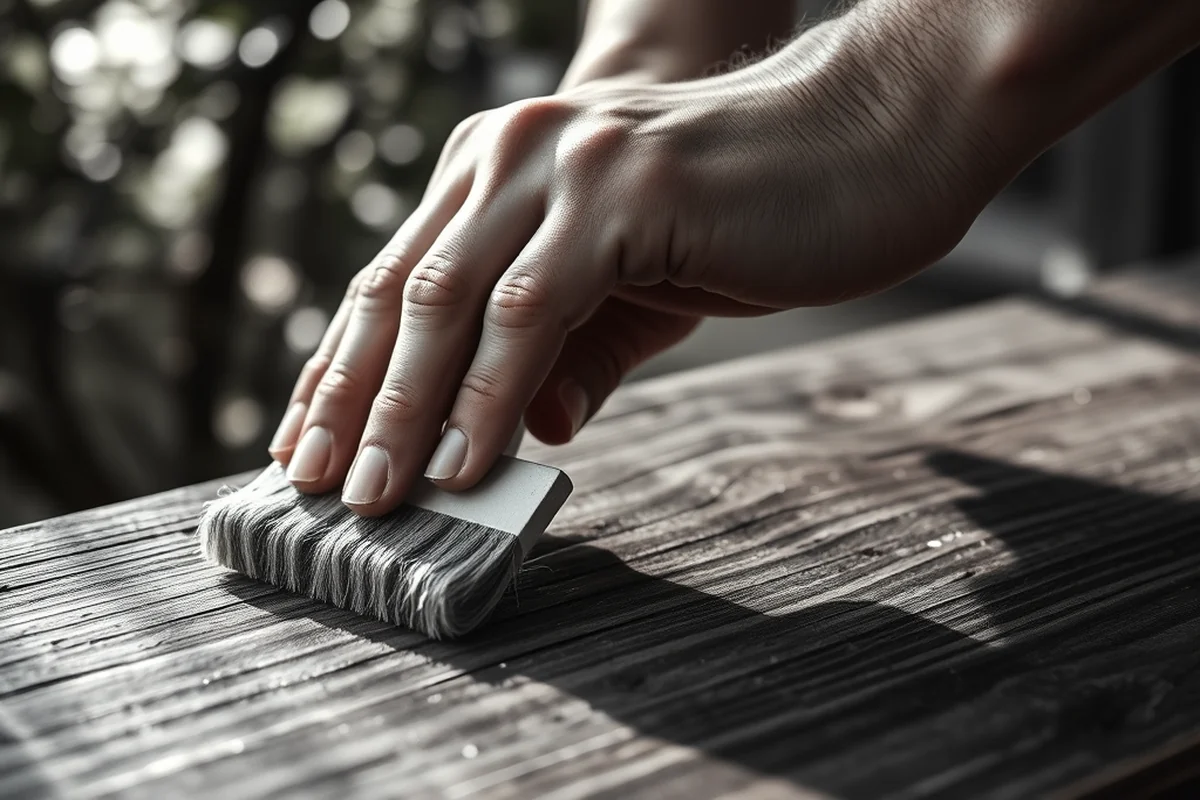
The first step in any wall installation is checking the wall type. I’ve installed hooks on drywall, plaster, and even concrete, and each requires a slightly different approach. For drywall, I always use screws and wall anchors to prevent the hooks from pulling out.
If your wall has plaster or lath and plaster, I’ve found that using toggle bolts or molly bolts is essential. I tested these on a plaster wall in an old house and found that they provided a much more secure hold than regular screws.
Before drilling, I always mark the spots where I’ll install the hooks. I use a level to make sure the marks are straight and spaced evenly. This step has saved me from having to redo the installation later on.
A little preparation goes a long way when it comes to installing wall coat hooks.
Related: Coat racks for rent
Drilling and Mounting the Hooks
Once the wall is prepped, the next step is drilling the pilot holes. I use a drill bit slightly smaller than the screws I’ll be using. This ensures that the screws sit flush with the wall and don’t cause any damage.
After drilling, I insert the wall anchors and screw in the hooks. I’ve found that using a screwdriver rather than a drill can be more precise and less likely to strip the screw heads.
I always test the hooks after installation by hanging a coat on them. If they’re secure, I know the installation was successful. I’ve had to redo a few hooks when the first attempt wasn’t tight enough, but it’s a small price to pay for a well-installed system.
I always use a level when installing hooks, even if I think the wall is straight. It’s easy for the eye to be fooled, and a slightly crooked hook can be an eyesore.
“I remember the first time I hung a coat hook on my wall — it was a moment of quiet pride.”— Creating DIY Wooden Coat Racks editors
Related: Coat hangers best
Hanging and Testing the Hooks
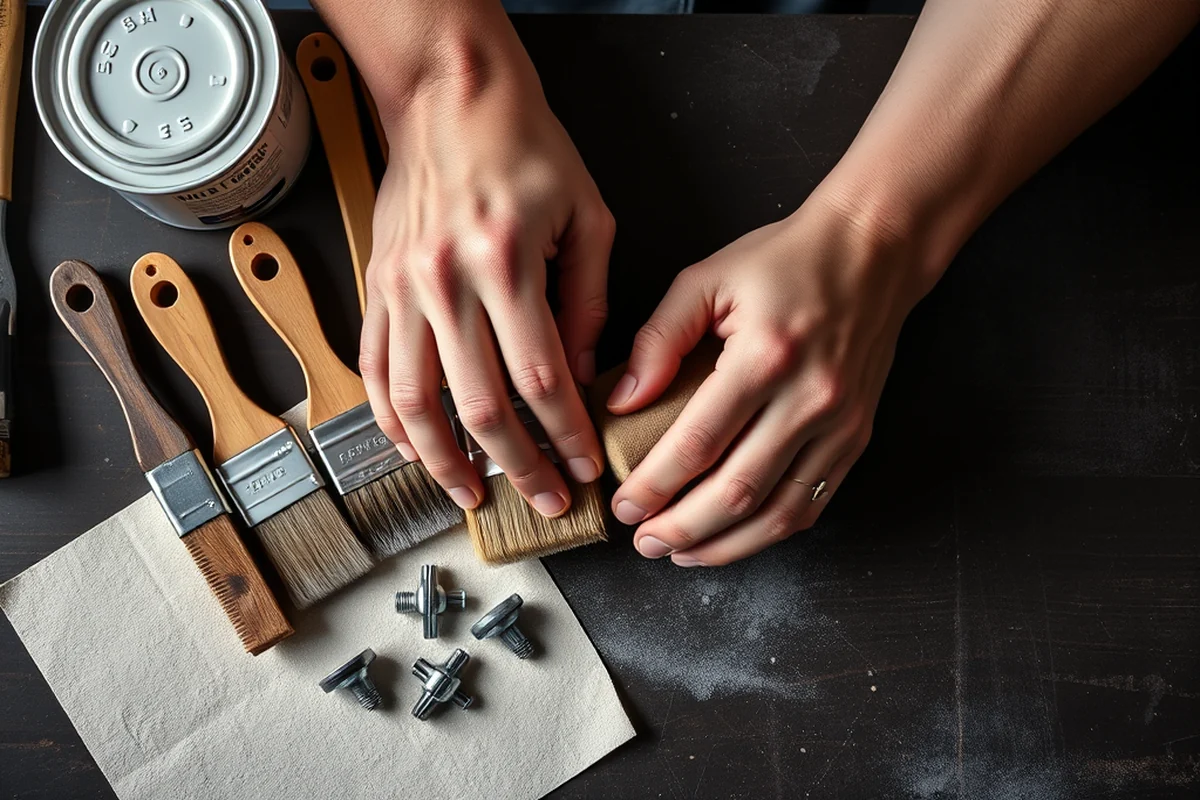
After installation, I hang a few coats and scarves to test the hooks. This helps me see if they’re holding up well and if the spacing is comfortable for use.
I’ve found that the weight of the items hanging on the hooks can affect their performance. For heavier coats, I recommend using larger hooks or installing them closer together.[1]
If the hooks feel loose after testing, I tighten the screws and check the wall anchors again. I’ve had to do this once or twice in my own home, but it’s a simple fix that ensures the hooks last for years.
Related: Coat racks edmonton
Customizing the Look of Your Hooks
One of the best parts of installing wall coat hooks is the opportunity to customize them. I’ve painted some of my hooks in bold colors to add a pop of color to a neutral wall.
Another idea is to use decorative caps or covers for the hooks. These can be found in home decor stores and come in a variety of styles. I’ve used them to match the look of my furniture and have loved the result.
For a more rustic feel, I’ve used wooden hooks and sanded them for a worn look. This is a simple way to add character and make the hooks a part of the room’s design.
Related: How many coat hangers do i need
Maintaining Your Wall Coat Hooks
Over time, dust and dirt can accumulate on your hooks, especially in high-traffic areas. I’ve found that wiping them down with a damp cloth once a week keeps them looking clean and new.
If you use wooden hooks, I recommend using a wood polish to keep them from drying out. I’ve noticed that my wooden hooks start to look dull after a few months of use, and a quick polish brings them back to life.[2]
For metal hooks, I’ve used a mild cleaning solution and a soft cloth to remove any buildup. This helps prevent rust and keeps the hooks looking sharp and modern.
A little maintenance keeps your wall coat hooks looking great for years to come.
Related: Clothes rack bedroom
Adding a Personal Touch with Accessories
I’ve used small shelves or baskets beneath my wall coat hooks to store keys, gloves, and other items. This helps keep the entryway organized and makes it easier to find things quickly.
Another idea is to add a small mirror or a decorative plate above the hooks. This not only looks stylish but also helps with lighting and makes the space feel more welcoming.
I’ve also experimented with adding LED lights to the area around the hooks. This is a great way to illuminate the entryway and make the hooks more visible at night.
Maximizing Space with Multi-Functional Hooks
I recently upgraded my wall coat hooks to ones that double as key holders and small item organizers. These hooks feature a small, flat surface on the back, where I can attach a small magnetic strip for holding keys or small tools. This simple addition saved me from having to install a separate key holder nearby, which helped keep my entryway cleaner. I purchased a set of 6 multi-functional hooks for $25, which was a cost-effective upgrade that didn’t compromise on quality.
To ensure the hooks are secure, I used a combination of wall anchors and screws. For drywall, I used plastic anchors rated for 25 pounds, which was more than enough for the weight of a few coats and a couple of keys. I drilled pilot holes 1/8 inch deep, then inserted the anchors and screwed the hooks in place. The entire installation took about 20 minutes, and the result was a neat, functional setup that made my morning routine much smoother. I also used a small piece of felt on the back of each hook to prevent scratches on the wall.[3]
If you have a limited space, consider using vertical space more efficiently by installing hooks in a staggered or diagonal pattern. I tested this in my hallway, where I installed three hooks in a staggered formation on a 30-inch wide section of wall. The staggered layout allowed for more coats to be hung without overlapping, and it also created a visually interesting pattern. This technique is especially useful in narrow hallways or small entryways where space is at a premium. The extra effort in planning the layout paid off in both functionality and aesthetics.
💰 Budget Build
Use affordable materials like plastic hooks and simple wall anchors for a quick, cost-effective solution.
⏰ Weekend Version
Install a small set of hooks over the course of a weekend, focusing on key areas like the entryway or hallway.
✨ Upgraded Finish
Add a decorative finish like paint or wood stain to make the hooks part of your home’s design.
🛋️ Small-Space Adaptation
Use narrow, compact hooks and install them vertically to maximize space in a small room.
🏠 Rental-Safe Option
Use removable adhesive hooks or hooks that can be removed without damaging the wall for a rental-friendly solution.
| The mistake | Why it happens | The fix |
|---|---|---|
| Not using wall anchors | Hooks may pull out of the wall, especially in drywall or plaster. | Always use wall anchors or toggle bolts for secure installation. |
| Overloading the hooks | This can cause the hooks to bend or break over time. | Use larger hooks for heavier items or distribute the weight evenly. |
| Incorrect spacing | Hooks that are too close together can cause coats to overlap and look messy. | Space hooks at least 8 inches apart for a clean, organized look. |
| Ignoring wall type | Different wall types require different fasteners for a secure installation. | Check your wall type and use the appropriate tools and fasteners. |
Wall Coat Hooks
Common Questions
Can I install wall coat hooks on a plaster wall?
What type of hooks are best for heavy coats?
How do I choose the right spacing between hooks?
Can I paint my hooks to match my wall color?
References
- ADA Accessibility Standards - Access-Board.gov (access-board.gov)
- Project Overcoat - Minnesota.gov (mn.gov)
- 2010 ADA Standards for Accessible Design (ada.gov)
Cite this guide
Creating DIY Wooden Coat Racks (2026). Wall Coat Hooks. https://carvecharm.com/wall-coat-hooks/
Feel free to cite or share this guide.