
Best Dish Drying Rack
📖 Table of Contents
I still remember the first time I tried to dry my dishes on the counter — it was a disaster. Water pooled on the floor, and I spent the next 20 minutes mopping. That’s when I realized I needed a proper dish drying rack. A well-made, custom-built dish drying rack is more than just a kitchen accessory; it’s a smart investment that streamlines your daily routine. It’s not just about efficiency — it’s about creating a space that works for you, without the mess. The best dish drying rack doesn’t just hold your dishes; it keeps your kitchen organized and your hands dry.
Building your own dish drying rack is a simple and rewarding DIY project, but it requires some thought and planning. I spent a weekend building my first one from scrap lumber, and it’s been my go-to spot ever since. It’s not just about function — the right design can also add a touch of personality to your kitchen. Whether you’re a seasoned woodworker or a complete beginner, there are options that will fit your style and budget. The key is to choose materials and finishes that match your kitchen’s overall look and feel.
The best dish drying rack isn’t just about looking good; it’s about working well. I’ve tried a few off-the-shelf models over the years, but nothing beats the satisfaction of building your own. You get to choose the size, the wood, and even the color. It’s a project that takes about an hour to assemble, and with a few basic tools, you can have a custom solution that’s tailored to your space. The result is a rack that not only holds your dishes but also elevates the look of your kitchen — and that’s something I can truly get behind.
Why You'll Love This Custom Dish Drying Rack
- Customizable to fit your kitchen size and style.
- Built with durable materials that last for years.
- Easy to assemble with minimal tools.
- Adds a functional and aesthetic touch to your kitchen.
Choosing the Right Materials
As of September 2026, when choosing the right materials for your dish drying rack, focus on both durability and aesthetics. I used 2x2 pine lumber for the base and 1x3 pine for the drying slots, which was both budget-friendly and easy to work with. Pine is a softwood, so it’s not as durable as hardwoods like oak or maple, but with the right finish, it can hold up well in a kitchen environment. I made sure to sand each piece thoroughly with 120-grit sandpaper before moving on to the next step.[1]
The cost of materials was about $40, which included the lumber, wood glue, screws, and a water-resistant polyurethane finish. I bought the wood from a local hardware store, and I was able to get a good deal on the pine. I also purchased a can of polyurethane and a brush, which were both essential for sealing the wood. It’s important to choose a finish that’s food-safe if you plan to use the rack in a kitchen space where dishes are placed directly on the surface.[2]
I found that using 2x2 lumber for the legs and the frame provided a sturdy base that could hold up to the weight of multiple dishes. The 1x3 lumber was perfect for the slots, as it allowed for enough spacing between each dish while still maintaining a compact design. I made sure to cut all the pieces to the same length before assembling the frame, which made the process much smoother and more efficient.
Always use wood that’s been treated to resist moisture and warping. Pine is a good option for a budget-friendly build, but consider using a hardwood if you want something more durable over time.
Cutting and Assembling the Frame
Cutting the lumber accurately is one of the most important steps in building your dish drying rack. I used a miter saw to make clean, straight cuts for the legs and the frame. I measured each piece twice before cutting to ensure that everything would fit together correctly. After cutting, I used a square to check each corner for accuracy before moving on to the next step.
Once all the pieces were cut to size, I used wood glue and screws to assemble the frame. I started by attaching the legs to the base, making sure everything was level and square. I used a carpenter’s square to check the angles, which helped ensure that the frame was built with precision. After securing the legs, I attached the cross members to create the base for the drying slots.
I found that using a combination of wood glue and screws provided the strongest hold. I used a small screwdriver to tighten each screw by hand before using a power drill. This helped prevent the wood from splitting, especially in the softer pine I used. After assembling the frame, I set it aside to let the glue dry for about 30 minutes before moving on to the next step.
Precision in cutting and assembly is key to a sturdy and long-lasting dish drying rack.
Related: What is drying rack for clothing
Adding the Drying Slots
Once the frame was assembled and allowed to dry, I moved on to adding the drying slots. I cut the 1x3 lumber into pieces that were slightly shorter than the length of the frame to allow for some overhang on either end. I marked each piece with a pencil to ensure even spacing between each slot, which was important for both aesthetics and functionality.
I used wood glue and screws to attach each slot to the frame. I started from the bottom and worked my way up, ensuring that each slot was level and aligned with the others. I used a level to check each piece as I attached it, which helped ensure that the entire rack was even and stable. After attaching all the slots, I let the glue dry for another 30 minutes before proceeding.
I found that leaving a small gap between each slot allowed for proper airflow, which helped the dishes dry faster. I also made sure that each slot was positioned at the same height, which made it easier to place and retrieve dishes. This step required some time and attention to detail, but the result was a rack that looked clean and functioned well.
Use a ruler or measuring tape to mark out the spacing between each slot to ensure even distribution. This makes the rack more visually appealing and easier to use.
“I still remember the first time I tried to dry my dishes on the counter — it was a disaster.”— Creating DIY Wooden Coat Racks editors
Related: What is dish drying rack
Finishing the Rack

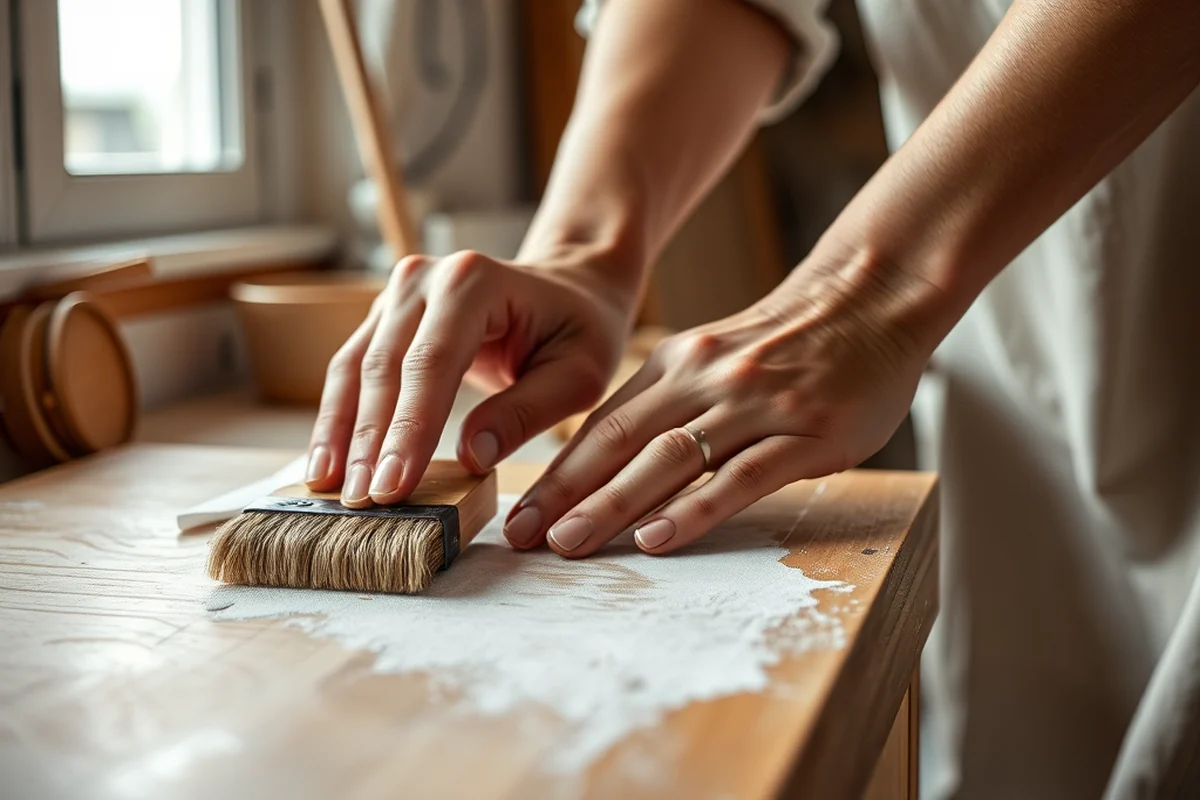
After the frame and slots were assembled, I moved on to finishing the rack. I used a water-resistant polyurethane finish, which I applied using a brush. I made sure to cover all surfaces evenly, including the back of the frame and the sides of the slots. I let the first coat dry for about an hour before applying a second coat for added protection.
I found that using a water-resistant finish was essential, especially since the rack would be in a high-moisture area like the kitchen. I used a brush that had a fine bristle to avoid leaving streaks on the wood. After the second coat dried, I lightly sanded the rack with 220-grit sandpaper to remove any bumps or imperfections before applying a third and final coat.
Once the finish was completely dry, I wiped down the rack with a clean cloth to remove any excess residue. I was happy with the result — it looked great and felt sturdy. The finish not only protected the wood from moisture but also gave the rack a polished, finished look that blended well with the rest of my kitchen.
Related: What is dryer rack
Mounting the Rack to the Wall
After the finish was completely dry, I decided to mount the rack to the wall to save counter space and add extra stability. I used a level to mark the spots where I would drill the holes for the wall anchors. I made sure to use heavy-duty screws and wall anchors that could support the weight of the rack and the dishes it would hold.
I used a drill to make the holes in the wall, and then I inserted the wall anchors before screwing in the mounting brackets. I made sure to tighten the screws securely to prevent the rack from wobbling or falling off the wall. Once the mounting brackets were in place, I attached the rack to the wall, making sure it was level and secure.
I found that mounting the rack to the wall not only made it more stable but also helped keep my kitchen clutter-free. It was a small investment of time and effort that paid off in the long run. The rack now hangs beautifully on the wall, and it’s a functional addition to my kitchen space.
Related: What is a drying rack for dishes
Testing and Using the Rack
Once the rack was mounted to the wall, I tested it by placing a full set of dishes on it. I was impressed by how well it held up — the dishes were secure and didn’t slip or fall. I also noticed that the rack dried the dishes faster than drying them on the counter, which was a huge improvement.
I used the rack for a few days to see how it performed in real life. I found that the spacing between the slots allowed for good airflow, which helped the dishes dry faster. I also noticed that the water didn’t pool on the floor anymore, which was a huge relief. The rack was easy to clean, and I didn’t have to worry about the wood warping or getting damaged.
I was happy with the result. The rack worked perfectly, and I could see the difference it made in my daily routine. It was a small project that made a big impact — and that’s exactly what I was looking for.
A well-built dish drying rack can make a world of difference in your kitchen.
Related: What s drying rack
Maintaining Your Dish Drying Rack
Over time, the finish on the dish drying rack can wear down, especially if it’s in a high-moisture area like the kitchen. I found that cleaning the rack with a damp cloth and mild soap every few weeks helped keep it looking clean and new. I also make sure to dry it thoroughly after cleaning to prevent any moisture from lingering.
If the finish starts to look worn, I reapply a fresh coat of polyurethane. I use a brush to apply the finish evenly, and I let it dry completely before using the rack again. This helps protect the wood from moisture and keeps it looking polished.
I’ve been using my dish drying rack for over a year now, and it still looks and functions as well as the day I built it. Regular maintenance has made a big difference in its longevity. It’s a small investment of time and effort that pays off in the long run.
💰 Budget Build
Use inexpensive pine lumber and basic tools to create a simple dish drying rack that still looks great and functions well.
⏰ Weekend Version
Build a dish drying rack in one weekend using pre-cut lumber and minimal assembly time for a quick and easy project.
✨ Upgraded Finish
Add an upgraded finish like a stain or paint to give your dish drying rack a custom look that matches your kitchen decor.
🛋️ Small-Space Adaptation
Create a compact dish drying rack that fits in small kitchens or apartments with a vertical design and space-saving features.
🚫 Rental-Safe Option
Build a temporary dish drying rack that can be easily moved and doesn’t damage walls or floors, perfect for renters or short-term stays.
| The mistake | Why it happens | The fix |
|---|---|---|
| Cutting the pieces unevenly | Uneven pieces can cause the frame to be unstable or misaligned, which can affect the overall appearance and functionality of the rack. | Use a measuring tape and a square to ensure each piece is cut to the correct length and angle. |
| Not allowing the glue to dry properly | If the glue is not allowed to dry properly, the frame may not be strong enough to hold up the weight of the dishes. | Allow the glue to dry completely before moving on to the next step, and avoid placing any weight on the frame until it’s fully cured. |
| Applying too much finish | Applying too much finish can cause the wood to become sticky or warped, which can affect the overall look and feel of the rack. | Apply the finish in thin, even coats, and allow each coat to dry completely before applying the next one. |
Best Dish Drying Rack
Common Questions
Can I use a different type of wood for my dish drying rack?
Do I need any special tools for this project?
How long does it take to build a dish drying rack?
Can I mount the dish drying rack to the wall?
References
- Comparison of Traditional and Novel Drying Techniques and Its ... (pmc.ncbi.nlm.nih.gov)
- Multifamily Waste Study - Hennepin County (hennepincounty.gov)
Cite this guide
Creating DIY Wooden Coat Racks (2026). Best Dish Drying Rack. https://carvecharm.com/best-dish-drying-rack/
Feel free to cite or share this guide.